How to draw a canoe - a free canoe drawing guide
Draw a canoe using pencil and paper, learning simple shapes, perspective, and shading to create a realistic boat. Practice steady, controlled strokes.

Drawing Apps
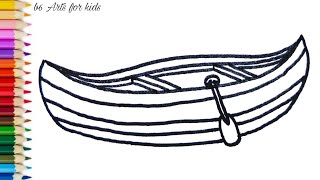
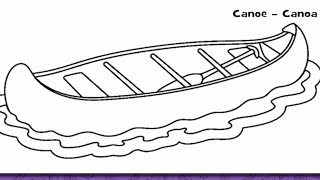
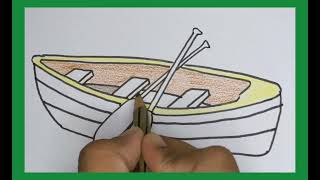
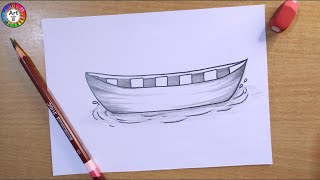
Photos of canoe drawing examples


Step-by-step guide to draw a canoe
How to Draw a Canoe in a Few Easy Steps: Drawing Tutorial for Beginner Artists
Step 1
Gather your materials and find a flat quiet spot to draw.
Step 2
Place your paper in landscape position and draw a light horizontal waterline across the middle.
Step 3
Lightly draw a long horizontal ellipse near the waterline for the canoe’s top rim.
Step 4
Draw a slightly narrower curved shape below the first ellipse to make the hull’s bottom.
Step 5
Connect the two shapes at each end with smooth pointed curves to form the bow and stern.
Step 6
Draw a light center line inside the canoe to mark the keel and help keep it symmetrical.
Step 7
Add simple straight lines across the inside for seats and ribs.
Step 8
Erase any extra guide lines outside the canoe so the shape looks clean.
Step 9
Put a small dot above one side of the canoe to show where the light will come from.
Step 10
Shade the inside of the canoe with steady controlled pencil strokes on the side away from the light.
Step 11
Shade the underside of the canoe darker to make it look rounded and real.
Step 12
Gently blend the shaded areas with your cotton bud or tissue to soften the strokes.
Step 13
Add light wood-grain lines along the sides with quick steady strokes for texture.
Step 14
Draw small curved ripples under the canoe and a faint mirror reflection to show it floating on water.
Step 15
Take a last look and tidy any final details, then share your finished canoe on DIY.org.
Help!?
If I can't find a cotton bud or tissue for blending, what can I use instead?
If you don't have a cotton bud or tissue for blending, use a clean fingertip, a cotton ball, or a blending stump and make sure to blend the shaded areas you made with steady pencil strokes on the side away from the light dot.
My canoe looks uneven when I draw the top ellipse and connect the bow and stern — how can I fix that?
If the long horizontal ellipse or the pointed bow and stern end up lopsided, draw the light center line first, mark three guide points along the waterline, sketch the ellipse lightly in short strokes, and use your eraser to gently adjust until both sides match.
How can I change the activity to suit different age groups?
For younger children, pre-draw the waterline and canoe rim and have them color in the hull and add simple ripples with crayons, while older kids can follow every step, practice shading with softer pencils, blend with tissue or a stump, and add detailed wood-grain lines and a faint mirror reflection.
What are some ways to extend or personalize the canoe drawing once it's finished?
To extend the activity, paint or color the shaded canoe with watercolors or colored pencils, add a lakeshore background and personalized patterns on the sides, experiment with moving the light dot to change shading, and then photograph the tidy final piece to share on DIY.org.
Watch videos on how to draw a canoe
Let's Draw a Canoe!
4 Videos
Let's Draw a Canoe!
How to Draw Canoe 🛶 For Kids / Canoe Drawing Easy
Easy Drawing : Canoe | How to Draw A Canoe | @KalakritArtStudiobyKanika
Canoe drawing | canoe boat drawing | how to draw a canoe step by step pencil drawing
Facts about pencil drawing and sketching
🛶 Canoes are one of the oldest types of boats — some ancient dugout canoes found by archaeologists are over 7,000 years old!
🚣♀️ Racing canoes can reach speeds of about 9 mph (15 km/h) on flat water — fast for paddling with just a paddle!
✏️ Pencils come in grades: H (hard) makes light lines for sketching, B (soft) makes dark lines for shading.
🎯 Linear perspective uses a vanishing point on the horizon to make objects look smaller as they get farther away — that’s how you draw depth.
🖤 Shading and blending turn flat shapes into round, realistic surfaces by showing where light hits and where shadows fall.
How do I teach my child to draw a canoe step-by-step?
What materials do I need to draw a canoe with my child?
What ages is this canoe drawing activity suitable for?
What are the benefits of drawing a canoe for children?
