How to draw a candle - a free candle drawing guide
Draw a candle with a glowing flame using pencil and color. Practice shading, proportions, and light reflections step by step.

Drawing Apps
Photos of candle drawings with glowing flames


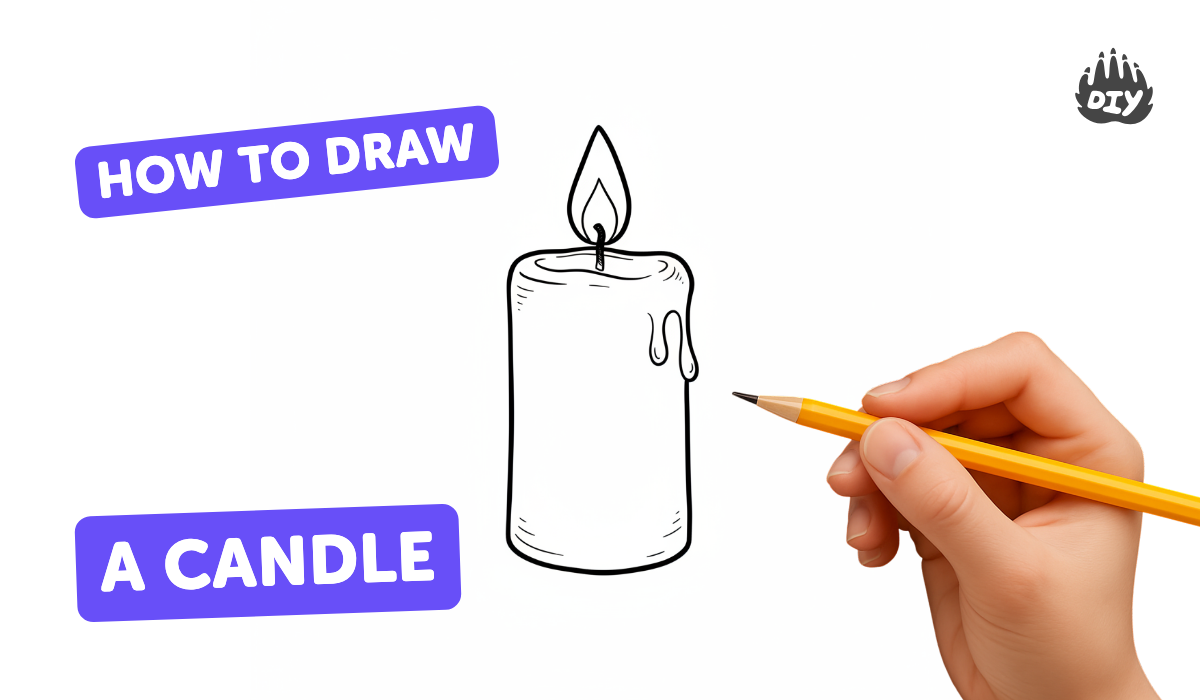
Step-by-step guide to draw a candle with a glowing flame
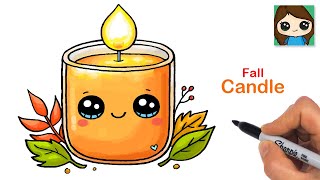
Easy Candle Drawing Tutorial for Kids and Beginners (Step by Step!)
Step 1
Gather your materials and sit at a flat table with good light.
Step 2
Lightly draw a vertical center line and a horizontal ground line using your pencil and ruler.
Step 3
Put two small marks on the center line to show the candle top and bottom so you know its height.
Step 4
Sketch the candle body by drawing two slightly curved vertical lines that connect your top and bottom marks.
Step 5
Draw the candle top rim as a shallow oval and add one or two melted wax drips down the side.
Step 6
Above the rim sketch a teardrop outer flame and a smaller teardrop inside it for the inner glow.
Step 7
Draw a short thin wick that reaches up from the candle top into the center of the inner flame.
Step 8
Decide that the flame is your light source and lightly mark the side of the candle that will be in shadow.
Step 9
Shade the shadow side of the candle with soft pencil strokes to build a darker tone.
Step 10
Use a tissue or cotton swab to gently blend the shaded area into a smooth gradient.
Step 11
Color the inner part of the flame with bright yellow then color the outer flame with orange and red to make it look hot.
Step 12
Add a small bright highlight on the candle facing the flame by leaving the paper white or lightly lifting graphite with your eraser.
Step 13
Draw a soft cast shadow on the ground away from the flame and blend it slightly so it looks natural.
Step 14
Take a photo of your finished glowing candle and share your creation on DIY.org.
Help!?
What can I use instead of a ruler, colored pencils, or cotton swabs if I don't have them?
Use the straight edge of a book to draw your vertical center and ground lines, crayons or markers for coloring the inner and outer flame, and a folded tissue or your fingertip to gently blend the shaded area instead of a cotton swab.
My candle looks uneven or my shading is blotchy — how can I fix those problems?
If the two slightly curved vertical lines make the candle lopsided, redraw them lightly using the center line as a mirror guide and fix blotchy shading by building tone with soft pencil strokes and smoothing with a tissue or cotton swab in small circular motions.
How can I adapt this activity for younger children or older kids?
For younger children, simplify by pre-drawing the rim, wick, and flame for them to color and skip blending, while older kids can add detailed shading on the shadow side, refine the inner glow with layered colored pencils, and draw a realistic soft cast shadow on the ground.
How can we extend or personalize the candle drawing to make it more creative?
Personalize the project by drawing multiple candles at different heights using separate top and bottom marks along the center line, add patterns or melted wax designs before shading the shadow side, experiment with a watercolor wash around the flame for extra glow, and then photograph your finished piece to share on DIY.org.
Watch videos on how to draw a candle with a glowing flame
How to Draw a Candle - Easy Step-by-Step Tutorial for Kids & Beginners
4 Videos
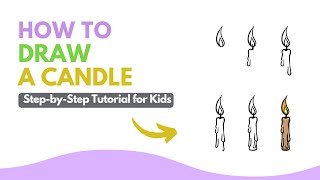
How to Draw a Candle - Easy Step-by-Step Tutorial for Kids & Beginners
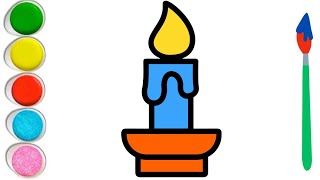
Easy Candle Drawing Tutorial for Kids and Beginners (Step by Step!)
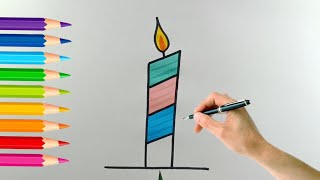
How to Draw and Color a Candle for Kids | Easy Art Tutorial
How to Draw a Cute Candle 🕯️
Facts about drawing and shading for kids
🕯️ Candles were a main source of light for centuries and early candles were often made from animal fat (tallow) or beeswax.
🔥 A candle flame has different colors—blue at the base and yellow/orange higher up—because different parts burn at different temperatures.
🎨 Chiaroscuro is an Italian art term meaning "light-dark" and artists like Caravaggio used it to make scenes look dramatic and 3D.
✏️ Pencil grades matter: H pencils make lighter lines while B pencils (like 2B, 4B) make darker, softer shading perfect for shadows.
🌬️ A candle flickers because tiny air currents and rising hot air make the flame move—watching that movement helps you draw realistic reflections.
How do I draw a glowing candle step by step?
What materials do I need to draw a candle with a glowing flame?
What ages is this candle drawing activity suitable for?
What are the benefits and creative variations of drawing a candle?
