How to draw a can - a free can drawing guide
Draw a realistic cylindrical can using simple shapes, measurements, and basic shading techniques. Practice proportions, contour lines, and highlights to make your can look three-dimensional.


Drawing Apps
Photos of realistic cylindrical can drawings


Step-by-step guide to draw a realistic cylindrical can
I'll teach you to draw! How to Draw #1: The Essential First Steps Most Beginners Miss
Step 1
Place your paper in portrait orientation so the can will stand tall on the page.
Step 2
Use a ruler to draw a very light vertical centerline down the middle of the paper.
Step 3
Decide how wide your can will be and put two small dots on opposite sides of the centerline to mark the left and right edges.
Step 4
Use a round object or compass to lightly draw an ellipse across the top dots to make the can’s top rim.
Step 5
Measure the distance between the left and right dots and from the bottom of the top ellipse measure that same distance straight down and place a mark for the can’s height.
Step 6
Draw a slightly flatter ellipse at the bottom mark with the same width to form the base of the can.
Step 7
Use your ruler to draw two straight vertical lines connecting the left and right edges of the top ellipse to the base ellipse to make the can’s sides.
Step 8
Lightly erase the centerline and any extra construction dots that are outside the can outline.
Step 9
Draw a few gentle curved contour lines down the side of the can to show its roundness.
Step 10
Pick where the light will come from and draw a small arrow outside the can pointing from that direction.
Step 11
Shade the side opposite the light source and the underside of the top rim using darker pencil strokes to make depth.
Step 12
Gently blend your shading with a tissue or blending stump to smooth the tones.
Step 13
Use the eraser to lift a thin curved highlight along the light side to show a shiny reflection.
Step 14
Share a photo of your finished realistic can drawing on DIY.org.
Help!?
I don't have a compass, blending stump, or even a ruler — what can we use instead?
Trace the rim of a jar or cup for the top ellipse, use a credit card or the straight edge of a book as a ruler for the vertical lines and measurements, and blend shading with a folded tissue or cotton ball instead of a blending stump.
My top and bottom ellipses look uneven and the can is lopsided — how can we fix that?
Lightly redraw the vertical centerline, re-measure the distance between the left and right dots so both ellipses match width, trace the same round object for both ellipses, and use the ruler to make the two vertical side lines parallel before erasing construction marks.
How can we adapt the steps for different age groups?
For younger kids skip precise measuring and let them trace a cup lid and draw sides freehand, while older kids can follow the full steps—draw the slightly flatter bottom ellipse, add multiple contour lines, refine shading with a blending stump, and lift a thin curved highlight with the eraser for realism.
What are fun ways to extend or personalize the can drawing after finishing it?
Design and draw a custom label on the can, try different light directions by moving the little arrow and re-shading, draw several cans at different heights and textures, color the finished drawing, and then photograph and share it on DIY.org as the instructions suggest.
Watch videos on how to draw a realistic cylindrical can
Learn how to draw portraits - How to draw a face step-by-step - Easy tutorial for kids
4 Videos
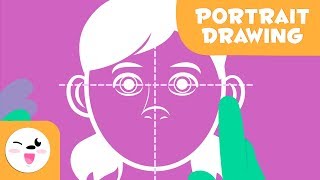
Learn how to draw portraits - How to draw a face step-by-step - Easy tutorial for kids
10 Easy Animal Drawings for Kids Vol. 1 | Step by Step Drawing Tutorials | How to Draw Cute Animals
32 Fun and Simple Drawing Tricks Easy Tips on How to Draw and Doodle
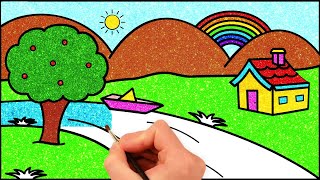
How to Draw Simple Landscape Picture | Glitter Painting for Kids | HooplaKidz How To
Facts about basic drawing and shading techniques
🎯 Drawing the top as an ellipse tricks your eye into seeing a circular opening in 3D — small changes in ellipse tilt change realism a lot.
🧮 Many beverage cans are close to a 2:1 height-to-diameter ratio, which makes measuring proportions with simple units easy for drawing.
💡 A single light source creates a bright highlight, midtones, a core shadow, and a cast shadow — the basic layers of realistic shading.
✏️ Cross-hatching gives texture while smooth blending creates shiny metal reflections; use both to suggest material.
✨ A thin bright highlight plus a subtle reflected edge are often enough to convince viewers that a surface is shiny metal.
How do I draw a realistic cylindrical can?
What materials do I need to draw a cylindrical can?
What ages is drawing a cylindrical can suitable for?
What are the benefits of drawing a cylindrical can?
