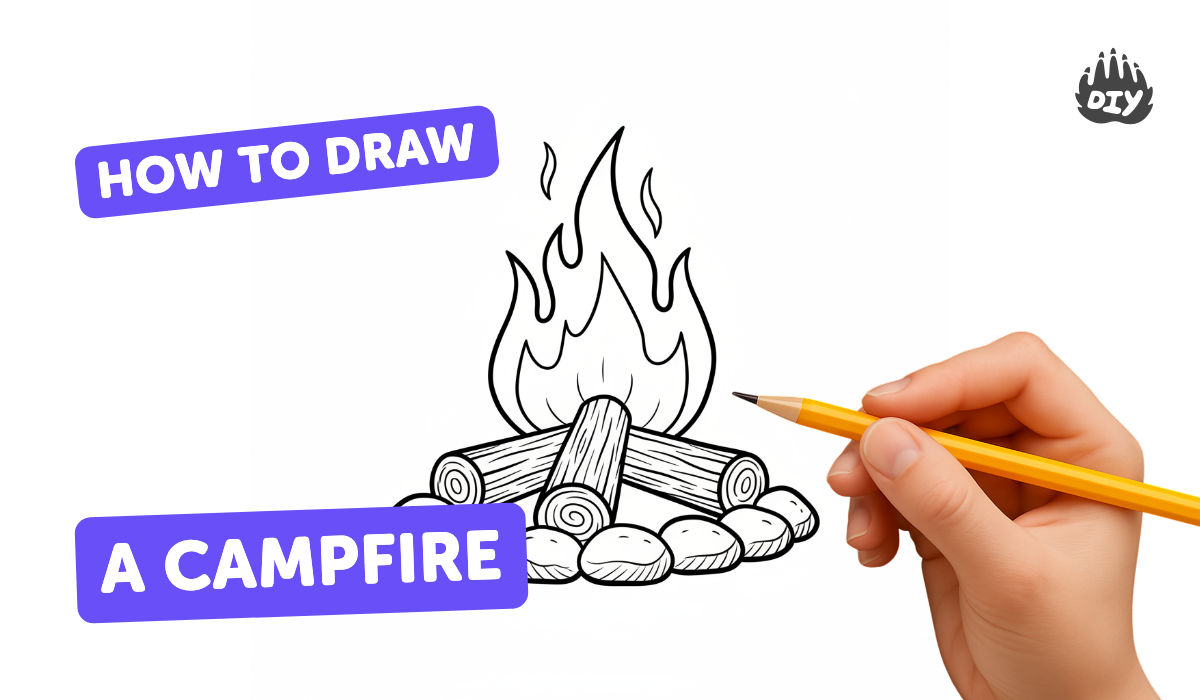
How to draw a campfire - a free campfire drawing guide
Draw a simple campfire using pencil, eraser, colored pencils, and paper; practice sketching logs, flames, shading, and adding background details for realism.

Step-by-step guide to draw a campfire
How To Draw A Campfire
Step 1
Gather your pencil eraser colored pencils and a clean sheet of paper and place them on your workspace.
Step 2
Put your paper in landscape (horizontal) position so you have room for the logs and flames.
Step 3
Lightly sketch two or three overlapping log shapes near the bottom center of the paper.
Step 4
Draw short curved lines at the ends of each log and add parallel lines along the logs to show bark and rings.
Step 5
Gently erase any heavy construction lines so the logs look neat and clear.
Step 6
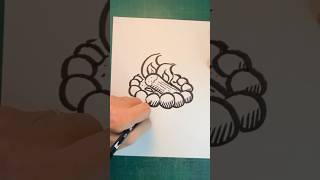
Above the logs lightly draw a large teardrop or oval flame shape that sits on the center of the logs.
Step 7
Inside the big flame draw two smaller flame shapes that follow the outer flame form to make layers.
Step 8
Add a few tiny spark dots above the flames and one or two wavy smoke lines rising up.
Step 9
Shade the underside and ends of each log with your pencil to make them look rounded and three-dimensional.
Step 10
Color the flames by layering yellow in the innermost part then orange around that then red at the outer edges to create a glowing effect.
Step 11
Color the logs with brown tones and add darker pencil strokes for wood texture and shadow.
Step 12
Lightly add background details like small stones grass or a night sky with stars using soft strokes so the campfire stands out.
Step 13
Clean up your picture by gently erasing any remaining sketch lines and add your name in a corner.
Step 14
Share your finished campfire drawing on DIY.org
Help!?
What can I use if I don't have colored pencils or a pencil eraser for this campfire drawing?
Use crayons or water-soluble markers to layer yellow, orange, and red for the flame coloring and use a kneaded or regular rubber eraser to gently lift sketch lines on your clean sheet of paper as in the instructions.
My logs look flat—how do I fix that part of the drawing?
Follow the instruction to shade the underside and ends of each log with your pencil and add darker pencil strokes along the parallel bark lines to create the rounded, three-dimensional look.
How can I adapt this activity for different ages?
For younger children, simplify by sketching one big log and a single flame layer from the steps, while older kids can add detailed wood rings, layered flame coloring (yellow→orange→red), and a night sky with stars for extra challenge.
How can we enhance or personalize the finished campfire drawing?
Add a soft yellow halo around the layered flames for glow, use the eraser to create reflected highlights on the log ends, include small stones or grass in the background, and sign your name in a corner before sharing on DIY.org.
Watch videos on how to draw a campfire
How To Draw A Campfire! (Art For Kids!) - Easy Step By Step Beginner Art/Drawing Lesson!
4 Videos
How To Draw A Campfire! (Art For Kids!) - Easy Step By Step Beginner Art/Drawing Lesson!
How to Draw a Campfire for Kids Step by Step | Easy Campfire Drawing for Beginners |Campfire Drawing
How to Draw Campfire Easy | Step by Step Camp Fire Drawing Tutorial
How to Draw a Campfire Easy (using the Number 82) For Kids!
Facts about drawing and sketching for kids
🔥 Campfire flames can show different colors — yellow and orange are common, but the hottest parts can look blue or white!
🪵 Hardwoods like oak and maple burn longer and give steadier flames than softwoods, which is why drawn logs often look thick and layered.
✏️ Using a single light source (the fire) and shading the areas farther from it makes your sketch look three-dimensional and cozy.
🎨 Colored pencils blend nicely when you layer light strokes of yellow, orange, red, and brown to make smooth flame gradients.
🌲 Adding simple background hints like trees, rocks, or stars helps show scale and makes the campfire feel like part of a scene.
How do I teach my child to draw a simple campfire step by step?
What materials do we need to draw a campfire with colored pencils?
What ages is drawing a campfire suitable for and how should I adapt it?
What are the benefits of drawing a campfire for kids?
