How to draw a cabin - a free cabin drawing guide
Draw a simple wooden cabin step by step on paper using pencil, ruler, and crayons; learn basic shapes, perspective, and shading while adding trees.

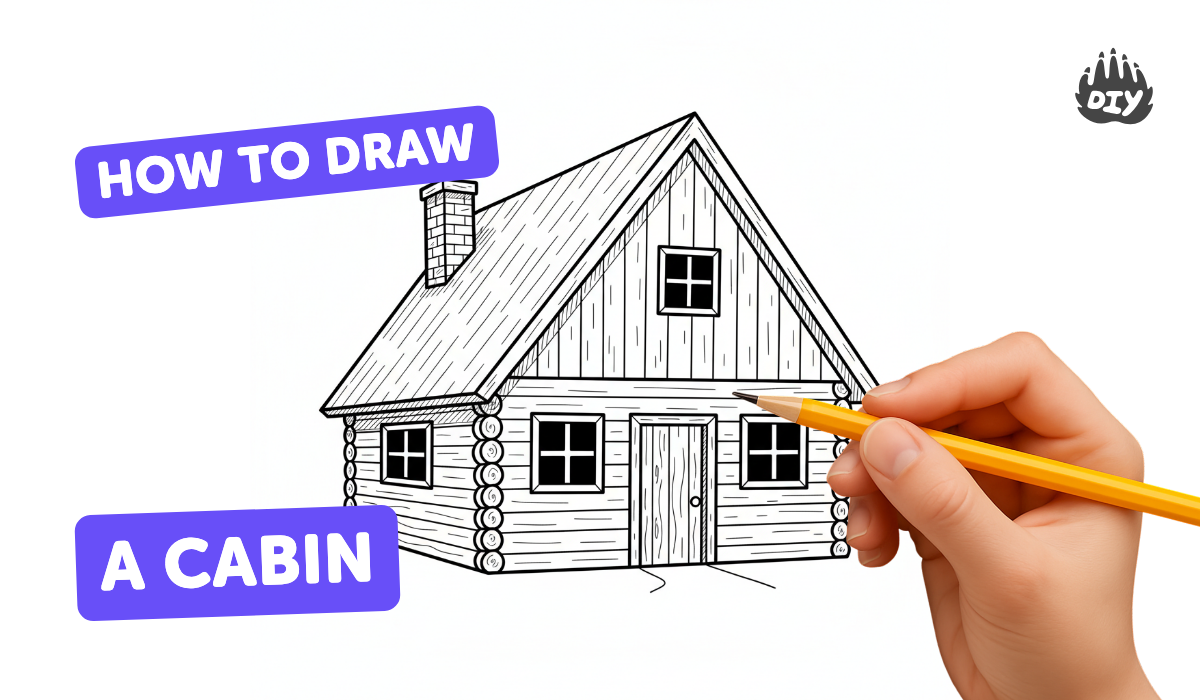
Step-by-step guide to draw a wooden cabin
How To Draw A Log Cabin
Step 1
Put your paper flat on a table and place your pencil ruler eraser and colouring materials within reach.
Step 2
Draw a light horizontal line across the lower third of the paper to be the ground.
Step 3
Make a small dot near the middle of the page above the ground line to be the vanishing point for perspective.
Step 4
Use your ruler to draw a light rectangle on the ground line for the front wall of the cabin.
Step 5
Draw a triangle on top of the rectangle to make the front roof of the cabin.
Step 6
Pick one side of the rectangle and draw two straight lines from its top and bottom corners toward the vanishing point to show depth.
Step 7
Draw a vertical line to close the side wall where the two slanted lines end and connect it to the roof line.
Step 8
Draw a rectangle on the front wall for the cabin door.
Step 9
Draw a square window on the front wall and add two thin crossing lines inside it to make window panes.
Step 10
Draw several evenly spaced horizontal lines across the front and side walls to look like wooden planks.
Step 11
Shade the roof and the side wall with gentle diagonal pencil strokes to show shadow.
Step 12
Draw two simple trees beside the cabin by making a trunk and a cloud shape of leaves for each tree.
Step 13
Erase the light guide lines and any extra pencil marks you do not want in the final picture.
Step 14
Colour the cabin and the trees with your crayons or colored pencils.
Step 15
Take a photo of your finished cabin and share your creation on DIY.org.
Help!?
What can we use instead of a ruler or crayons if we don't have them?
Use the straight edge of a book or a cereal box as a ruler to draw the light rectangle and perspective lines, and substitute markers, felt-tips, or watercolour paints for the crayons or coloured pencils when colouring.
My perspective lines don't look right or my guide lines are too dark — how do I fix that?
Draw the initial ground line, vanishing point, rectangle and depth lines very lightly with your pencil and use the ruler to make lines meet the vanishing point, then gently erase and soften any unwanted guide lines before shading the roof and side wall.
How can I change the activity for younger or older kids?
For younger children, skip the vanishing point and have them draw a simple front rectangle and triangle roof with crayons, while older kids can use the ruler to accurately draw the perspective lines toward the vanishing point and add plank details, shading, and window panes with pencil.
What are some ways to make the cabin drawing more detailed or personal?
Add features like a chimney, porch, stone path, different window styles or curtains, vary the horizontal planks, deepen the diagonal pencil shading on the roof and side wall, then colour creatively and photograph your finished cabin to share on DIY.org.
Watch videos on how to draw a wooden cabin
How To Draw A Winter Cabin
4 Videos
How To Draw A Winter Cabin
🏡 Easy Log Cabin Drawing | Step-by-Step Sketch Tutorial for Kids & Beginners ✏️#drawing #kids #art
How To Draw A Little Cabin In The Woods - How To Draw A House In Forest Step By Step
How to Draw a Cozy Cabin in the Snow
Facts about drawing basics for kids
🪵 Log cabins were popular frontier homes because they could be built quickly using trees from the immediate surroundings.
✏️ Pencil grades (like HB, 2B) change how dark or soft a mark looks—use softer pencils for richer shading.
📐 Linear perspective makes parallel lines appear to meet at a vanishing point, which helps drawings look 3D.
🌳 Overlapping simple tree shapes and varying their size makes a scene look deeper and more natural.
🖍️ Crayons are wax-based and layering two colors can create lots of new shades without special tools.
How do I draw a simple wooden cabin step by step?
What materials do I need to draw a wooden cabin with my child?
What ages is this cabin drawing activity suitable for?
What are the benefits, safety tips, and variations for drawing a wooden cabin?
