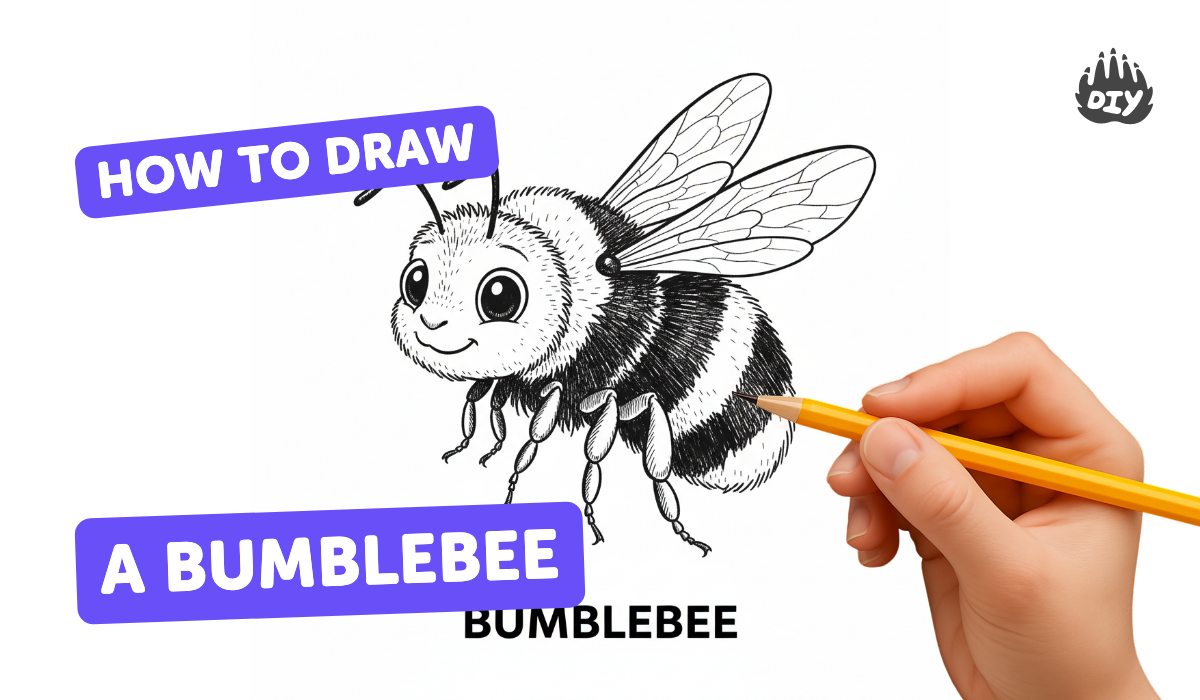
How to draw a bumblebee - a free bumblebee drawing guide
Draw a simple bumblebee using basic shapes, stripes, wings, and antennae step by step. Practice shading and coloring to add texture and depth.

Drawing Apps
Photos of simple bumblebee drawings


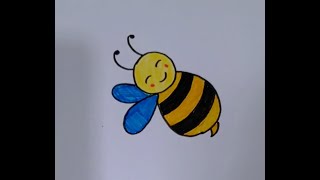
Step-by-step guide to draw a simple bumblebee
How To Draw a Bumblebee, Honeybee Step-By-Step Drawing Tutorial for KIDS!
Step 1
Draw a medium horizontal oval near the center of your paper for the bumblebee's body.
Step 2
Draw a smaller circle overlapping the front of the oval for the bumblebee's head.
Step 3
Draw two small circles on the head for the eyes.
Step 4
Draw a tiny curved line under the eyes for a smiling mouth.
Step 5
Draw two curved antennae on top of the head with little oval tips.
Step 6
Draw two teardrop shaped wings on the top sides of the body.
Step 7
Draw three curved lines across the body to divide it into stripes.
Step 8
Draw a small pointy stinger at the back of the body.
Step 9
Trace over your main outlines with a black marker or pen to make the bumblebee bold.
Step 10
Gently erase extra pencil lines to clean up the drawing.
Step 11
Use your pencil to add light shading along the bottom and edges of the body and wings to make them look round.
Step 12
Color the bumblebee with your coloring materials making the stripes yellow and black and the wings a pale blue or gray.
Step 13
Share your finished bumblebee on DIY.org.
Help!?
What can we use if we don't have a black marker or the exact coloring materials listed?
If you don't have a black marker, use a dark ink pen or a black crayon to trace the main outlines before you gently erase extra pencil lines, and substitute colored pencils, washable paint, or crayons for the yellow and black stripes and pale blue wings.
My head circle doesn't overlap the oval neatly—how do we fix that so the bumblebee looks right?
If the smaller circle for the head doesn't overlap the medium horizontal oval cleanly, lightly redraw one shape with your pencil until the overlap looks natural, then trace with the black marker and gently erase extra pencil lines to tidy the join.
How can I adapt this drawing for different age groups?
For younger children, simplify by drawing a single oval body, two big stripes, and skipping the light shading step while using chunky crayons, and for older kids add extra curved stripes, wing veins, and stronger pencil shading along the bottom and edges to make the bumblebee more detailed.
How can we extend or personalize the bumblebee drawing after finishing the basic steps?
Extend the activity by drawing flowers or a garden around the bumblebee's body, adding unique patterns to the stripes, applying pale blue watercolor or glitter glue to the wings, and then share your finished bumblebee on DIY.org.
Watch videos on how to draw a simple bumblebee
Learn to Draw a Cute Bumblebee (Step-by-Step for Kids!) | By an 11-Year-Old!
4 Videos
Learn to Draw a Cute Bumblebee (Step-by-Step for Kids!) | By an 11-Year-Old!
How To Draw a Bumblebee - Easy drawing, painting and coloring for kids
How to Draw Bumblebee
How to draw cute bumble bee | Easy Art-Kids
Facts about drawing and coloring for kids
🐝 Bumblebees are super pollinators and can do "buzz pollination" by vibrating flowers to release pollen.
✏️ Many artists start with simple shapes—an oval for the body and a circle for the head make drawing a bumblebee easy.
🎨 The black-and-yellow stripes are a warning to predators (called aposematism), which you can show with bold bands.
🌬️ A bumblebee's wings beat very fast (over 100 times per second), so drawing motion lines can make them look lively.
🌈 Shading under the belly and near the wing joints adds roundness and makes your bumblebee pop off the page.
How do I draw a simple bumblebee step by step?
What materials do I need to draw a bumblebee?
What ages is drawing a simple bumblebee suitable for?
What are the benefits and fun variations of drawing a bumblebee?
