How to draw a bug - a free bug drawing guide
Draw a bug step-by-step using pencil and colored pencils. Practice symmetry, observation, and proportions while creating your own insect illustration.


Drawing Apps
Photos of bug drawing examples


Step-by-step guide to draw a bug
How to Draw Bugs | Simple Drawing Lesson for Kids | Step By Step
Step 1
Gather your materials and set up a clean flat workspace.
Step 2
Lightly draw a vertical center line down the middle of the paper to help keep your bug symmetrical.
Step 3
Draw a small circle at the top of the center line for the bug's head.
Step 4
Draw a medium oval below the head on the center line for the thorax.
Step 5
Draw a larger oval below the thorax on the center line for the abdomen.
Step 6
Draw two curved antennae coming out of the top of the head.
Step 7
Draw three matching legs on each side of the thorax and abdomen so both sides look the same.
Step 8
Lightly sketch a wing shape on each side of the body if your bug will have wings.
Step 9
Draw two eyes and a simple mouth on the head so your bug has a face.
Step 10
Add patterns like spots or stripes to the body and wings to make your bug unique.
Step 11
Erase the center line and any extra sketch marks you do not want.
Step 12
Trace over the final outlines with a slightly darker pencil or a colored pencil.
Step 13
Color your bug with colored pencils and fill in the patterns and wings.
Step 14
Add shading by pressing harder at the edges and lighter in the middle to give your bug depth.
Step 15
Share your finished bug drawing on DIY.org.
Help!?
I don't have colored pencils—what can I use to color and add shading?
If you don't have colored pencils, use crayons, markers, or watercolor paints to color the body and patterns and create shading by layering colors or pressing harder at the edges and lighter in the middle as the instructions explain.
My bug looks lopsided—how can I make the legs, wings, and patterns match on both sides?
Use the lightly drawn vertical center line as your symmetry guide, sketch one side first and mirror each leg, wing, and pattern across the center line (or fold the paper along the line to check placement), then erase extra sketch marks and trace over the final outlines.
How can I adapt this drawing activity for younger children or older kids?
For younger children simplify to a big circle head and one large oval abdomen with fewer legs and thick markers, while older kids can add detailed spots or stripes, more realistic wing shapes, and advanced shading and color blending as in the 'Add patterns' and 'Add shading' steps.
What's a fun way to personalize or extend the bug drawing after coloring?
Personalize your bug by inventing unique patterns and wing shapes, adding a habitat background or mixed-media wings, labeling the head/thorax/abdomen from your ovals, and then share your finished bug drawing on DIY.org.
Watch videos on how to draw a bug
How to Draw a Bug for Kids, Drawing Bug Easy, Drawing for Kids, Drawing and Colouring, Drawing Easy
4 Videos
How to Draw a Bug for Kids, Drawing Bug Easy, Drawing for Kids, Drawing and Colouring, Drawing Easy
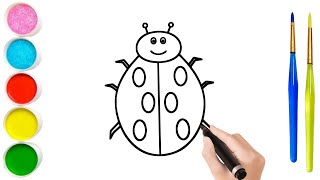
How to Draw Bugs for Kids Easy ( Ladybug, Dragonfly, Ant, Cricket )
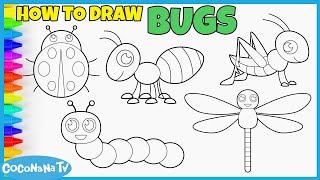
BUGS COMPILATION - How to Draw and Color for Kids - CoconanaTV
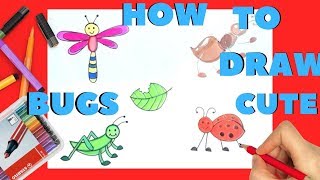
Draw a bug with me 3 | Step-by-Step Drawing Tutorial
Facts about drawing insects
🐜 More than 1 million insect species have been described, making insects the most diverse group of animals on Earth.
🪞 Many bugs exhibit bilateral symmetry — drawing a centerline helps you make matching left and right sides.
✏️ Artists often use harder pencils (like 2H) for light sketching and softer pencils (HB–4B) for darker lines and shading.
🎨 Colored pencils come in wax- or oil-based cores; wax blends nicely while oil pencils can give richer layering.
🔍 Observational drawing trains your eye to notice tiny details—artists frequently spend a lot of time studying a subject before drawing.
How can I teach my child to draw a bug step-by-step with pencil and colored pencils?
What materials do I need to draw a bug with pencils and colored pencils?
What ages is this bug-drawing activity suitable for?
What are the benefits, safety tips, and fun variations for drawing bugs?
