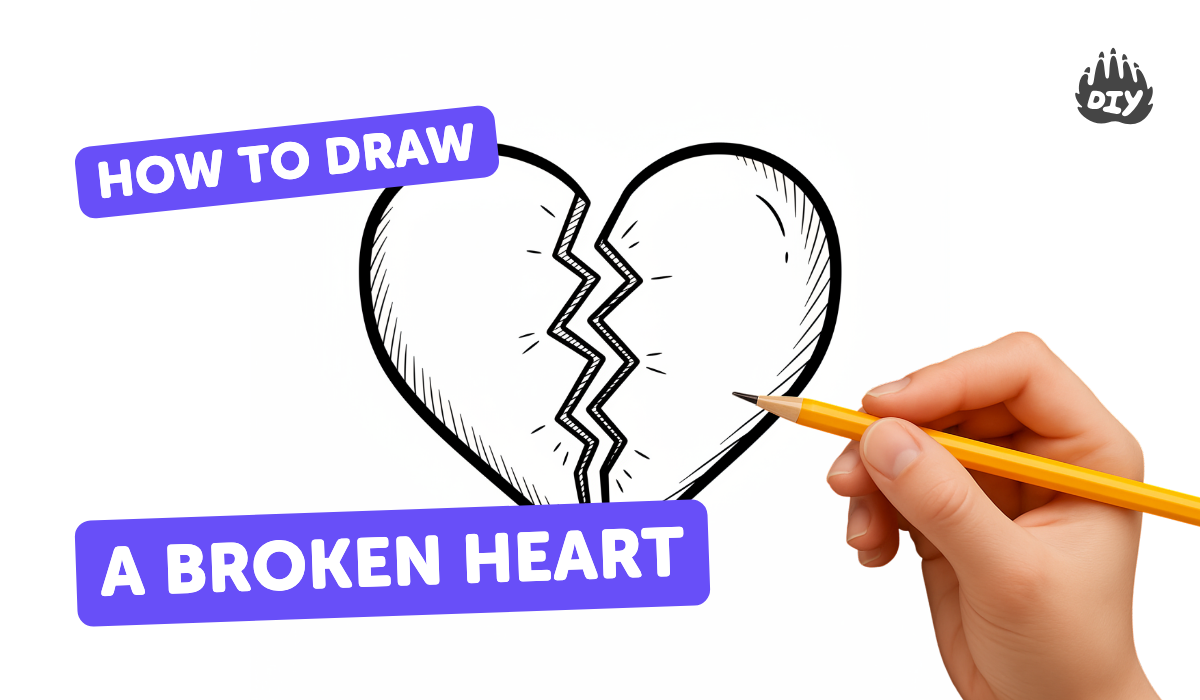
How to draw a broken heart - a free broken heart drawing guide
Draw a broken heart step by step with pencil, ink, shading, and color. Practice symmetry, jagged break details, and neat finishing techniques.

Drawing Apps
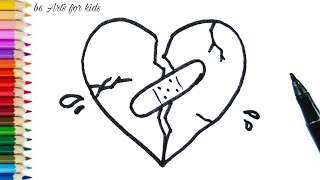
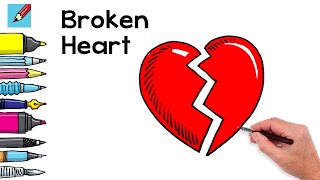
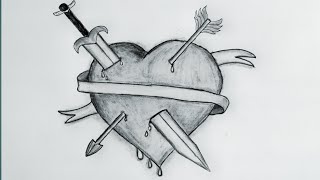
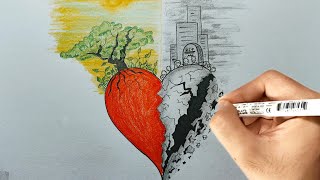
Photos of broken heart drawing examples


Step-by-step guide to draw a broken heart
Easy Broken Heart Drawing Tutorial for Kids | Simple Drawing and Coloring
Step 1
Lightly draw a vertical centerline down the middle of the paper with your pencil and ruler.
Step 2
Mark two small dots at the same height on either side of the centerline to show the top bumps of the heart.
Step 3
Draw the left curved half of the heart from the left dot down to a bottom center point using a smooth line.
Step 4
Draw the right curved half mirroring the left so both sides meet at the bottom center point.
Step 5
Sketch a jagged zig-zag break line from the top of the heart down to the bottom along the center, making uneven teeth.
Step 6
Erase the extra centerline and any stray pencil marks outside the heart shape.
Step 7
Carefully trace the heart outline and the jagged break line with your fine-tip black pen using steady strokes.
Step 8
Let the ink dry completely before you touch it.
Step 9
Gently erase any remaining pencil sketch lines now that the ink is dry.
Step 10
Add soft pencil shading along the inside edges of the jagged break and on one side of the heart to create depth.
Step 11
Blend the shading with a tissue or blending stump so the shadow looks smooth.
Step 12
Color each half of the heart with your chosen colors and keep your strokes neat inside the lines.
Step 13
Leave a thin crescent of white near the top of each half as a little highlight by not coloring that small area.
Step 14
Share your finished broken heart drawing on DIY.org.
Help!?
What can we use instead of a ruler, fine-tip black pen, blending stump, or DIY.org if these are hard to find?
Use a book edge or credit card to draw the vertical centerline (step 1), trace the outline with a thin black marker or dark mechanical pencil instead of a fine-tip pen when inking (step 7), blend shading with a folded tissue or cotton swab in place of a blending stump (step 11), and share the finished drawing with family or another kid-friendly site if DIY.org isn't available (step 14).
What should we do if the two heart halves don't match, the zig-zag break looks wrong, or the pen smudges?
Lightly sketch and compare the left and right curves using the centerline and top dots (steps 1–4), practice the jagged zig-zag on scrap paper before committing to the heart (step 5), and avoid smudging by letting the ink dry completely (step 8) before erasing pencil lines (step 9).
How can this broken heart drawing be adapted for different ages?
For preschoolers use a pre-drawn heart outline and let them color each half (steps 1–4 and 12–13), for elementary kids follow all steps but simplify or skip advanced shading and blending (steps 10–11), and for teens add detailed shading techniques or a watercolor wash behind the inked heart after it dries (steps 8 and 10–11) before sharing on DIY.org (step 14).
How can we extend or personalize the activity to make the broken heart more special?
Personalize the heart by adding patterns or tiny drawings on each colored half, write a short caption beside the heart, experiment with a watercolor or colored-paper background after the ink dries (step 8), and emphasize the crack with a white gel pen or the reserved thin crescent highlights (step 13) before sharing (step 14).
Watch videos on how to draw a broken heart
How to draw a Broken Heart Step by Step | Love Drawings Tutorials
4 Videos
How to draw a Broken Heart Step by Step | Love Drawings Tutorials
How to draw a Broken Heart Real Easy for Valentine's Day
How to Draw Broken Heart Easy Step by Step for Beginners।Pencil Sketch Drawing
How To Draw A Broken and Whole Heart 💔❤️ | Heart Drawing Tutorial | Easy Drawing For Beginners
Facts about drawing techniques for kids
❤️ The stylized heart symbol became common in medieval art and may have been inspired by plant shapes like the silphium seedpod.
✏️ Modern pencils use graphite — a large Borrowdale, England deposit discovered in the 1500s helped start the pencil industry.
🖋️ People have used inks for thousands of years; ancient Chinese and Egyptian inks were important for both writing and drawing.
🎨 Cross-hatching and hatching were favorite shading tricks of Renaissance artists (like Leonardo) to build tone with lines.
🔁 Humans tend to find symmetrical shapes pleasing — many artists draw one half of a shape and mirror it to keep designs balanced.
How do I draw a broken heart step by step?
What materials do I need to draw a broken heart?
What ages is drawing a broken heart suitable for?
What variations or tips make a broken heart drawing more creative?
