How to draw a bridge - a free bridge drawing guide
Draw a bridge by sketching simple shapes, adding arches, supports, texture, and a background; practice perspective, proportions, and shading to create a realistic scene.

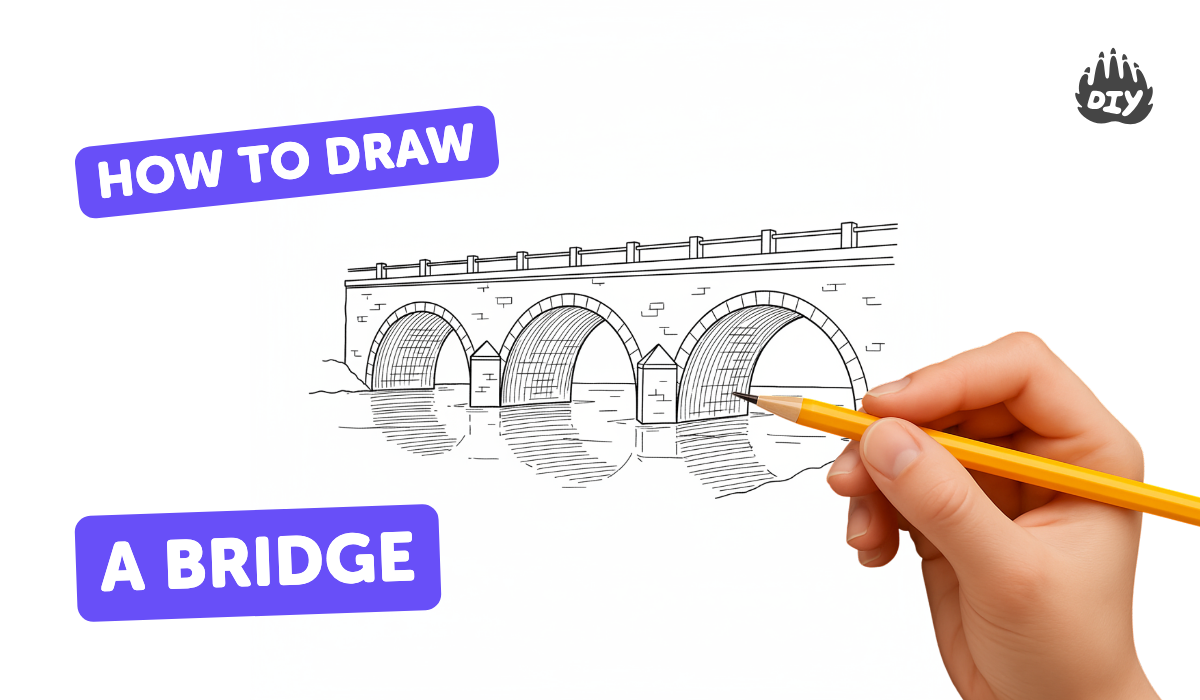
Step-by-step guide to draw a bridge
How to draw BRIDGE FOR KIDS
Step 1
Find a clean sheet of paper and sit at a flat table with your pencil and ruler.
Step 2
Use your pencil and ruler to lightly draw a straight horizontal line about one third from the bottom for the waterline or ground.
Step 3
Mark two vertical points on the horizontal line to show where the bridge will begin and end.
Step 4
Lightly draw the bridge deck by connecting the two marks with a long rectangle or slight trapezoid using your ruler.
Step 5
Draw evenly spaced vertical supports under the deck by sketching thin rectangles down to the waterline.
Step 6
Between pairs of supports, draw rounded arches under the deck using gentle curved lines.
Step 7
Erase any extra construction lines and adjust the size or spacing of arches and supports so the bridge looks balanced.
Step 8
Add texture to the bridge by penciling small horizontal lines or brick shapes along the deck and arches.
Step 9
Lightly draw a horizon line and a few distant hills or buildings behind the bridge.
Step 10
Sketch nearby details such as a riverbank trees or a small road to make the scene interesting.
Step 11
Decide where the light is coming from and draw a small arrow to show that direction.
Step 12
Shade the bridge and its shadows with your pencil on the side away from the light.
Step 13
Gently blend the shaded areas with your tissue to make smooth tones.
Step 14
Share your finished bridge drawing on DIY.org
Help!?
I don't have a ruler or tissue—what can I use instead?
Use the straight edge of a book, cereal box, or another sheet of paper as a ruler to draw the waterline and bridge deck, and blend shaded areas with your fingertip or a cotton swab if you don't have tissue.
My arches look uneven or my lines are shaky—how do I fix them?
Lightly mark even vertical points on the horizontal waterline, use the ruler to draw the deck and supports, sketch each rounded arch between support pairs with gentle curves, then erase construction lines and adjust spacing until the bridge looks balanced.
How can I adapt this drawing for different ages?
For younger kids, pre-draw the waterline and support marks and let them color large arches with crayons, while older kids can measure equal spacing, add detailed brick texture and shading with tissue, and sketch distant buildings on the horizon for realism.
Any ideas to make the drawing more creative or advanced?
Personalize the bridge by choosing a different style (like suspension or stone arch), add color with colored pencils or watercolors for the river and hills, include tiny people or cars on the deck for scale, and photograph the finished drawing to share on DIY.org.
Watch videos on how to draw a bridge
How to Draw a Bridge using One-Point Perspective for Beginners
4 Videos
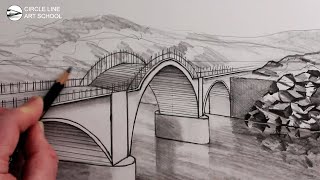
How to Draw a Bridge using One-Point Perspective for Beginners
How to Draw Bridge, Easy Bridge Drawing, Easy Pencil Drawing Tutorials
HOW TO DRAW A BRIDGE - STEP BY STEP
Bridge Drawing | How to draw Bridge Scenery Drawing for beginners
Facts about drawing and perspective
🏗️ Roman engineers used stone arches so well that many Roman bridges still stand after 2,000 years.
🌉 The Akashi Kaikyō Bridge in Japan has the longest central span of any suspension bridge at 1,991 meters.
📐 In perspective drawing, parallel lines meet at a vanishing point to make roads and bridges look like they fade into the distance.
🖼️ Adding small textures—like brick lines, bolts, or rust—helps a bridge drawing look weathered and realistic.
✏️ Every complex bridge sketch can start from simple shapes: rectangles for decks and semi-circles for arches.
How to draw a bridge step-by-step
Materials needed to draw a bridge
What ages is bridge drawing suitable for
Benefits, safety tips and variations for drawing bridges
