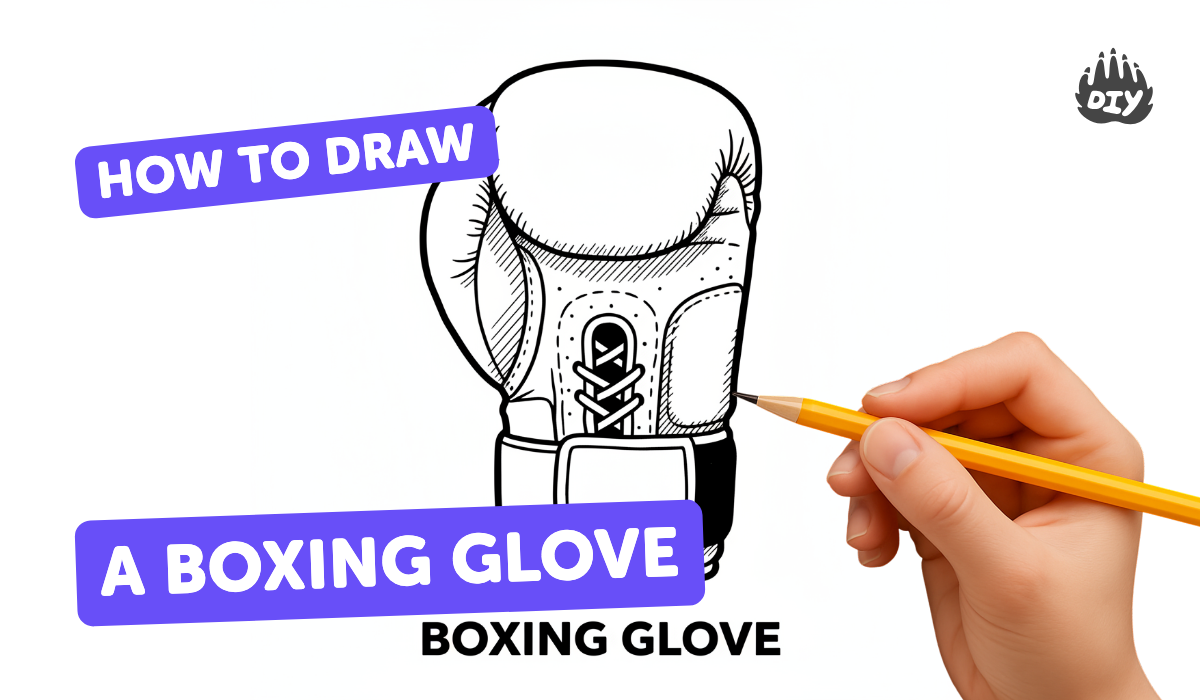
How to draw a boxing glove - a free boxing glove drawing guide
Draw a boxing glove step-by-step using simple shapes, outlines, shading, and color to practice proportions, curves, and texture while creating your own illustration.

Step-by-step guide to draw a boxing glove
Boxing Gloves Drawing - Simple Step by Step Tutorial for Kids
Step 1
Lightly draw a large circle in the middle of the paper for the main rounded knuckle area of the glove.
Step 2
Draw a smaller oval touching the lower left side of the big circle to mark where the thumb will go.
Step 3
Sketch a wide rounded rectangle below the big circle to show the cuff or wrist strap of the glove.
Step 4
Use smooth curved lines to connect the circle oval and cuff into one outer glove shape.
Step 5
Erase any extra guide lines that are inside the new outer shape so the outline looks clean.
Step 6
Draw a curved seam line across the front of the knuckle area to show the glove padding.
Step 7
Add a few short crease lines on the thumb and near the cuff to show folds in the leather.
Step 8
Decide where the light comes from and draw a small arrow pointing to that direction so you know where shadows belong.
Step 9
Shade the areas opposite the light source with soft pencil strokes to create shadow on the glove.
Step 10
Trace your final clean outline with a fine-tip marker and let the ink dry before erasing any remaining pencil.
Step 11
Color the glove with a base color then add darker tones for shadows and lighter touches for highlights and gently blend with a tissue or cotton ball.
Step 12
Take a picture of your finished boxing glove illustration and share it on DIY.org.
Help!?
What can we use instead of a fine-tip marker or a tissue/cotton ball if we don't have them?
If you don't have a fine-tip marker or tissue/cotton ball, trace the final clean outline with a thin black pen or dark colored pencil and blend the shadows from the 'Color the glove' step using your fingertip or a Q-tip.
My glove looks lopsided when I connect the circle, oval, and cuff — how can I fix it?
If the outer glove shape is uneven when connecting the large circle, small oval, and cuff, redraw the outer shape with light, smooth curved lines, erase the interior guide lines gently with a kneaded eraser, and wait for the fine-tip marker to dry before erasing remaining pencil.
How can I adapt this drawing activity for younger kids or older kids?
For younger children, pre-draw the big circle, small oval, and cuff for them to trace and let them color with crayons without blending, while older kids can follow the 'shade the areas opposite the light source' step, use a fine-tip marker for crisp outlines, and blend with a tissue or cotton ball for realism.
What are some fun ways to personalize or extend the boxing glove drawing?
After you color and blend the glove, personalize it by adding a logo or name on the cuff, extra crease lines or stitched seams for detail, try different light-arrow directions to practice shadows, and then photograph your finished illustration to share on DIY.org.
Watch videos on how to draw a boxing glove
How To Draw: A BOXING GLOVE (easy step by step tutorial)
4 Videos
How To Draw: A BOXING GLOVE (easy step by step tutorial)
How to Draw Boxing Glove - Drawing Step by Step for Beginners and Kids - How to Draw Easy Things
#312 How to Draw a Boxing Glove - Easy Drawing Tutorial
How To Draw Boxing Gloves EASY step by step
Facts about drawing and illustration for kids
🥊 Boxing gloves became common in the 18th–19th centuries to protect fighters' hands and change how matches were fought.
🧤 Modern boxing gloves usually weigh between 8 and 20 ounces — artists can play with size to show style or exaggeration.
✏️ Many artists begin drawings with simple shapes (circles and ovals) to get the glove's proportions and curves right.
🎨 Shading with light and shadow turns a flat outline into a 3D-looking, puffy glove.
🖍️ Adding small curved crease lines and blended highlights helps make leather look textured and realistic.
How do I teach my child to draw a boxing glove step-by-step?
What materials do I need to draw a boxing glove with my child?
What ages is drawing a boxing glove suitable for?
What are the benefits of having my child draw a boxing glove?
