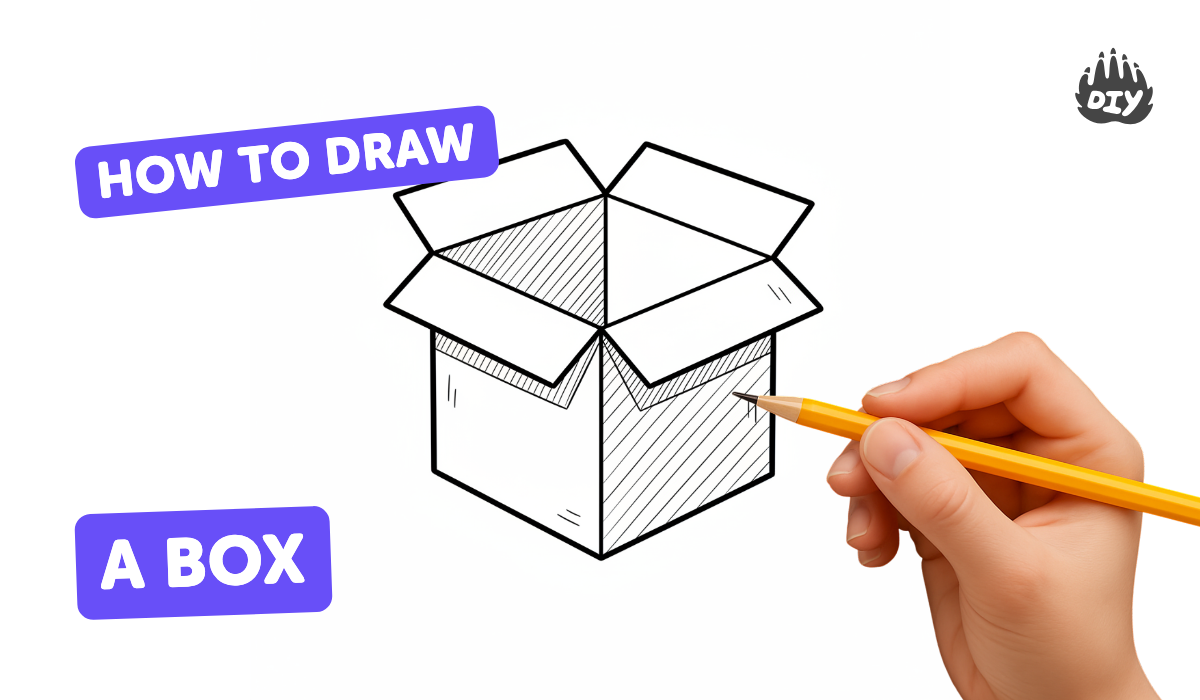
How to draw a box - a free box drawing guide
Draw a 3D box using a ruler, pencil, and simple shading. Practice perspective, measurement, and shading through short guided steps.

Drawing Apps
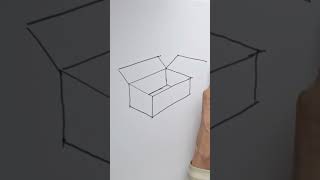
Photos of 3D box drawing examples


Step-by-step guide to draw a 3D box
How to Draw a Cute Gift Box - Easy Step by Step! 🎁✨ for Kids and Toddlers
Step 1
Place your paper flat on the table so it won’t move.
Step 2
Use the ruler and pencil to draw a light square or rectangle near the center of the paper as the front face.
Step 3
Pick a spot a little to the left or right of the square and put a small dot there as your vanishing point.
Step 4
Draw light straight guide lines from each corner of the front square toward the vanishing point using the ruler.
Step 5
Choose how deep the box should be and mark a point on each guide line where the back corners will sit.
Step 6
Connect the new back-corner marks with straight lines to make the back face of the box.
Step 7
Erase the guide lines that stick out beyond the back face so only the box edges remain.
Step 8
Go over the visible edges with the ruler and pencil to make a clean, darker outline.
Step 9
Shade the top face very lightly using soft even pencil strokes.
Step 10
Shade one side face with medium pressure using strokes that follow the face’s angle.
Step 11
Shade the remaining side face darker with closer strokes to show it is in shadow.
Step 12
Smudge each shaded face gently with your tissue or cotton swab to make the shading smooth.
Step 13
Draw a small shadow on the ground beside the box and blend it slightly with the tissue.
Step 14
Take a photo or scan your finished 3D box and share your creation on DIY.org
Help!?
What can we use instead of a ruler or cotton swab if we don’t have them?
Use a straight-edge like a book, credit card, or cereal box edge to draw light guide lines instead of a ruler, and use your fingertip, a paper towel corner, or a folded tissue to smudge the shading in place of a cotton swab.
My box looks skewed or the back corners don’t line up — what should I fix?
Make the front square and vanishing point light, re-draw each guide line with the straight-edge while keeping the ruler steady so the marks for the back corners fall consistently on those lines before you connect them to form the back face and erase extra guides.
How can I adapt this activity for younger kids or challenge older kids?
For younger kids, pre-draw the front face and let them trace guide lines and do simple single-value shading with a crayon, while older kids can attempt two-point perspective, measure exact depths with the ruler, and refine shading by smudging with a tissue or blending stump.
How can we make the finished box more interesting or personal?
Decorate the visible faces with patterns or a label before or after shading, experiment with colored pencils or watercolor once guide lines are erased, add multiple boxes using different vanishing points and stronger cast shadows, and then photograph the finished piece to share on DIY.org.
Watch videos on how to draw a 3D box
How to draw a Box | 3D drawing for beginners and kids
4 Videos
How to draw a Box | 3D drawing for beginners and kids
Easy Box Drawing Tutorial | Step-by-Step for Beginners 📦✏️
How to draw a Box Real Easy
📦 How to Draw a Box in Two-Point Perspective | Easy Step-by-Step Tutorial #easydraw #drawing
Facts about perspective drawing and shading
🧭 In one-point perspective, all depth lines converge to a single vanishing point — like railroad tracks disappearing into the distance!
📐 A 30 cm (12 in) school ruler is a tiny architect’s tool — perfect for drawing straight edges and accurate box proportions.
📏 Isometric projection uses 30° angles so you can draw 3D boxes where measurements stay true and no vanishing point is needed.
🎨 Simple pencil shading follows the same idea as chiaroscuro: light and dark areas make flat drawings look three-dimensional.
🧱 A cube (a type of box) has 6 faces, 12 edges, and 8 corners — count them on your drawing to check your shape!
How do you draw a 3D box step-by-step?
What materials do I need to draw a 3D box?
What ages is drawing a 3D box suitable for?
What are some variations and extensions for drawing boxes?
