How to draw a bow tie - a free bow tie drawing guide
Draw a bow tie step-by-step using simple shapes, lines, and shading to practice symmetry, measuring, and neat pencil control skills.

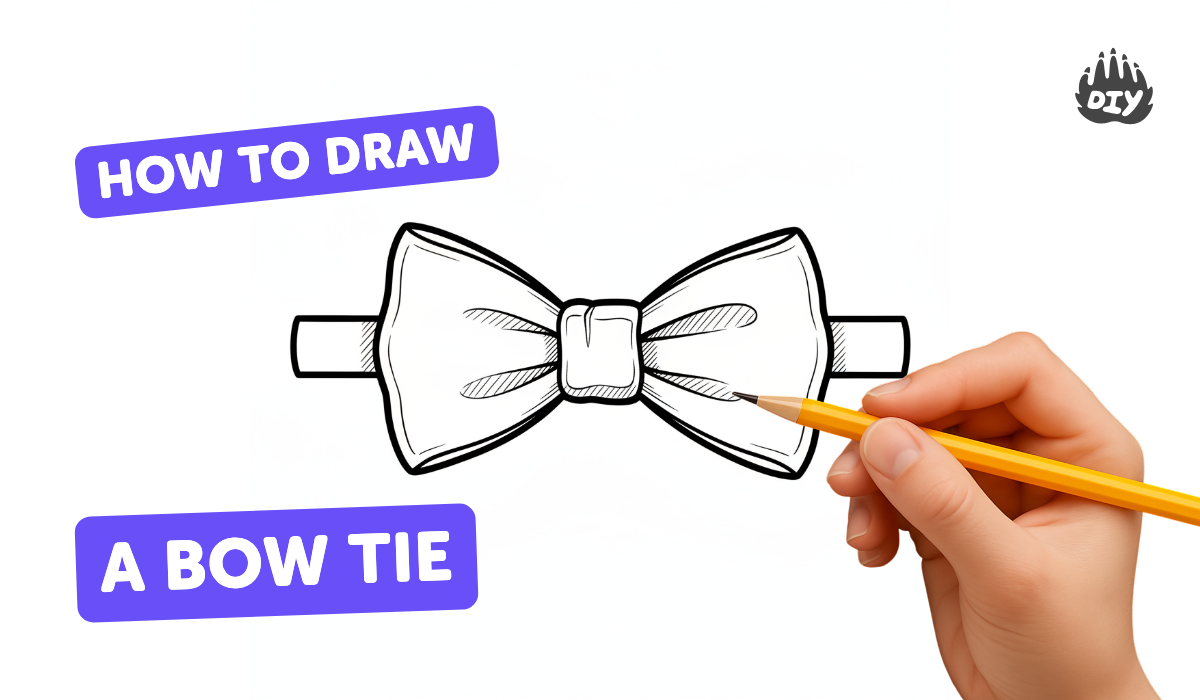
Step-by-step guide to draw a bow tie
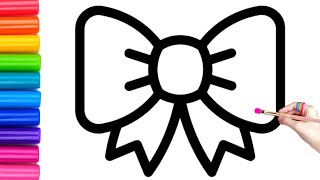
How to Draw Easy Bow tie | Easy Bow tie Drawing, Painting and Coloring for Kids & Toddlers
Step 1
Put your paper in front of you in landscape orientation.
Step 2
Lightly draw a horizontal guideline across the middle of the paper with your pencil.
Step 3
Use the ruler to mark the exact center point on the guideline with a small dot.
Step 4
Measure and mark an equal point 3 cm to the left and 3 cm to the right of the center dot on the guideline.
Step 5
Draw a small rectangle or oval centered on the center dot to make the bow tie knot.
Step 6
From the knot draw two short straight lines outward to the left and right marks to form the inner edges of the wings.
Step 7
Draw the left wing by connecting the left mark and the inner edge with a triangle or rounded triangle shape.
Step 8
Draw the right wing by connecting the right mark and the inner edge with a matching triangle or rounded triangle shape.
Step 9
Smooth the wing outlines by rounding any sharp corners so both wings look even and full.
Step 10
Erase the horizontal guideline and any extra measurement dots to make your drawing neat.
Step 11
Add light pencil shading near the knot and along the inner edges to show folds and depth.
Step 12
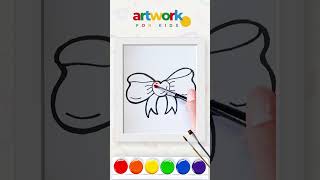
Draw patterns like stripes polka dots or checks on the wings and knot and then color the bow tie.
Step 13
Share a photo of your finished bow tie drawing on DIY.org
Help!?
What can we use if we don't have a ruler or colored pencils for this bow tie drawing?
If you don't have a ruler, use a straight edge like a book or credit card to mark the 3 cm points on the horizontal guideline, and substitute crayons, markers, or torn colored paper for coloring the wings and knot in the final coloring step.
My bow tie wings look uneven — how can I fix them before I erase the guidelines?
If the wings look uneven, double-check and re-mark the center dot and the 3 cm left/right points on the guideline, redraw the inner edge lines from the knot to those marks, and erase and adjust before smoothing the wing outlines in the smoothing step.
How can this activity be adapted for different ages or skill levels?
For younger kids, skip the ruler and have them draw big rounded triangle wings from the knot (steps drawing wings), while older kids can measure exact 3 cm marks, add light pencil shading (step 10), and create detailed patterns (step 11).
How can we make the finished bow tie more special or turn it into a craft to keep?
After coloring the wings and knot in step 11, cut out the bow tie, glue a folded fabric scrap or small puff to the knot for 3D effect, add stickers or glitter to your patterns, and then photograph it to share on DIY.org as directed in the final step.
Watch videos on how to draw a bow tie
Bow tie Drawing,Painting and Coloring for Kids & Toddlers|How to Draw Bow tie
4 Videos
Bow tie Drawing,Painting and Coloring for Kids & Toddlers|How to Draw Bow tie
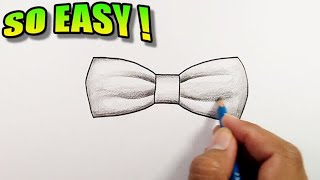
How to draw a bow tie step by step | Easy Drawings
#814 How to Draw a Bow Tie - Easy Drawing Tutorial
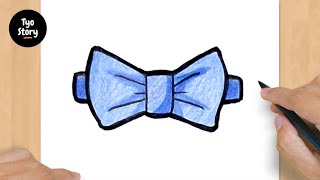
How to Draw a Cute Bow 🎀 | Easy & Fun Art Tutorial for Kids!
Facts about basic drawing skills for kids
🎀 The bow tie's ancestor dates back to the 17th century when Croatian soldiers tied scarves that inspired the cravat and later bow ties.
📐 Drawing a bow tie is a great way to practice bilateral symmetry—each side is a mirror of the other across a center line.
✏️ Small, controlled pencil strokes called hatching are a simple shading technique kids can use to add depth to a bow tie.
📏 You can measure symmetry without a ruler by comparing 'pencil-width' units to keep both halves equal.
🕴️ Iconic bow-tie wearers include entertainers and characters like Fred Astaire, the Eleventh Doctor (Doctor Who), and The Penguin.
How do I draw a bow tie step-by-step?
What materials do I need to draw a bow tie?
What ages is this bow tie drawing activity suitable for?
What are the benefits, safety tips, and variations for drawing bow ties?
