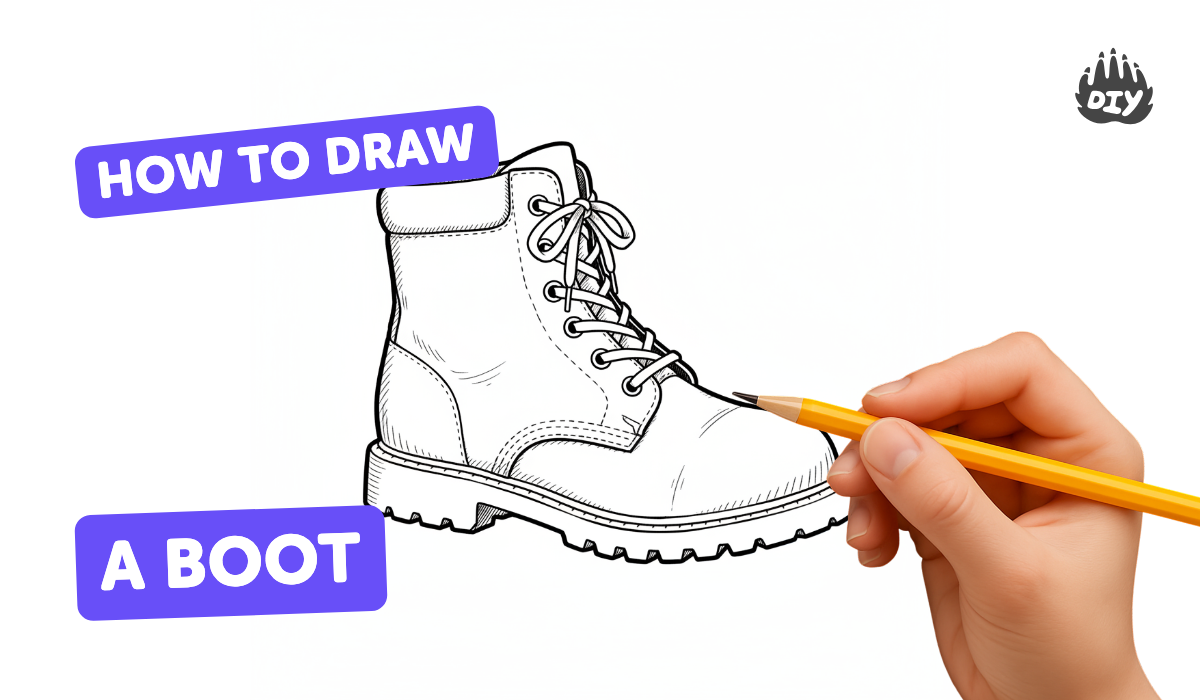
How to draw a boot - a free boot drawing guide
Draw a detailed boot by sketching basic shapes, adding seams and laces, then shade and color to create realistic texture. Practice proportions.

Drawing Apps
Photos of boot drawing examples


Step-by-step guide to draw a boot
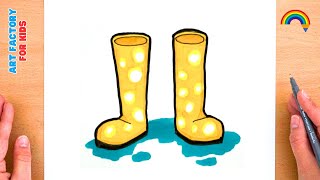
How to draw boots step by step | Easy and fun drawing tutorial for beginners | Draw for Kids
Step 1
Set up your workspace by placing your paper on a flat surface and keeping all materials within reach.
Step 2
Lightly draw a vertical center line down the paper to help keep your boot symmetrical.
Step 3
Lightly draw a horizontal baseline where the bottom of the sole will sit so the boot looks grounded.
Step 4
Sketch the basic shapes to block in the boot: a long oval for the sole a rounded box for the foot and a taller rectangle for the shaft.
Step 5
Check proportions by comparing the height of the shaft to the length of the sole and adjust the shapes until they look balanced.
Step 6
Refine the outer outline by connecting the basic shapes into a single smooth boot silhouette.
Step 7
Draw the sole and heel details by adding a layered line for the sole and a thicker block for the heel.
Step 8
Add seam and panel lines to the boot to show where leather pieces meet and to create structure.
Step 9
Sketch eyelets and laces by drawing small circles or holes and then drawing the lace crossing pattern up the front.
Step 10
Add small texture marks like stitch dashes creases and scuffs to make the boot look real.
Step 11
Decide where the light comes from and shade darker areas with your pencil then blend gently with a tissue or blending stump.
Step 12
Color your boot with colouring materials and add highlights by erasing tiny lines or leaving areas lighter to show shine.
Step 13
Take a picture of your finished boot drawing and share it on DIY.org
Help!?
What can we use if we don't have a blending stump or tissue for step 12 (blending shading)?
If you don't have a blending stump or tissue to blend your pencil shading in step 12, gently smudge with a clean fingertip, cotton swab, or a folded paper towel to soften the pencil marks.
My boot looks lopsided after refining the outline—how can I fix it?
If the silhouette looks uneven after connecting shapes in step 6, recheck and redraw the light vertical center line (step 2) and compare the shaft height to the sole length (step 5), then lightly erase and adjust the outer outline until it balances.
How can I modify the activity for different age groups?
For preschoolers, have them trace the basic oval and box shapes from step 4 with chunky crayons and skip laces; for elementary kids, practice adding seam lines and simple shading (steps 7–12); and for teens, focus on detailed paneling, advanced shading with a blending stump, and realistic texture before colouring (steps 8–13).
How can we extend or personalize the boot drawing once the basic steps are done?
Personalize the boot by changing the shaft height or sole shape in your initial blocked shapes (steps 4–5), add decorative panels, logos, or patterns with seam and stitch lines (steps 7–10), experiment with mixed-media colouring and highlights using an eraser (step 13), and finish by photographing your final piece to share on DIY.org (step 14).
Watch videos on how to draw a boot
How to draw a Boot and Coloring | Easy Step-by-Step Drawing for Kids
4 Videos
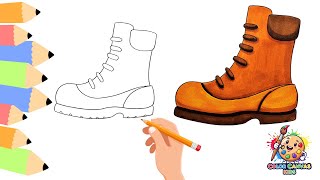
How to draw a Boot and Coloring | Easy Step-by-Step Drawing for Kids
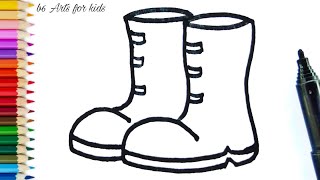
Easy Step For Kids How To Draw a Boots
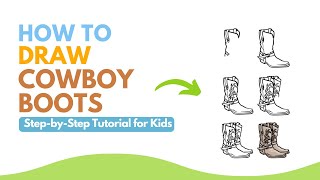
How to Draw Cowboy Boots - Easy Western Drawing Guide for Kids
How to Draw a Boot
Facts about drawing and sketching for kids
👢 The oldest known leather shoe is about 5,500 years old — archaeologists found it preserved in a cave in Armenia!
✏️ Pro artists often start with simple shapes because getting basic proportions right does most of the work for a believable drawing.
🎨 Two classic shading tricks are cross-hatching (lines) and blending (smudging) — each creates different textures for materials like leather.
📏 You can measure proportions by holding a pencil at arm's length and comparing angles and lengths — artists call this 'sighting.'
🪢 There are dozens of shoelace styles; the 'Ian Knot' is famous for being one of the fastest ways to tie laces.
How do I draw a realistic boot step by step?
What materials do I need to draw a detailed boot?
What ages is drawing a detailed boot suitable for?
What are the benefits of practicing detailed boot drawings?
