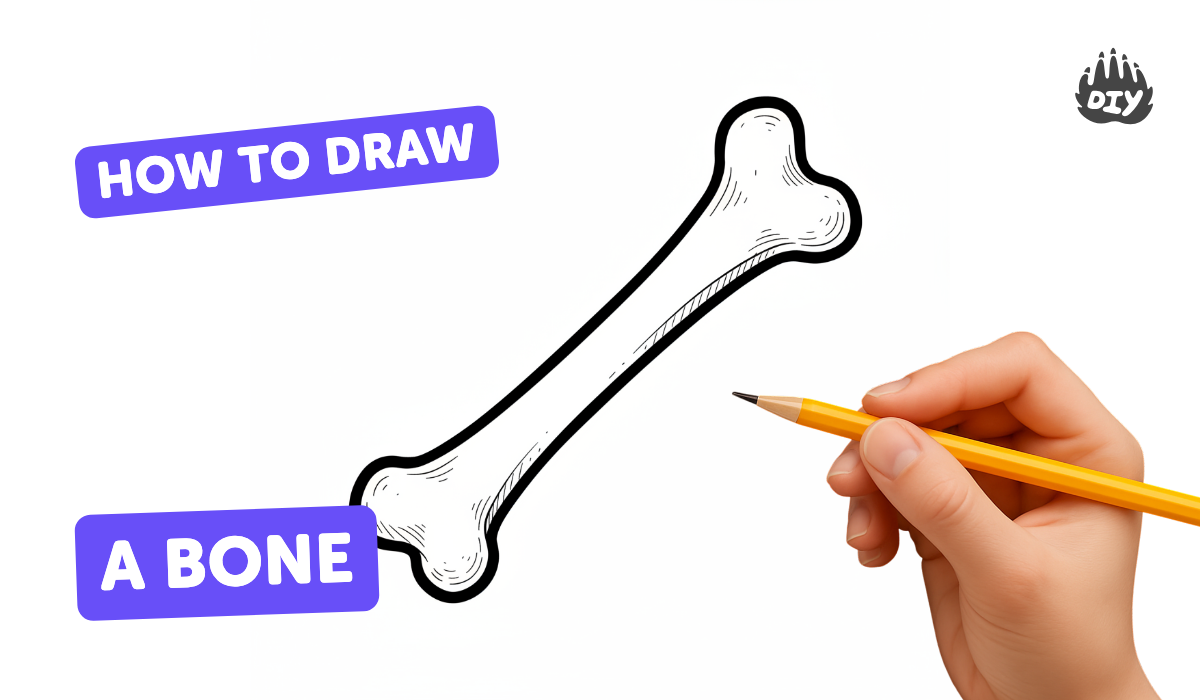
How to draw a bone - a free bone drawing guide
Draw a realistic cartoon bone using pencil, eraser, and simple shading. Practice proportions, contours, and light to create depth and confident sketching.

Drawing Apps
Photos of realistic cartoon bone drawings


Step-by-step guide to draw a realistic cartoon bone
How To Draw A Skeleton
Step 1
Place a clean sheet of paper and your pencil on a flat table so you are comfortable to draw.
Step 2
Lightly draw a horizontal guideline to show how long your bone will be.
Step 3
Draw a circle at each end of the guideline to mark the rounded knobs of the bone.
Step 4
Draw two slightly curved parallel lines connecting the two circles to form the bone shaft.
Step 5
Gently erase the guideline so only the bone outline and end circles remain.
Step 6
Add small crescent-shaped lines where each knob meets the shaft to show the bone’s contour.
Step 7
Go over the final outline with a firmer pencil stroke to make the bone shape clear.
Step 8
Decide the light direction and draw a small arrow to the side of the paper pointing from the light.
Step 9
Shade the side of the bone that is opposite the light using soft, even pencil strokes.
Step 10
Use a tissue or cotton swab to gently blend the shaded areas so they look smooth.
Step 11
Draw a soft shadow on the paper beneath the bone on the side away from the light and blend it.
Step 12
Erase tiny spots on the light-facing areas to create bright highlights.
Step 13
Darken a few edges and shaded spots to increase contrast and make the bone pop.
Step 14
Take a photo of your finished realistic cartoon bone and share it on DIY.org.
Help!?
What can I use if I don't have a tissue, cotton swab, or a camera for this activity?
If you don't have a tissue or cotton swab for blending in step 10, use a clean fingertip, a cotton ball, or a folded paper towel, and if you don't have a camera for step 14, photograph the finished bone with a phone or use a flatbed scanner.
My guideline or circles look too dark or uneven—how do I fix this so the bone still looks neat?
If the horizontal guideline or end circles from steps 2–3 are too dark or uneven, redraw them lightly in soft pencil, gently erase mistakes in step 5, then strengthen only the final outline in step 7.
How can I simplify or challenge the activity for different ages?
For younger kids, skip shading and focus on steps 2–4 and bold outlines in step 7, while older kids can follow steps 8–13 to practice light direction, blended shading, highlights, and contrast for a more realistic result.
How can we extend or personalize the drawing after finishing the basic bone?
To enhance the activity, add cracks, textures, or a cartoon face after step 13, place the bone in a simple background and adjust the light arrow from step 8 to try different shadows in step 11, then photograph each variation for sharing on DIY.org in step 14.
Watch videos on how to draw a realistic cartoon bone
Fun & Easy Drawing Tutorial For Beginners
4 Videos
Fun & Easy Drawing Tutorial For Beginners
How to Draw a Skull and Cross Bones Easy
How To Draw A Skull (for kids)
Easy Drawing And Painting Tutorials For Beginners
Facts about pencil sketching and shading
🦴 Adults have 206 bones — the femur (thigh bone) is the longest and strongest bone in the human body.
✏️ A typical wooden pencil can draw a line about 35 miles (56 km) long — plenty of sketching power for practice!
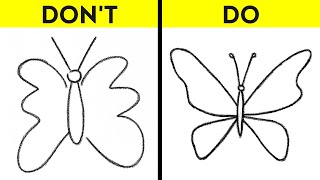
🎨 Cartoon bones are often simplified into two rounded knobs connected by a shaft so they read clearly and look playful.
🔆 Shading techniques like hatching and core shadows help flat drawings look 3D by showing where light hits and where it doesn't.
📏 Artists often measure with a pencil and build complex forms from simple shapes (cylinders, ovals) to keep proportions accurate.
How do you draw a realistic cartoon bone with pencil and shading?
What materials do I need to draw a realistic cartoon bone?
What ages is this drawing activity suitable for?
What are the benefits of drawing a realistic cartoon bone?
