How to draw a black hole - a free black hole drawing guide
Draw a realistic black hole scene using pencils, crayons, and blending techniques; sketch the event horizon, add an accretion disk, and shade for depth.

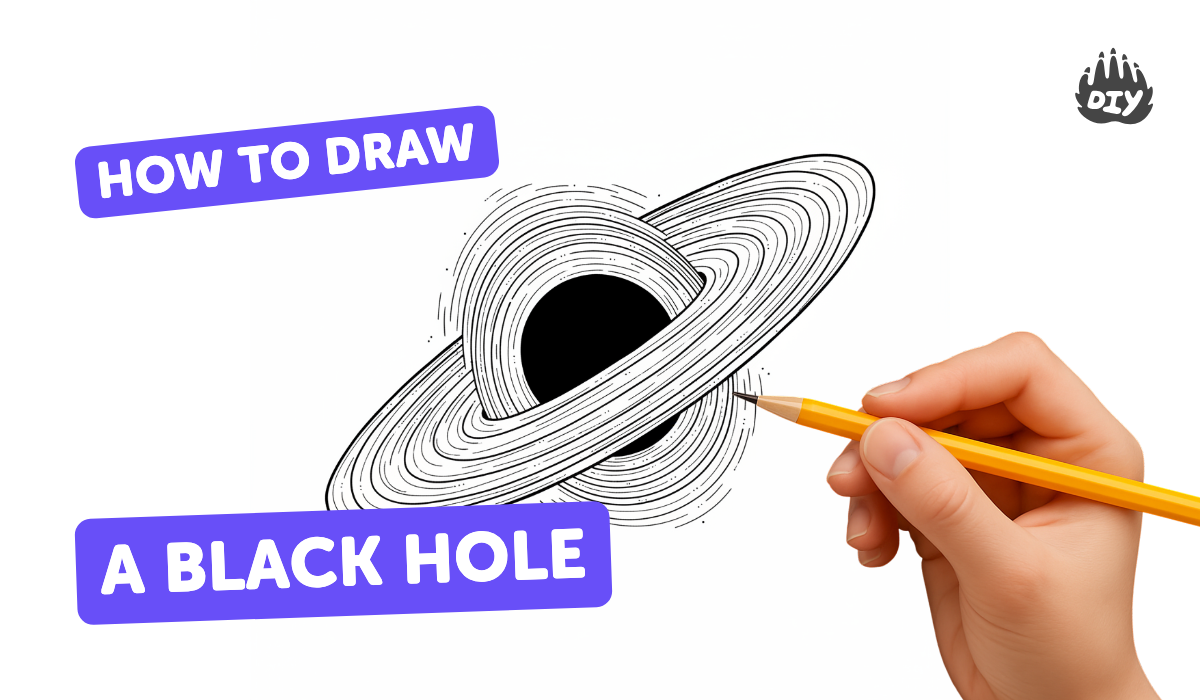
Step-by-step guide to draw a realistic black hole scene
How to Draw a Black Hole
Step 1
Place your drawing paper on a flat surface and make sure your pencils and crayons are nearby.
Step 2
Lightly mark the center of the page with a small dot to show where the black hole will be.
Step 3
Use a light pencil to draw a neat circle around the dot to map the event horizon.
Step 4
Sketch a tilted oval around the circle to form the accretion disk with one side a little thicker for perspective.
Step 5
Draw several curved lines on the disk that spiral slightly inward to show fast-moving gas.
Step 6
Shade the inside of the event horizon with a soft pencil (4B) until it looks very dark.
Step 7
Color the inner edge of the accretion disk with bright warm colors using crayons or colored pencils to show hot glowing gas.
Step 8
Blend the disk colors outward with a blending stump or tissue to create a smooth glowing gradient.
Step 9
Add darker shadows beneath the disk edge with a 2B pencil and gently blend to give depth.
Step 10
Draw small stars and bent streaks of light around the black hole to show gravitational lensing.
Step 11
Erase any stray marks and darken final contrast where needed to finish your scene.
Step 12
Take a photo or scan your finished black hole scene and share it on DIY.org.
Help!?
I don't have a 4B pencil or a blending stump—what can I use instead for shading the event horizon and blending the disk?
If you don't have a 4B pencil, use a soft charcoal pencil or layer a regular HB with gentle circular strokes for the inside of the event horizon and replace a blending stump by smudging with a clean tissue, cotton swab, or fingertip to blend the disk colors outward.
My accretion disk looks flat and the event horizon isn't very dark—what should I try to fix it?
Retrace the tilted oval for the accretion disk, add the spiral curved lines to suggest motion, press slightly darker with the 4B inside the event horizon and use small circular blending motions with a tissue, then add 2B pencil shadows beneath the disk edge to give more depth.
How can I change the steps to suit different ages or skill levels?
For ages 3–5, simplify to a bold center dot, one big circle and bright crayons for the disk; for 6–8, keep the tilted oval and a few spiral curved lines with light shading; and for 9+ follow all steps using a 4B pencil, blending stump or tissue, 2B shadows and add bent streaks of light.
How can we make the finished black hole scene more special before sharing it on DIY.org?
Enhance or personalize the scene by adding glow-in-the-dark or metallic paint to the inner edge of the accretion disk, labeling parts like 'event horizon' and 'accretion disk' with a fine pen, or scanning the drawing and adding digital lensing effects before uploading to DIY.org.
Watch videos on how to draw a realistic black hole scene
How to Draw a Black Hole: Easy Step by Step Drawing Tutorial for Beginners
4 Videos
How to Draw a Black Hole: Easy Step by Step Drawing Tutorial for Beginners
How To Draw Blackhole? 🪐☄️ #shorts

Black Holes for Kids: An Astronomy and Space Lesson For Kids
How to Draw a Black Hole Easy in Less Than One Minutes
Facts about black holes and space
🕳️ The first-ever image of a black hole (M87*) was released in 2019 by the Event Horizon Telescope — the black hole's mass is about 6.5 billion times the Sun.
🌌 Gravitational lensing bends and stretches background starlight into arcs and rings around massive objects — a cool effect to mimic with curved streaks in your drawing.
🔥 Accretion disks heat up as gas falls in and can glow extremely brightly, so adding bright highlights makes the disk look fiery and energetic.
⚫ The event horizon is the 'point of no return' where light can't escape — artists often show it as a sharp dark rim or deep shadow for contrast.
✏️ Layering pencils and gently blending with a stump or tissue creates smooth gradients and swirling motion perfect for realistic black hole scenes.
How do I draw a realistic black hole scene using pencils and crayons?
What materials do I need to draw a realistic black hole scene?
What ages is this black hole drawing activity suitable for?
What are the benefits of drawing a realistic black hole for kids?
