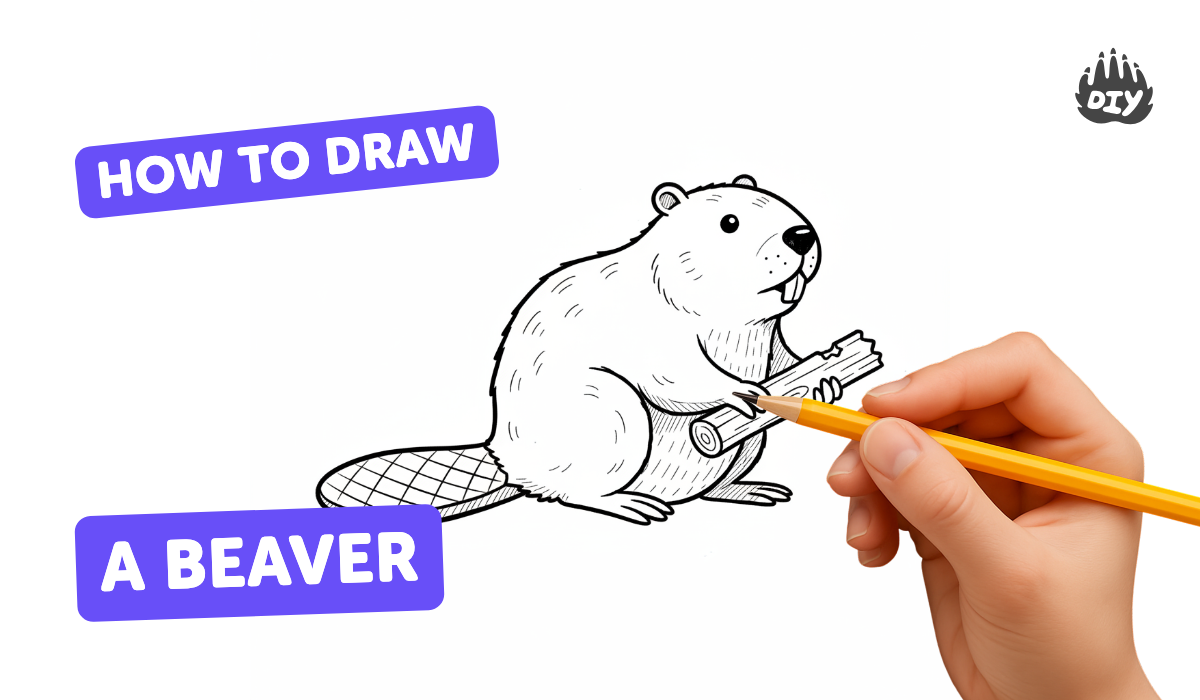
How to draw a beaver - a free beaver drawing guide
Learn to draw a friendly beaver step by step using simple shapes, lines, and shading; practice fur texture and the flat paddle tail.

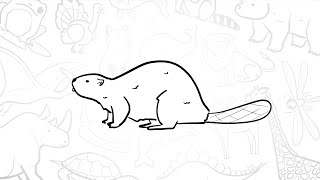
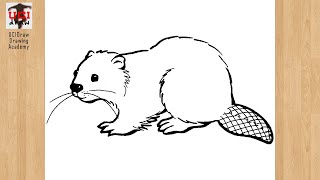
Photos of friendly beaver drawing examples


Step-by-step guide to draw a friendly beaver
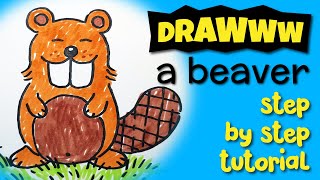
How to draw a Beaver for kids | Beaver Drawing Lesson Step by Step
Step 1
Put your paper on a flat surface and hold your pencil ready.
Step 2
Lightly draw a circle near the top of the page for the beaver’s head.
Step 3
Lightly draw a larger oval that overlaps the circle slightly for the beaver’s body.
Step 4
Draw a light vertical line down the middle of the head to help place the face.
Step 5
Draw two small round eyes on either side of the center line.
Step 6
Draw two small rounded ears on the top sides of the head.
Step 7
Draw an oval shape overlapping the lower front of the head for the snout.
Step 8
Draw two big rectangle teeth touching each other at the bottom of the snout.
Step 9
Draw a small rounded triangle nose at the top of the snout.
Step 10
Draw a curved smile line under the snout to make a friendly mouth.
Step 11
Draw two short rounded front paws near the front of the body and two rounded back feet near the bottom of the body.
Step 12
Draw a large flat paddle-shaped tail attached to the back of the body and add crisscross lines on it for texture.
Step 13
Add short jagged pencil strokes along the head and body to show fur texture.
Step 14
Shade lightly with your pencil on one side of the body and under the chin to make the beaver look shaded.
Step 15
Share your finished beaver drawing on DIY.org
Help!?
What can we use instead of a pencil or paper if we don't have them?
If you don't have a pencil use a sharpened colored pencil or charcoal stick and if you don't have paper draw on printer paper, a page torn from a notebook, or a flattened cereal box while still making the light circle for the head and overlapping oval for the body.
My eyes and nose look crooked—how can I fix that while following the instructions?
Use the light vertical line from step 3 as a center guide, mark equal distances on either side before drawing the two small round eyes and the rounded triangle nose, and lightly erase and adjust the marks until they look balanced.
How can I adapt this drawing activity for younger or older kids?
For younger children simplify by tracing or placing pre-cut shapes for the circle head, overlapping oval body, and rectangle teeth, while older kids can add detailed jagged fur strokes, crisscross tail texture, and careful light shading under the chin as described.
What are simple ways to enhance or personalize our beaver drawing?
Personalize the drawing by adding a hat or name tag, sketching a log, dam, or river background, coloring the fur and teeth, and deepening the crisscross tail texture and shaded side before sharing your finished beaver on DIY.org.
Watch videos on how to draw a friendly beaver
🐾 How to Draw a Simple Beaver | Step-by-Step Lesson 🌲
4 Videos
🐾 How to Draw a Simple Beaver | Step-by-Step Lesson 🌲
How to Draw a Beaver Drawing Easy Sketch & Outline Step by Step for Beginners | Beaver's Art

LEARN HOW TO DRAW A BEAVER | STEP BY STEP | DRAWING TUTORIAL
HOW TO DRAW A BEAVER (Learn Step By Step)
Facts about animal drawing for kids
🦫 Beavers are the second-largest rodents in the world and an adult North American beaver can weigh up to about 30 kg (66 lb).
🦷 A beaver’s large front teeth are orange because iron-rich enamel makes them extra strong for chewing wood.
🪵 Beavers build dams and lodges that can create ponds and reshape whole ecosystems—some beaver ponds last for decades.
🎨 Artists often start pictures using basic shapes (circles, ovals, rectangles) to block in a subject before adding details—great for drawing a friendly beaver!
✏️ To show fur and depth, use short, directional pencil strokes and light-to-dark shading (hatching) to make your beaver look fluffy and three-dimensional.
How do I teach my child to draw a friendly beaver step by step?
What materials do I need to draw a beaver with my child?
What ages is learning to draw a beaver suitable for?
What are the benefits of teaching kids to draw a beaver?


