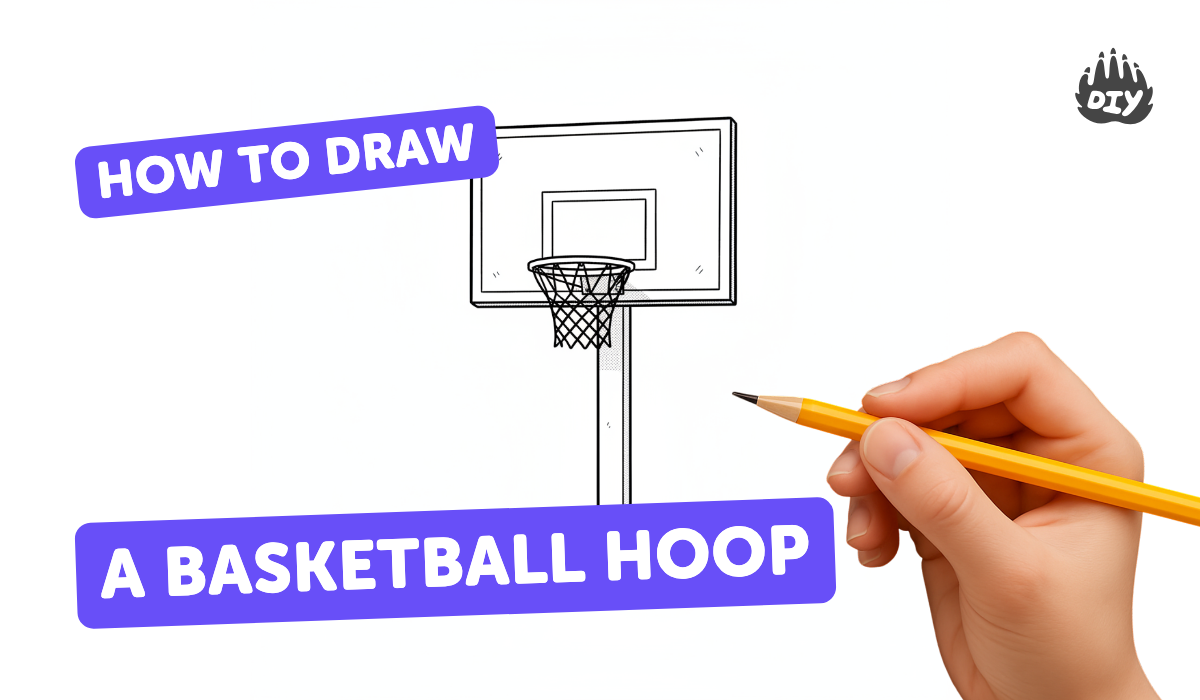
How to draw a basketball hoop - a free basketball hoop drawing guide
Draw a basketball hoop step-by-step: sketch a backboard, add a rim and hanging net, then shade and color to create depth and realism.

Photos of basketball hoop drawings


Step-by-step guide to draw a basketball hoop
HOW TO DRAW BASKETBALL HOOP STEP BY STEP | BASKETBALL GOAL DRAWING
Step 1
Place your paper in portrait orientation on a flat surface.
Step 2
Use your ruler to lightly draw a large rectangle near the top half of the paper for the backboard.
Step 3
Draw a smaller centered rectangle inside the backboard to make the target box.
Step 4
Mark the midpoint on the bottom edge of the backboard with a small dot where the rim will go.
Step 5
Draw a short straight support line downward from the midpoint dot to show the hoop bracket.
Step 6
Draw a horizontal oval just below the support line to form the rim in perspective.
Step 7
Draw a slightly larger oval around the first oval to give the rim thickness.
Step 8
Sketch evenly spaced short vertical lines hanging down from the bottom of the rim to start the net.
Step 9
Draw diagonal lines crossing the vertical lines to create a diamond net pattern.
Step 10
Erase any extra pencil guide lines you no longer need.
Step 11
Trace the final outlines of the backboard rim and net with a black marker to make them bold.
Step 12
Shade under the rim and lightly inside the net with your pencil to add depth and shadow.
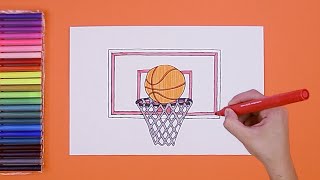
Step 13
Color the backboard rim and net using your coloring materials to finish the drawing.
Step 14
Share a photo of your finished basketball hoop on DIY.org.
Help!?
What can I use if I don't have a ruler or a black marker?
Use a straight-edged book or the edge of a cereal box as your ruler to lightly draw the backboard rectangle and a fine-tipped pen or dark crayon to trace the final outlines instead of the black marker.
My ovals look lopsided — how can I make the rim look round and in perspective?
Lightly sketch the horizontal oval in pencil while rotating the paper or trace around a small oval object for the rim, then add the slightly larger outer oval for thickness before drawing the vertical net lines.
How can I adapt this activity for younger or older children?
For younger kids, pre-draw the large backboard rectangle and target box so they can color and add simple vertical net lines, while older kids can draw a basketball, refine the centered target box with a ruler, and add more shading under the rim for depth.
How can we personalize or extend the finished basketball hoop drawing?
Add a team logo or player number on the backboard, glue a small paper loop to create a 3D rim, use bold colors when you color the backboard and rim, and then share a photo on DIY.org.
Watch videos on how to draw a basketball hoop
How to Draw a Basketball Hoop Step by Step For Kids | Coloring Page, Drawing Learn Colors For Kids
4 Videos

How to Draw a Basketball Hoop Step by Step For Kids | Coloring Page, Drawing Learn Colors For Kids

How to draw a BASKETBALL HOOP step by step ? (VERY EASY) Easy Drawing Ideas for Kids and Beginners
How to draw a Basketball Hoop

Swish! Draw a Basketball and Hoop - Easy Drawing Tutorial
Facts about drawing and sketching
🏀 The first basketball hoops were peach baskets nailed to a balcony in 1891 by James Naismith.
📏 A regulation basketball rim is 18 inches (45.72 cm) in diameter and sits 10 feet (3.05 m) above the floor.
🏟️ NBA backboards are 72 inches wide by 42 inches tall and are usually made of tempered glass for consistent rebounds.
🧺 Early hoops kept the ball inside the basket, so someone had to climb a ladder to retrieve it until open-bottom rims were invented.
🎯 A net makes a satisfying "swish" and helps players and fans clearly see when the ball goes through the hoop.
How do I teach my child to draw a basketball hoop step-by-step?
What materials do I need to draw a basketball hoop with my child?
What ages is drawing a basketball hoop suitable for?
What are the benefits, variations, and safety tips for drawing a basketball hoop?


