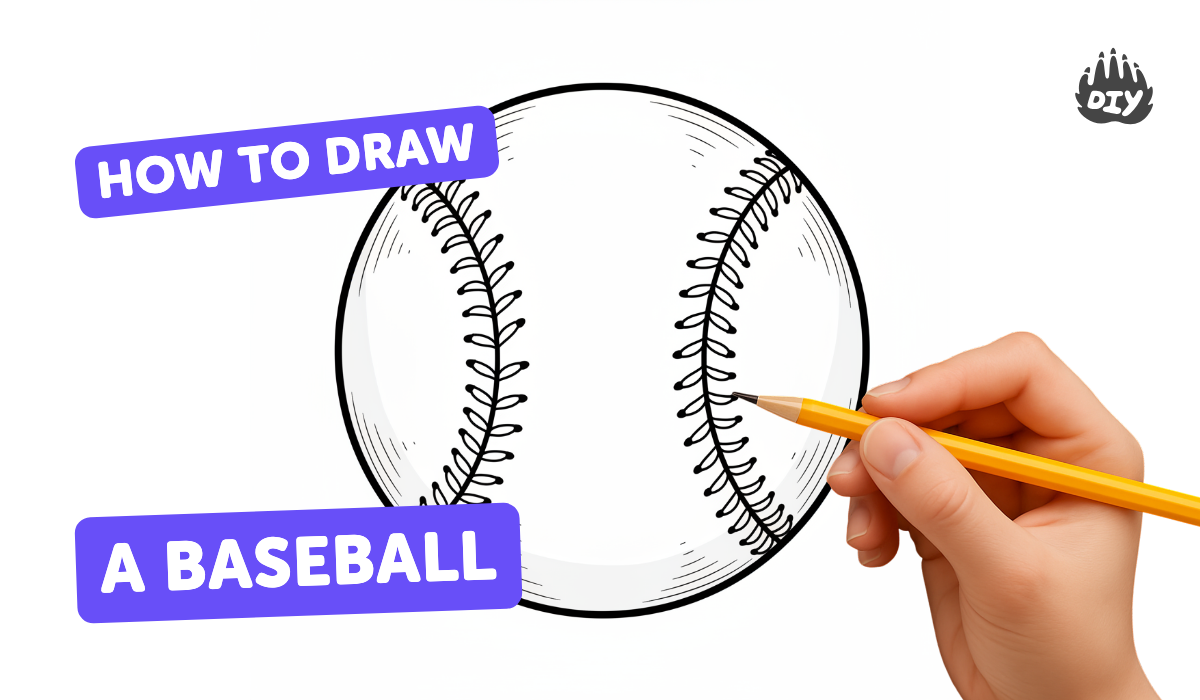
How to draw a baseball - a free baseball drawing guide
Learn to draw a realistic baseball by sketching a circle, adding curved stitching lines, shading for roundness, and coloring with crayons or pencil.

Drawing Apps
Photos of realistic baseball drawings


Step-by-step guide to draw a realistic baseball
How to Draw a Baseball | Easy Step-by-Step Drawing for Kids
Step 1
Place your paper and pencil on a flat surface so you are ready to draw.
Step 2
Make a circle in the middle of the paper by tracing a cup or drawing freehand.
Step 3
Draw a faint vertical line and a faint horizontal line that cross at the circle center to help place the stitches.
Step 4
Sketch two curved parallel lines across the circle opposite each other to mark the stitching paths.
Step 5
Draw short V shaped stitch marks evenly along each curved line so they look like baseball stitches.
Step 6
Erase the extra guideline lines carefully so only the circle and stitches remain.
Step 7
Lightly shade the edges of the ball with your pencil to make the ball look round and leave the center lighter.
Step 8
Blend the shaded edges with a blending stump or cotton swab to make the shading smooth.
Step 9
Darken the stitch marks using a red crayon or red colored pencil so the stitching stands out.
Step 10
Gently outline the outside edge of the ball with your pencil to make the shape crisp.
Step 11
Add light gray or soft crayon shading to the shaded areas to finish the realistic look.
Step 12
Share your finished baseball drawing on DIY.org
Help!?
What can we use if we don't have a blending stump, red crayon, or a cup to trace the circle?
Use a folded tissue or cotton ball instead of a blending stump, a red colored pencil or marker instead of a red crayon, and any round object like a jar lid or small plate to trace the circle for the initial step.
My stitch V's look uneven and erasing the guideline smudged the shading — how do I fix that?
Mark evenly spaced dots along the curved stitch lines before drawing the V-shaped stitches to keep them uniform, erase guidelines gently with a clean kneaded eraser, and re-blend any smudged shaded edges with a cotton swab as in the shading and blending steps.
How can I adapt this drawing activity for younger or older children?
For younger kids, let them trace the circle and use crayons to draw bold stitches and skip light pencil shading, while older children can freehand the circle, use a blending stump and graphite pencils for subtle edge shading, and darken the stitches with a colored pencil as directed.
What are some ways to extend or personalize the finished baseball drawing?
Personalize it by adding a team logo or player number in the center, sketch a glove or bat in the background, try a colored paper or watercolor wash before shading, and add a small white gel-pen highlight to enhance realism after darkening the stitches.
Watch videos on how to draw a realistic baseball
How to Draw a Baseball Step by Step
4 Videos
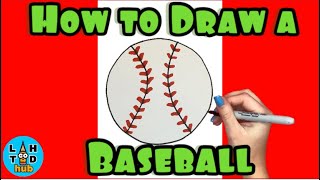
How to Draw a Baseball Step by Step
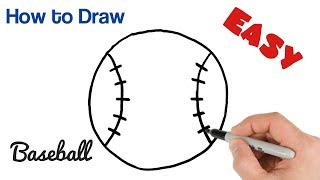
How to Draw a Baseball Easy Ball Drawing for Beginners
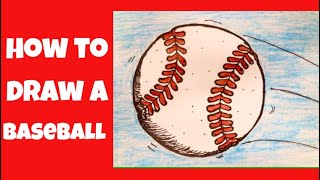
How to Draw a Baseball

How To Draw Baseball And Bat
Facts about drawing and shading techniques
⚾ A Major League baseball measures about 9 to 9¼ inches in circumference, which is roughly 2.9 inches (7.3 cm) across — a perfect size to practice sketching!
🧵 A real baseball has 108 stitches arranged in a figure-eight pattern, so copying curved, mirrored stitching lines makes drawings look authentic.
✏️ For realistic roundness, shade darker on the side opposite the light source and leave a small highlight where light hits — use lighter pressure to blend.
🎨 Crayola first sold wax crayons in 1903, and bright red is the traditional color for baseball stitching — a small pop of red brings your drawing to life.
🔵 When freehanding a circle, use quick, light overlapping strokes to find the smoothest curve, then trace once with a darker line to finish the outline.
How do I teach a child to draw a realistic baseball step by step?
What materials do we need to draw and color a realistic baseball?
What ages is drawing a realistic baseball suitable for?
What are the benefits, safety tips, and fun variations for drawing a realistic baseball?
