How to draw a banner - a free banner drawing guide
Draw a decorative banner using paper, pencil, ruler, and markers to plan layout, lettering, and simple motifs. Practice spacing, symmetry, and color choices.


Step-by-step guide to draw a decorative banner
How to Draw Banners (with FREE WORKSHEETS!)
Step 1
Place your paper in a landscape (wide) or portrait (tall) position.
Step 2
Use your ruler and pencil to draw a faint rectangle or long strip where the banner will sit.
Step 3
Draw a light vertical centerline down the middle of the rectangle to help with symmetry.
Step 4
Draw a light horizontal line across the rectangle to mark the baseline for your letters.
Step 5
Make small equal tick marks along the baseline to plan where each letter will go.
Step 6
Lightly sketch the main word or short phrase on the baseline using the tick marks for spacing.
Step 7
Draw simple decorative motifs like stars leaves or swirls in the empty spaces around the letters.
Step 8
Use your ruler to measure from the centerline to matching points on each side to check balance.
Step 9
Erase any pencil marks that look uneven or crowded.
Step 10
Redraw the erased parts so both sides match and spacing looks even.
Step 11
Trace the final outlines of the banner edges letters and motifs with a marker.
Step 12
Erase all remaining pencil guidelines and tick marks so the marker lines stay clean.
Step 13
Colour the letters and motifs with your markers choosing balanced colors on both sides.
Step 14
Add small patterns highlights or dots to make your banner pop.
Step 15
Share your finished banner creation on DIY.org.
Help!?
What can we use if we don't have a ruler or markers?
Use the straight edge of a hardcover book or a long piece of cardboard to draw the rectangle and centerline, and replace markers with colored pencils or crayons when you trace and colour the letters and motifs.
My letters look uneven or crowded—what should I do?
Go back to the guideline steps: add or re-space your small tick marks on the baseline, measure from the centerline to matching points on each side, then erase the crowded pencil sketches and redraw until spacing looks even.
How can I adapt this banner activity for younger or older kids?
For younger kids, pre-draw the faint rectangle, centerline, and wider tick marks so they can trace big letters and simple motifs, while older kids can use the ruler for precise tick spacing, add detailed motifs, and experiment with shading when they trace with marker.
How can we make the banner more special or display it?
After tracing and colouring the letters and motifs, add small patterns, highlights, or dots and use metallic or glitter markers for contrast, then cut the rectangle out to hang as a mini-banner or post a photo on DIY.org.
Watch videos on how to draw a decorative banner
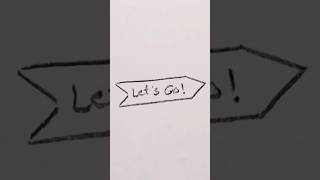
HOW TO DRAW A RIBBON BANNER EASY
3 Videos
HOW TO DRAW A RIBBON BANNER EASY
How to draw a banner step by step with easy fast way
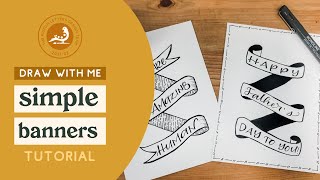
How to Draw a Banner in Four Simple Steps
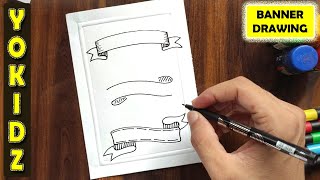
Photos of decorative banner examples


Facts about hand lettering and layout for kids
🎨 Many iconic banners use just 2–3 high-contrast colors to stay bold and readable from far away.
✍️ Calligraphy traditions go back thousands of years — Chinese and Western scripts were refined over 2,000 years ago.
📏 Professional designers use grids and rulers; consistent spacing of just a few millimeters can make letters look perfectly even.
🔁 Symmetry and mirror layouts make banners feel balanced — people often find balanced designs more pleasing and easier to read.
🖍️ Most sign-makers sketch 3–5 thumbnail ideas before committing to a final layout — pencil practice saves time and surprises.
How do I draw a decorative banner with my child?
What materials do I need to draw a banner?
What ages is this banner drawing activity suitable for?
What are the benefits of drawing banners with kids?
