How to draw a 3d house - a free 3d house drawing guide
Draw a simple 3D house step-by-step using basic shapes, perspective lines, windows, roof, and shading to create a realistic drawing.

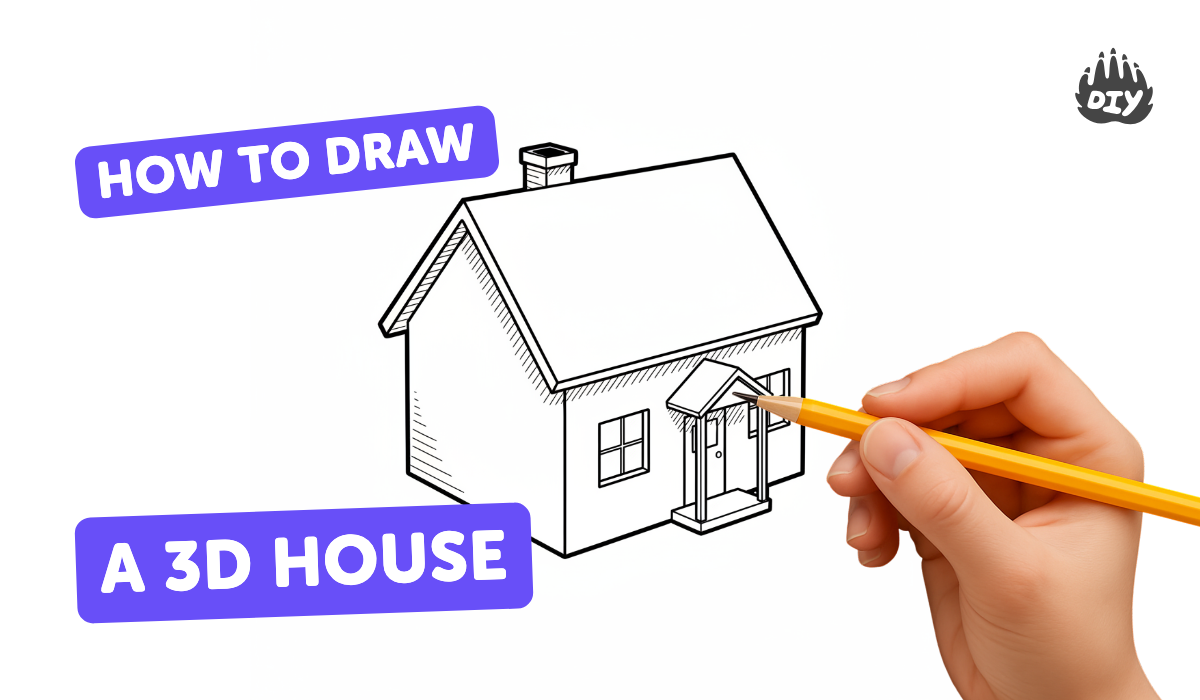
Step-by-step guide to draw a 3D house
How To Draw a 3D House For Kids, 3D House Drawing Easy and Simple !
Step 1
Place your paper on the table in either portrait or landscape so you have lots of room to draw.
Step 2
Draw a light horizontal line across the page about one third from the top to be the horizon line.
Step 3
Put a small dot on the horizon line near the center to be your vanishing point.
Step 4
Draw a medium-sized rectangle or square below the horizon to be the front wall of your house.
Step 5
From each corner of the front wall, draw light straight lines heading toward the vanishing point to show the house’s depth.
Step 6
Draw a vertical line where the back corner should be to close the side wall and make the house 3D.
Step 7
Draw a triangle on top of the front wall to make the front roof peak.
Step 8
From the roof peak, draw two slanted light lines toward the vanishing point to make the slanted side of the roof.
Step 9
Draw a short line between the slanted roof lines at the back to finish the roof side.
Step 10
Draw a door on the front wall by sketching a tall rectangle in the middle or to one side.
Step 11
Draw windows on the front and side walls by sketching small rectangles where you want them to be.
Step 12
Add window panes by drawing a cross in each window so they look like real windows.
Step 13
Draw a small circle or dot on the door to be the doorknob.
Step 14
Shade the side wall and the slanted roof with gentle pencil strokes on the side away from your light source to make the house look 3D.
Step 15
Share your finished 3D house drawing on DIY.org
Help!?
What can I use if I don't have a ruler or pencil for the perspective lines?
If you don't have a ruler to draw the light straight lines from the front wall corners to the vanishing point, use the straight edge of a book or a folded piece of paper and a pencil so your perspective lines stay straight.
My side wall looks skewed — how do I fix the 3D effect?
If the side wall looks skewed because the corner lines don't meet the vanishing point, lightly redraw each guide line from the front-wall corners to the vanishing point, place the back vertical line where those pairs intersect to close the side wall, then erase extra guide lines before adding the roof triangle.
How can I adapt this 3D house activity for different ages?
For younger children (3–6), simplify by drawing just a front-wall rectangle and a triangle roof and skip the horizon/vanishing point, while older kids (10+) can add more windows, detailed shading on the slanted roof, and try two-point perspective by adding a second vanishing point on the horizon line.
How can we extend or personalize the finished 3D house?
To personalize and extend the activity, add brick or siding texture to the front wall, color the windows and roof, place a light-source arrow and deepen the pencil shading on the side wall and slanted roof, and draw more houses converging to the same vanishing point to create a street before sharing on DIY.org.
Watch videos on how to draw a 3D house
How to draw a 3D house | easy step by step tutorial #howtodraw #howtodraweasy #howtodrawhouse
4 Videos
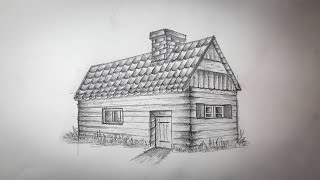
How to draw a 3D house | easy step by step tutorial #howtodraw #howtodraweasy #howtodrawhouse

How to Draw a House using One-Point Perspective for Beginners
How To Draw A House Step By Step | House Drawing For Kids | Super Easy Drawing Tutorials
How to Draw a Simple House - Step by Step Easy for Kids
Facts about perspective drawing
📐 One-point perspective makes parallel lines appear to meet at a single vanishing point — perfect for drawing the front of a house.
🏠 Beginners often draw houses as a cube plus a triangular prism roof; it's a simple shortcut to 3D buildings.
🖍️ Simple shading tricks like hatching or a darker side can make a flat drawing look three-dimensional.
🌅 The horizon line represents eye level — place your vanishing point on it to keep the house looking natural.
📏 Using a ruler for perspective lines can turn a sketch into a realistic architectural-looking drawing fast.
How do you draw a simple 3D house step-by-step?
What materials do I need to draw a 3D house with my child?
What ages is drawing a 3D house suitable for?
What are the benefits and variations of drawing a 3D house?
