How Does Your Pizzeria Look Like?
Design and build a small model pizzeria from cardboard, paper, and craft materials to plan layout, seating, kitchen flow, and decorate creatively.


Step-by-step guide to design and build a model pizzeria
Step 1
Gather all the materials and place them on a clean workspace.
Step 2
Choose a cardboard piece or small cardboard box to be the base of your pizzeria.
Step 3
Use your pencil and ruler to draw the walls seating area kitchen and door on the cardboard base.
Step 4
Ask an adult to cut along your drawn lines to create the base shape and openings for doors or windows.
Step 5
Cut or fold extra cardboard to make upright walls and a service counter.
Step 6
Glue or tape the walls and counter onto the base so they stand firmly.
Step 7
Cut small circles from cardboard or use bottle caps to make tabletops.
Step 8
Make chairs by folding small squares of paper or cutting tiny rectangles from cardboard.
Step 9
Build a pizza oven and kitchen appliances from scrap cardboard by rolling stacking or gluing pieces together.
Step 10
Decorate the walls floors and menu using construction paper and your colouring materials.
Step 11
Add craft decorations like stickers buttons and fabric scraps to personalize your pizzeria.
Step 12
Arrange all tables chairs and kitchen pieces inside to plan the seating and kitchen flow.
Step 13
Share your finished creation on DIY.org
Final steps
You're almost there! Complete all the steps, bring your creation to life, post it, and conquer the challenge!


Help!?
What can we use if we don't have bottle caps, construction paper, or a small cardboard box?
Use rolled paper circles or coins for tabletops instead of bottle caps, old magazine pages or painted printer paper in place of construction paper, and substitute a cereal box or the flattened side of a shipping box for the small cardboard box base.
My cardboard walls keep falling over—how can I make them stand firm?
Create small folded tabs at the bottom of each wall and glue or tape those tabs to the base, add a strip of extra cardboard as a rear brace, and hold pieces with clothespins until the glue from the 'Glue or tape the walls and counter onto the base' step dries.
How can I change the project to suit different ages?
For preschoolers, pre-cut the base and large furniture and let them decorate with stickers and crayons, while older kids can follow the 'draw the walls' and 'build a pizza oven' steps using a ruler, sharper tools (with supervision), and more detailed removable pieces.
How can we extend or personalize the pizzeria after arranging the tables and kitchen?
Personalize and extend the pizzeria by crafting felt or clay pizza slices for the kitchen, installing a battery tea light inside the cardboard oven, making a laminated menu from construction paper, and adding a movable door with a brad fastener.
Watch videos on how to design and build a model pizzeria
You Need To Try These 3 Styles of Italian Pizza!
4 Videos
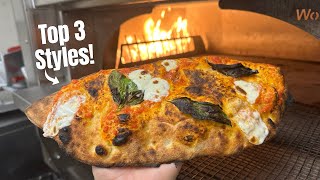
You Need To Try These 3 Styles of Italian Pizza!
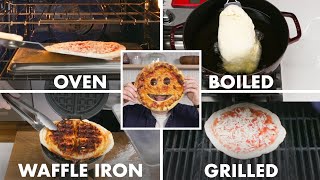
Every Way to Make Pizza (32 Methods) | Bon Appétit
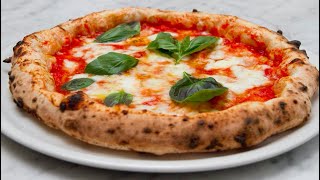
The History of Pizza and Types of Pizza in Italy
Easy Homemade Pizza Recipe | Dough, Sauce & Pizza Step by Step Guide
Facts about model building and design for kids
🍕 About 3 billion pizzas are sold in the United States every year — that's a LOT of slices!
🔥 Traditional Neapolitan pizza ovens can reach around 900°F and cook a pizza in about 90 seconds.
📦 Corrugated cardboard is lightweight, strong, easy to cut, and widely recyclable — perfect for models!
🔁 Kitchen designers use a 'work triangle' (sink, stove, fridge) to make cooking faster and safer.
🎨 Many restaurants use warm colors like red and yellow because they can make people feel hungrier.
How do you make a model pizzeria with cardboard and craft materials?
What materials do I need to design and build a small model pizzeria?
What ages is a cardboard pizzeria model suitable for?
What are the benefits of designing a model pizzeria for kids?


