Hoop around your shoulders
Make a lightweight foam covered hoop and practice spinning it around your shoulders to learn balance, coordination, and gentle movement safely.


Step-by-step guide to make a lightweight foam-covered hoop and spin it around your shoulders
Step 1
Gather all materials and move to a clear open space with room to spin.
Step 2
Measure the pool noodle against the hula hoop to see how much foam you need to cover the hoop.
Step 3
Mark on the pool noodle where the ends will meet after cutting so the foam fits the hoop evenly.
Step 4
With adult supervision use a utility knife or scissors to cut a lengthwise slit along the pool noodle so it can open and fit over the hoop.
Step 5
Open the slit and slide the pool noodle over the hula hoop until the marked ends meet.
Step 6
Secure the foam to the hoop by wrapping duct tape over the seam and at a couple of spots so the foam will not slide.
Step 7
Trim any extra foam or tape edges so the hoop surface feels smooth and safe to touch.
Step 8
Decorate the foam with masking tape stickers or markers to make the hoop bright and easy to see.
Step 9
Inspect the finished hoop by rolling it on the floor and gently flexing it to check the foam is firmly attached and there are no rough spots.
Step 10
Stand with feet shoulder width apart and place the foam covered hoop so it rests around your shoulders and upper back.
Step 11
Give the hoop a small gentle push around your shoulders using your wrists to start a slow spin.
Step 12
Practice slow controlled spins ten times in one direction then ten times the other to build balance and coordination.
Step 13
Share a photo or video of your finished foam covered shoulder hoop and tell how you practiced on DIY.org.
Help!?
What can I use if I can't find a pool noodle or hula hoop for this project?
If you don't have a pool noodle or hula hoop, substitute split foam pipe insulation or a soft foam pool float for the noodle and use a sturdy plastic or PVC ring (or make a ring from bundled garden hose) to follow steps 2–5 when fitting and marking the foam over the hoop.
The foam keeps sliding on the hoop or the seam comes apart—how do I fix that?
If the foam slides or the seam separates after step 6, re-align the marked ends from step 2, add extra duct tape over the seam and at multiple spots around the hoop, and then follow step 9 to roll the finished hoop on the floor to confirm it's secure.
How should I change the activity for younger children or older kids?
For younger children have an adult do cutting and slicing in steps 3–5, use extra padding and only practice five slow spins with hands supported, while older kids can trim the foam for a snugger fit in step 7 and attempt the full ten controlled spins in step 12.
How can we make the foam-covered hoop more fun or advanced after it's built?
To enhance the hoop, add LED strip lights or reflective tape under the foam before taping in step 6, attach colorful tassels with duct tape during step 8 for visual flair, and then share a photo or video of your customized hoop on DIY.org as in step 13.
Watch videos on how to make and safely spin a lightweight foam-covered hoop around your shoulders
How to Hula Hoop | Home Exercises For Kids | Fun Activities
4 Videos

How to Hula Hoop | Home Exercises For Kids | Fun Activities
How To Spin a Hula Hoop for Beginners 🤸♀️ Gym Stars | CBBC
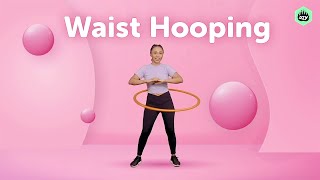
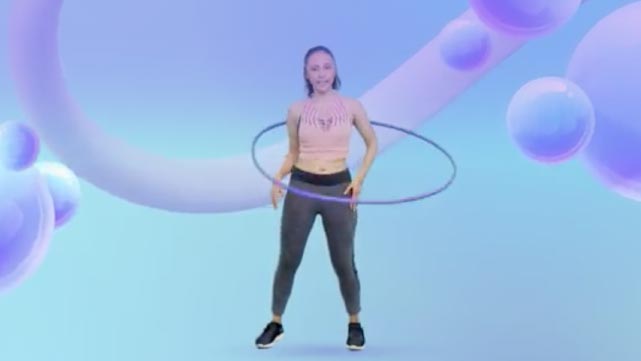
Waist hooping - how to hula hoop
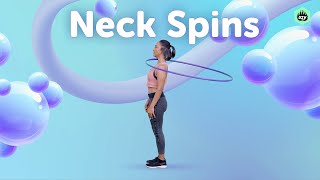
Neck spins - how to hula hoop
Facts about balance and coordination activities for kids
🌀 The modern Hula Hoop craze exploded in 1958 when Wham‑O sold about 25 million hoops — kids everywhere couldn't stop spinning!
🤸 Shoulder hooping uses larger, slower hoops and gentle shoulder pops, making it perfect for learning balance and posture safely.
🎯 Bigger, heavier hoops spin slower and are easier for beginners; smaller hoops spin faster and demand more control.
🧠 Practicing hooping improves coordination and core strength and helps your brain build better motor control.
🛡️ Wrapping a hoop in foam makes it lighter, softer, and much safer for shoulder spins and playful practice.
How do you make and practice spinning a lightweight foam-covered hoop around a child's shoulders?
What materials do I need to build a safe foam-covered shoulder hoop?
What ages are suitable for shoulder hoop spinning and how should I supervise them?
What are the benefits of shoulder hoop spinning and what safety tips or variations should I know?
