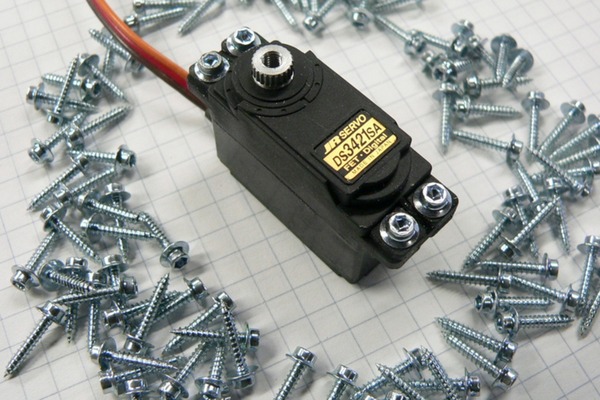
Hook up servos
Hook up one or two small servos to a microcontroller or controller board, power them safely, and build a moving arm or pan-tilt mechanism.


Step-by-step guide to hook up servos and build a pan-tilt or moving arm
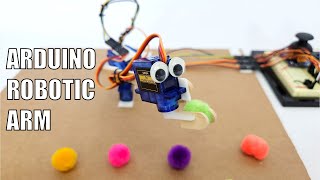
How to make simple Arduino Walking Robot using Servo Motor in 2 Minutes!
Step 1
Gather all the materials on a clear table so everything is within reach.
Step 2
Place your base where you want the arm or pan tilt to sit and set the servo on the base to choose its position.
Step 3
Mount the servo to the base using screws tape or hot glue so it is held firmly in place.
Step 4
Attach the plastic horn or arm piece to the servo shaft and tighten the small screw to secure it.
Step 5
If you have a second servo place it where it will make the pan or tilt axis and mount it the same way.
Step 6
Plug the servo signal wire into a PWM capable pin on the microcontroller such as D9.
Step 7
Connect the servo power wire (usually red) to the positive terminal of the external battery pack.
Step 8
Connect the servo ground wire (usually black or brown) to the negative terminal of the external battery pack.
Step 9
Connect the negative terminal of the battery pack to the GND pin on the microcontroller so they share a common ground.
Step 10
Connect the microcontroller to your computer with the USB cable.
Step 11
Upload a simple servo test program that moves the servo slowly between 0 degrees and 90 degrees to the microcontroller.
Step 12
Turn on the external battery pack to power the servo or servos.
Step 13
Watch how the servo moves when the program runs and note if the motion matches what you expect.
Step 14
If the servo moves the wrong way gently remove and flip the horn 180 degrees or change the angle values in your code and upload again.
Step 15
Share a photo or video of your moving arm or pan tilt mechanism on DIY.org.
Help!?
What can I use if I can't find screws, a plastic horn, or an external battery pack?
Use strong double-sided tape or hot glue to mount the servo instead of screws (step 3), substitute a LEGO technic piece, trimmed bottle cap, or 3D‑printed arm for the plastic horn (step 4), and replace the external battery pack (steps 7–9) with a 4×AA battery holder or a USB power bank while still connecting the battery negative to the microcontroller GND.
The servo won't move or moves weirdly—what should I check first?
Confirm the external battery pack is turned on and the servo power wire is on the battery positive, that the battery negative is tied to the microcontroller GND (step 9), the signal wire is plugged into a PWM pin like D9 (step 6), and if motion is reversed try flipping the horn 180° or adjust the angle values in your code (step 14).
How can I adapt this activity for different age groups?
For younger kids (4–7) have an adult mount the servo to a cardboard base with tape and run the provided test program while the child watches (steps 1–11), for elementary kids (8–11) let them attach the horn and plug wires with supervision and upload the simple 0°–90° sweep (steps 4–11), and for teens (12+) encourage adding a second servo for a pan‑tilt and writing custom PWM code to control both servos (steps 5, 11).
How can we extend or personalize the moving arm or pan‑tilt after the basic test works?
Add a second servo for pan‑tilt (step 5), attach a potentiometer or pushbutton to the microcontroller to control motion instead of the fixed sweep (step 11), decorate the arm or pan with craft foam, and then share a photo or video on DIY.org (step 15).
Watch videos on how to hook up servos and build a pan-tilt or moving arm
Popsicle Stick Robotic Arm with Arduino | Science Project
4 Videos
Popsicle Stick Robotic Arm with Arduino | Science Project

How To: Make a Servo Power Supply - Arduino Robotics Projects

Simple Robot With Servo Tester - Kids Get to Build Robot

Control Servo Motor with Ultrasonic Sensor & Arduino Uno | Step-by-Step Tutorial #arduinoproject
Facts about servos and basic robotics
⚙️ Many hobby servos can rotate about 180° — that's half a circle for your moving arm!
🤖 Microcontrollers like the Arduino are tiny programmable brains that can tell servos exactly where to go.
🔋 A small servo can draw over 1 amp when stalled, so powering servos from a separate battery keeps your controller safe.
🎛️ Servos are steered by PWM pulses where the pulse width (around 1–2 ms) decides the angle — like a secret signal.
🏗️ Simple pan-tilt rigs use two servos and let a camera or sensor look around just like a tiny robot head.
How do I hook up one or two small servos to a microcontroller and build a moving arm or pan-tilt?
What materials and tools do I need to hook up small servos and make a pan-tilt or moving arm?
What ages is hooking up servos and building a moving arm suitable for?
What safety tips, benefits, and variations should I know for a servo moving-arm project?
