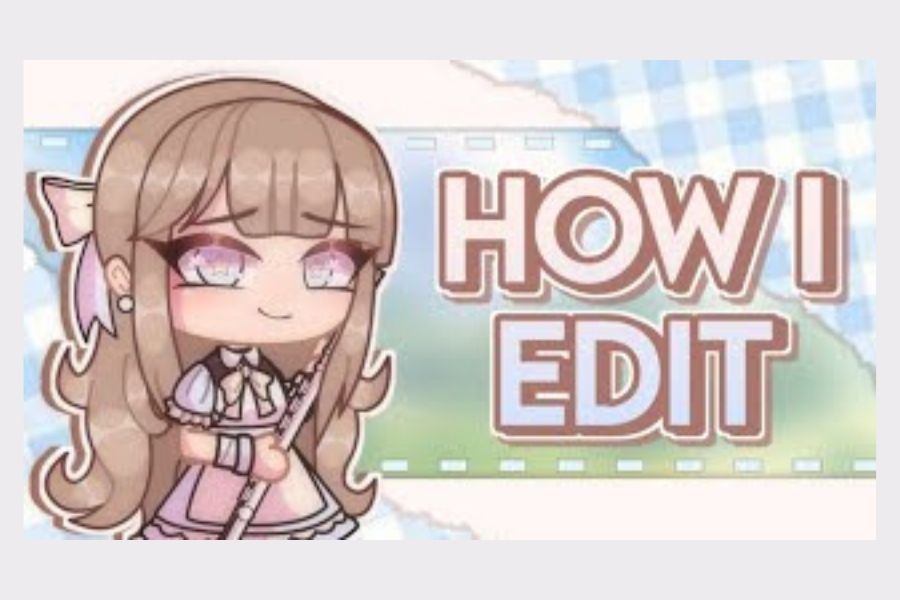
Gacha Edit with DIY Star ItzAnia
Make a DIY paper or foam star accessory called ItzAnia, then create a Gacha character edit using photos and simple digital stickers.


Step-by-step guide to Gacha Edit with DIY Star ItzAnia
Step 1
Gather all Materials Needed and put them on a clear workspace so you can find everything quickly
Step 2
Draw a star template on the plain white paper using the pencil and ruler about the size of your palm
Step 3
Cut out the paper star template carefully with the scissors
Step 4
Place the paper template onto your paper or craft foam and trace around it with the pencil
Step 5
Cut out the traced star from the paper or craft foam using the scissors
Step 6
Decorate the star with your colouring materials and add stickers or sequins for sparkle
Step 7
Attach a hair clip or safety pin to the back of the star using the glue stick or double-sided tape
Step 8
Take a clear photo of your finished ItzAnia star on a plain background using a phone or camera
Step 9
Open a photo editing app on your computer or phone
Step 10
Choose a clear character photo to edit from your device to be your Gacha base
Step 11
Import the photo of your ItzAnia star into the editing app as an overlay or sticker
Step 12
Resize the star overlay so it fits the character naturally
Step 13
Position the star overlay where you want it on the character to finish the look
Step 14
Save the finished Gacha edit image to your device
Step 15
Share your finished creation on DIY.org
Help!?
What can I use instead of craft foam if I can't find it?
If craft foam isn't available, use sturdy cardboard, felt, or layered thick paper as the base when you trace and cut out the star from the paper template.
My star won't stick to the hair clip; what should I do?
If the glue stick or double-sided tape won't hold the star to the hair clip, roughen the back of the star and clip, then press with hot glue or fabric glue and let it cure fully before handling.
How can I modify this project for a 4-year-old vs a 12-year-old?
For a 4-year-old, pre-cut the star template and let them color with stickers and sequins only, while a 12-year-old can draw their own star size with the pencil and ruler, use craft foam, and fine-tune the overlay placement in the photo editing app.
How can we make the final Gacha edit more unique before sharing on DIY.org?
To personalize the finished Gacha edit, add layered sequins or patterned paper during the 'Decorate the star' step and use the photo editing app to adjust opacity, add a drop shadow, or make a short animated GIF of the star overlay before saving and sharing.
Watch videos on how to Gacha Edit with DIY Star ItzAnia
10 Steps To Make a Gacha OC: 😳👈
3 Videos
10 Steps To Make a Gacha OC: 😳👈
How to create your own Gacha Character | Digital Art for kids | #doitwithdiy
![How I Make My Characters [Tutorial] || Gacha life/Gacha Club || Custom designs ||](https://img.youtube.com/vi/U2jwAz1xisU/mqdefault.jpg)
How I Make My Characters [Tutorial] || Gacha life/Gacha Club || Custom designs ||
Facts about papercrafts and digital character editing for kids
🎮 Gacha Life and Gacha Club let players design anime-style characters and dress them with thousands of items.
✂️ Papercraft can turn a flat sheet into a detailed 3D model using folds, tabs, and sometimes glue.
✨ Ethylene-vinyl acetate (EVA foam) is lightweight, flexible, and a favorite for safe, easy-to-cut craft accessories.
📱 Many phone photo apps include sticker and layering tools so kids can add digital stars and decorations to edits.
⭐ Tiny handmade accessories like a paper or foam star (ItzAnia!) can totally change a character’s vibe—small details, big personality!
How do I make a Gacha Edit with a DIY Star ItzAnia?
What materials do I need to make an ItzAnia and do the Gacha edit?
What ages is this DIY Star ItzAnia and Gacha editing activity suitable for?
What safety tips should I know when making and editing a DIY ItzAnia?
