Float your own paper boat
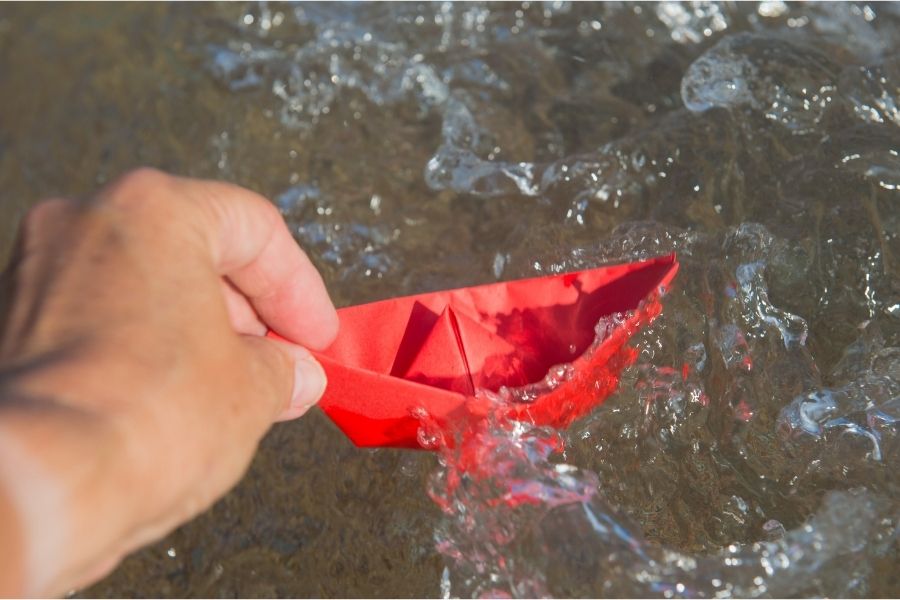
Fold and decorate a paper boat, then test how it floats and change weight or shape to explore buoyancy and simple problem-solving.
About this activity
Fold and decorate a paper boat, then test how it floats and change weight or shape to explore buoyancy and simple problem-solving.
What you need
Step by step
- 1
Step 1
Choose one sheet of paper and clear a flat clean workspace to fold on.
- 2
Step 2
Fold the paper in half lengthwise (hot-dog style) and press the crease firmly.
- 3
Step 3
Open the paper and fold the top two corners down toward the center crease so the top forms a triangle.
- 4
Step 4
Fold the bottom edge of the front layer up over the base of the triangle and crease it.
- 5
Step 5
Flip the paper over and fold the other bottom edge up on the back side and crease it.
- 6
Step 6
Open the bottom of the folded paper and press it flat to make a square (a triangle hat shape).
- 7
Step 7
Fold the bottom corner of the square up on both sides so you make a smaller triangle and crease.
- 8
Step 8
Gently open the bottom of the triangle into a diamond and press the sides flat.
- 9
Step 9
Hold the top points of the diamond and pull them apart slowly to form the boat hull and flatten the bottom so it sits upright.
- 10
Step 10
Decorate your boat with colouring materials and use clear tape to reinforce any weak spots; let any marker ink dry before testing.
- 11
Step 11
Fill the tray or bowl with water and place your boat on the water gently to see if it floats.
- 12
Step 12
Add one small weight into the boat and watch whether it still floats or tips; remove the weight after observing.
- 13
Step 13
Change your boat’s shape by pinching or folding the hull slightly and test it again to see how shape affects floating.
- 14
Step 14
Share your finished creation on DIY.org
Fun facts
How do you do the "Float your own paper boat" activity?
Fold a simple paper boat (follow an easy origami guide or use a rectangular sheet folded into a hat then a boat). Let the child decorate with markers or stickers. Test the boat in a sink, bathtub, or shallow basin and watch whether it floats. Add small weights (paperclips, coins) or change the boat’s shape (fold higher sides, flatten the hull) to explore buoyancy. Encourage predictions and record what changes keep it afloat.
What materials do I need for "Float your own paper boat"?
You need plain paper or origami paper, waterproof markers or crayons, stickers, and clear tape for repairs. For testing use a basin, sink, bathtub, or puddle. For experiments bring small weights like paperclips, coins, or modeling clay, plus a cup of water, paper towels, and a towel for cleanup. Optional: a ruler and notebook to measure distance floated and record observations.
What ages is the "Float your own paper boat" activity suitable for?
This activity suits toddlers to school-age children with adjustments: ages 3–5 enjoy folding and decorating with adult help for precise folds and small parts; ages 6–9 can fold simpler boats and run experiments independently; ages 10+ can design variations, measure results, and record data. Supervise younger kids around water and small weights to prevent choking hazards.
What are the benefits of the "Float your own paper boat" activity?
Making and testing paper boats teaches basic physics (buoyancy, displacement), problem-solving, and the scientific method—predict, test, observe, change. It develops fine motor skills through folding and decorating, encourages creativity, and builds early engineering thinking as children modify shape or weight to improve performance. It’s low-cost, social, and great for experimenting outdoors or at bath time.
Watch & Learn
Need help?
I don’t have clear tape to reinforce weak spots—what can I use instead?
Use packing tape, a strip of clear contact paper, or small dabs of white glue (let them dry) to reinforce the weak spots mentioned in the decorate step.
My boat tips over or fills with water when I place it in the bowl—how can I fix that?
Make sure all creases are pressed firmly (especially the bottom so it 'sits upright'), flatten the hull as instructed, reinforce seams with tape, and remove extra weight before testing.
How can I change this activity for younger or older kids?
For younger children, pre-fold through the triangle/hat stages and let them decorate and test in a shallow tray with supervision, while older kids can add weights, alter the hull shape per the 'change your boat’s shape' step, and record float trials.
How can we make the boat more interesting or test its performance further?
Add a paper sail on a straw or toothpick, waterproof the hull with extra tape or clear contact paper, race multiple decorated boats across the tray, and count how many small weights each design holds before sinking to extend the add-one-weight step.