Explain the Concepts of Flying
Build and test several paper airplanes to explore lift, thrust, drag, and weight, record results, and improve designs through safe experiments.
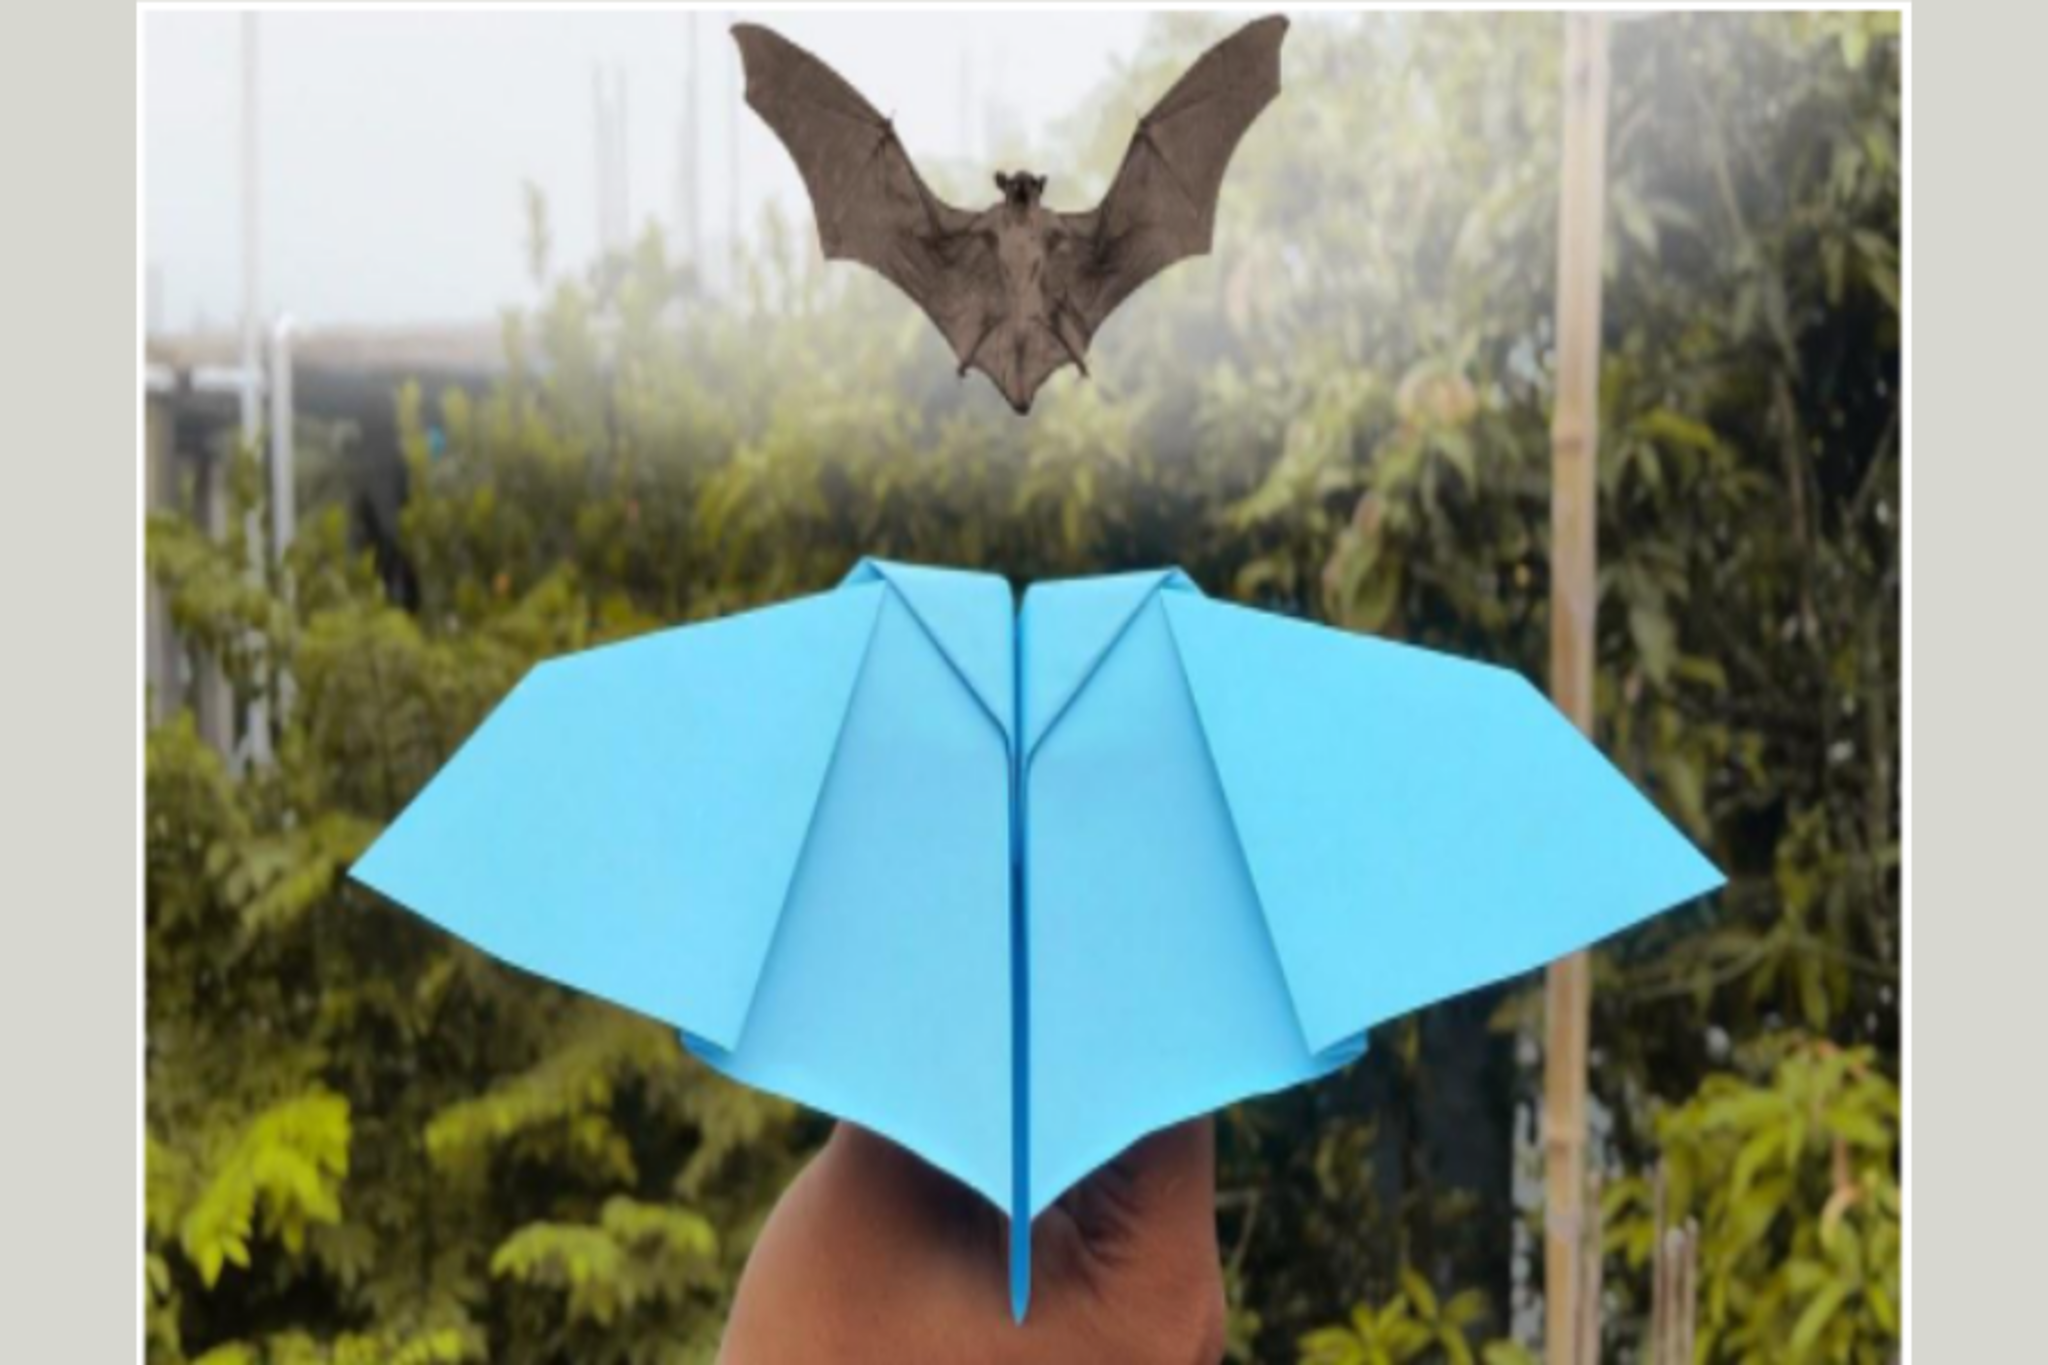
About this activity
Build and test several paper airplanes to explore lift, thrust, drag, and weight, record results, and improve designs through safe experiments.
What you need
Step by step
- 1
Step 1
Find a clear flat space at least 5 meters long where you can safely fly paper airplanes.
- 2
Step 2
Gather all materials and put them on a table near your flying space.
- 3
Step 3
In your notebook draw a table with columns labeled Design Distance Flight Time Notes.
- 4
Step 4
Take one sheet of paper and fold it in half lengthwise then open it to make a center crease.
- 5
Step 5
Fold the top two corners down so their points meet at the center crease to make a triangle at the top.
- 6
Step 6
Fold the triangle point down so its tip touches the bottom edge of the paper.
- 7
Step 7
Fold each side down to create wings so the paper looks like a dart and crease the wings firmly.
- 8
Step 8
Make two more identical planes by repeating Steps 4 to 7 with two new sheets.
- 9
Step 9
Clip a paper clip to the nose of the first plane to increase its weight.
- 10
Step 10
Bend small upward winglets at the tips of the second plane to increase lift.
- 11
Step 11
Slightly bend the trailing edges of the third plane downward to add drag and stability.
- 12
Step 12
Mark a launch line and throw each plane from the same spot three times using the same gentle motion for every throw.
- 13
Step 13
Measure each flight distance with the ruler and time each flight with the stopwatch then record the numbers in your notebook table.
- 14
Step 14
Pick one change from your results then make that single change to your favorite plane and fly it once more and write the new result in the table.
- 15
Step 15
Share your paper airplane designs tests and what you learned by posting your finished creation on DIY.org
Fun facts
How do I build and test paper airplanes to explain lift, thrust, drag, and weight?
Start by introducing lift, thrust, drag, and weight with simple explanations. Have children fold several airplane designs (dart, glider, and dihedral glider). Create a testing area, mark a launch line, and standardize throws or use a ramp. For each flight record distance, time, flight path, and observations. Change one variable at a time—wing shape, weight, or throw force—then re-test. Discuss results and iterate designs to improve performance while supervising for safety.
What materials do I need to run a paper airplane experiment about flying concepts?
You’ll need paper (printer paper, lightweight cardstock or tracing paper), a ruler and protractor, scissors, tape, paper clips or small washers for adjustable weight, markers and labels, a stopwatch or phone timer, measuring tape or meter stick, and a notebook and pencil for recording data. Optional extras: a fan to simulate wind, a launch ramp, and an open indoor/outdoor space. Ensure adult supervision when cutting or adding weights.
What ages is this 'build and test paper airplanes' activity suitable for?
Suitable for ages about 5–14 with adult guidance. Ages 5–7 enjoy folding simple planes and observing basic differences with help. Ages 8–10 can measure flight distance, time, and record simple data. Ages 11–14 can design controlled experiments, change variables systematically, and analyze results. Adjust complexity: provide pre-folded templates and close supervision for younger children, and add theory and design challenges for older kids.
What are the benefits of doing paper airplane experiments with kids?
Building and testing paper airplanes teaches STEM concepts—lift, thrust, drag, and weight—while practicing the scientific method: hypothesizing, measuring, and iterating. It builds fine motor skills, spatial reasoning, data recording, and problem-solving. Group tests encourage teamwork and communication and foster healthy competition. Emphasize safety: clear launch area, don’t aim at people, and supervise when using scissors or weights. Hands-on trials make abstract physics tangible and enjoyabl
Watch & Learn
Need help?
What can we use instead of a paper clip, ruler, or stopwatch if we don't have them?
Use a small binder clip or a folded strip of tape instead of the paper clip (step 9), a measuring tape or floor marks instead of the ruler for the measurement step, and your phone's timer app in place of the stopwatch while still recording results in your notebook table.
My plane keeps veering or nosediving — what should I check and fix?
Check that you made a precise center crease (step 4), creased the wings firmly (step 7) and made all three planes identically (step 8), then adjust or remove the paper clip weight (step 9) and fine-tune the winglets or trailing-edge bends (steps 10–11) before throwing from the same launch line with the same gentle motion.
How can I adapt this activity for different age groups?
For preschoolers have an adult pre-fold the planes and use taped floor marks and stride-counting to record distance, elementary kids can follow all steps using the ruler and stopwatch and fill the Design/Distance/Flight Time/Notes table in the notebook, and older kids can add more repeats, test different paper types or weights, and prepare a DIY.org post.
How can we extend or personalize the experiment to learn more or make it creative?
Decorate and label each plane before step 4, test extra variables such as different paper weights, extra paper clips, or varied winglet sizes while adding rows to your notebook table, film flights to analyze launch technique, and share your designs and results on DIY.org.