Explain a Science Concept!
Pick a science concept, create a simple demonstration or model, and explain how it works using drawings, experiments, and clear everyday examples.


Step-by-step guide to explain a science concept
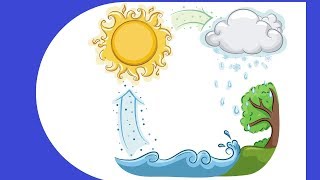
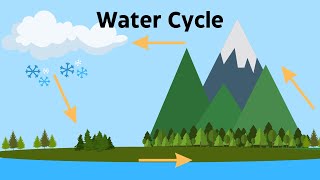
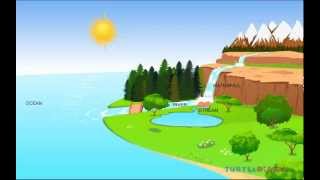
What is the water cycle?
Step 1
Pick one science concept you want to explain such as gravity electricity plant growth or the water cycle.
Step 2
Write one short question or idea about that concept that you will answer for example "Why do things fall?" or "How do plants drink water?".
Step 3
Decide whether you will use a drawing an experiment a model or a mix of these to show the idea.
Step 4
Gather only the materials you need from the Materials Needed list and put them on your workspace.
Step 5
Make a quick plan by sketching a simple diagram and listing the steps you will follow.
Step 6
Build your model or set up your experiment exactly as your plan shows while asking an adult for help if needed.
Step 7
Run the experiment or demonstrate the model and watch carefully for what happens.
Step 8
Draw what you observed and add labels arrows and short notes that point out the important parts.
Step 9
Write two or three short sentences that explain how the concept works using your observations and an everyday example.
Step 10
Share your finished creation on DIY.org
Help!?
If I don’t have one of the items on the Materials Needed list, what can I substitute?
If the Materials Needed list asks for a clear plastic container, potting soil, or copper wire, you can use a clear cup or jar, a damp paper towel with a sprouted bean instead of soil, and paper clips or aluminum foil strips instead of wire so you can still build your model or experiment and observe the outcome.
My experiment showed nothing when I ran it—what should I check or fix?
If your demonstration in step 6 has no visible change, revisit step 5 to make sure your setup matches your sketch exactly (tighten connections, add the correct amount of water, or reposition parts) and ask an adult to help with any cutting or wiring so the expected outcome appears.
How can I change the activity for younger kids or make it harder for older kids?
For younger children, simplify steps by doing a drawing or basic model and dictating the observation and one short sentence for step 8, while older kids can add measurements, repeat trials, detailed labels in step 7, and a longer explanation linking results to an everyday example.
What are simple ways to extend or personalize our project before sharing on DIY.org?
To enhance your project, run a second variable test, take photos of each stage from step 5–7, add extra labeled arrows and short notes to your drawing, and include a clear everyday example in your two or three-sentence explanation to make your DIY.org post stand out.
Watch videos on how to explain a science concept
The water (hydrologic) cycle
4 Videos

The water (hydrologic) cycle
Water cycle Steps
Water Cycle Diagram- A Demonstration for Each Step of the Water Cycle
The Water Cycle *EXPLAINED* Science for Kids
Facts about science experiments for kids
🔬 The scientific method usually starts with a question—you can test big ideas with tiny, simple experiments!
🧪 Hands-on demonstrations help people remember and understand more—kids often learn best by doing.
🧩 Models simplify reality so you can focus on what matters—think of them as tiny, playable versions of big systems.
✏️ A quick drawing or sketch can make a tricky idea obvious and helps you spot mistakes faster.
🌊 Great analogies link science to everyday life—electric current is often explained like flowing water to make circuits intuitive.
How do you do the "Explain a Science Concept" activity?
What materials do I need for the Explain a Science Concept activity?
What ages is this activity suitable for?
What are the benefits of doing this activity?
