Epic Art - Biology Made Fun
Make vibrant cell models using clay, beads, and paper to learn organelles' functions while decorating and comparing plant and animal cells.


Step-by-step guide to Epic Art - Biology Made Fun
The epic race to conception: An incredible Animated Journey | Bio Anatomy Art | Gut Health
Step 1
Clear a table and lay out all the Materials Needed so everything is easy to reach.
Step 2
Choose which cell to build first: plant cell or animal cell.
Step 3
Press a large flattened oval or circle of one color clay onto the cardboard to make the cell base.
Step 4
Roll a medium ball of clay to make the nucleus and press it into the center of the base.
Step 5
Roll several small clay shapes to form other organelles like mitochondria vacuole Golgi and endoplasmic reticulum.
Step 6
Press each small organelle clay piece onto the base to attach it in different spots.
Step 7
Press tiny beads onto one tube-shaped clay piece to make ribosomes on the endoplasmic reticulum.
Step 8
Wrap a thin strip of clay around the base edge to make the cell membrane.
Step 9
If you are making a plant cell add a thicker outer strip of a different color around the membrane to form a cell wall.
Step 10
If you are making a plant cell press small green oval clay pieces onto the base to make chloroplasts.
Step 11
Write each organelle’s name and a one-line function on small paper labels.
Step 12
Place each label next to its matching organelle on the model.
Step 13
Repeat Steps 3 to 12 to build the other cell type so you have both a plant cell and an animal cell model.
Step 14
Put both models side by side and write three clear differences between the plant and animal cell on your sheet of paper.
Step 15
Share your finished cell models on DIY.org.
Final steps
You're almost there! Complete all the steps, bring your creation to life, post it, and conquer the challenge!


Help!?
What can we use instead of modeling clay, beads, or cardboard if we don't have them?
Use play-dough or homemade salt dough for the cell base and organelles (Step 3), small pasta or punched paper dots instead of beads for ribosomes on the ER (Step 6), and a cereal box or thick construction paper in place of cardboard for Step 3.
What should we do if small organelle pieces won't stick to the base or the ribosome beads fall off the ER?
Lightly mist the cardboard and press each organelle piece firmly as described in Step 5, and after forming the ribosome-studded tube in Step 6 secure tiny beads with a dab of white glue so they stay attached.
How can we adapt the activity for younger children or older kids?
For younger kids simplify Steps 3–12 by pre-rolling shapes and using picture labels to match organelles, while older students can add extra organelles, write more detailed functions on the labels in Step 11, or make a scaled model.
How can we enhance or personalize our cell models beyond the basic instructions?
Enhance the models by adding textures like crumpled foil for mitochondria, color-coding organelles and creating a mini legend to place beside the 'Put both models side by side and write three clear differences' step, or film a short video of Steps 3–12 to Share on DIY.org.
Watch videos on how to Epic Art - Biology Made Fun
10 Awesome Biology Science Projects
4 Videos
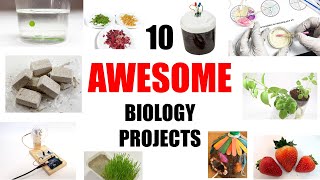
10 Awesome Biology Science Projects
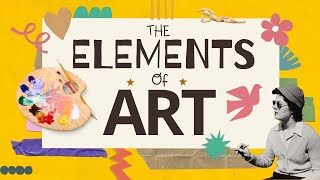
The 7 Elements of Art Explained: A Fun and Easy Guide for Kids! 🎨
10 Fun Science Experiments For Kids

Top 5 Easy Science Experiments for kids to do at home with Ryan's World!
Facts about cell biology for kids
🧫 The word "cell" was coined by Robert Hooke in 1665 when cork looked like tiny rooms under his microscope.
🧬 Mitochondria are the cell's "powerhouses" — they make ATP, the molecule cells use for energy.
🌱 Plant cells have chloroplasts that capture sunlight and turn it into food through photosynthesis.
🥚 The largest single cell you can see without a microscope is an ostrich egg — it's one giant cell!
🎨 Making a colorful model helps memory: the nucleus holds DNA, like a cell's instruction library.
How do you make a cell model using clay, beads, and paper?
What materials do I need for Epic Art - Biology Made Fun?
What ages is this activity suitable for?
What are the benefits of making cell models with clay, beads, and paper?


