Dress Like You Are From the Past
Create a simple historical outfit using recycled fabrics, paper, and safe fasteners; research your chosen era and explain why people dressed that way.


Step-by-step guide to Dress Like You Are From the Past
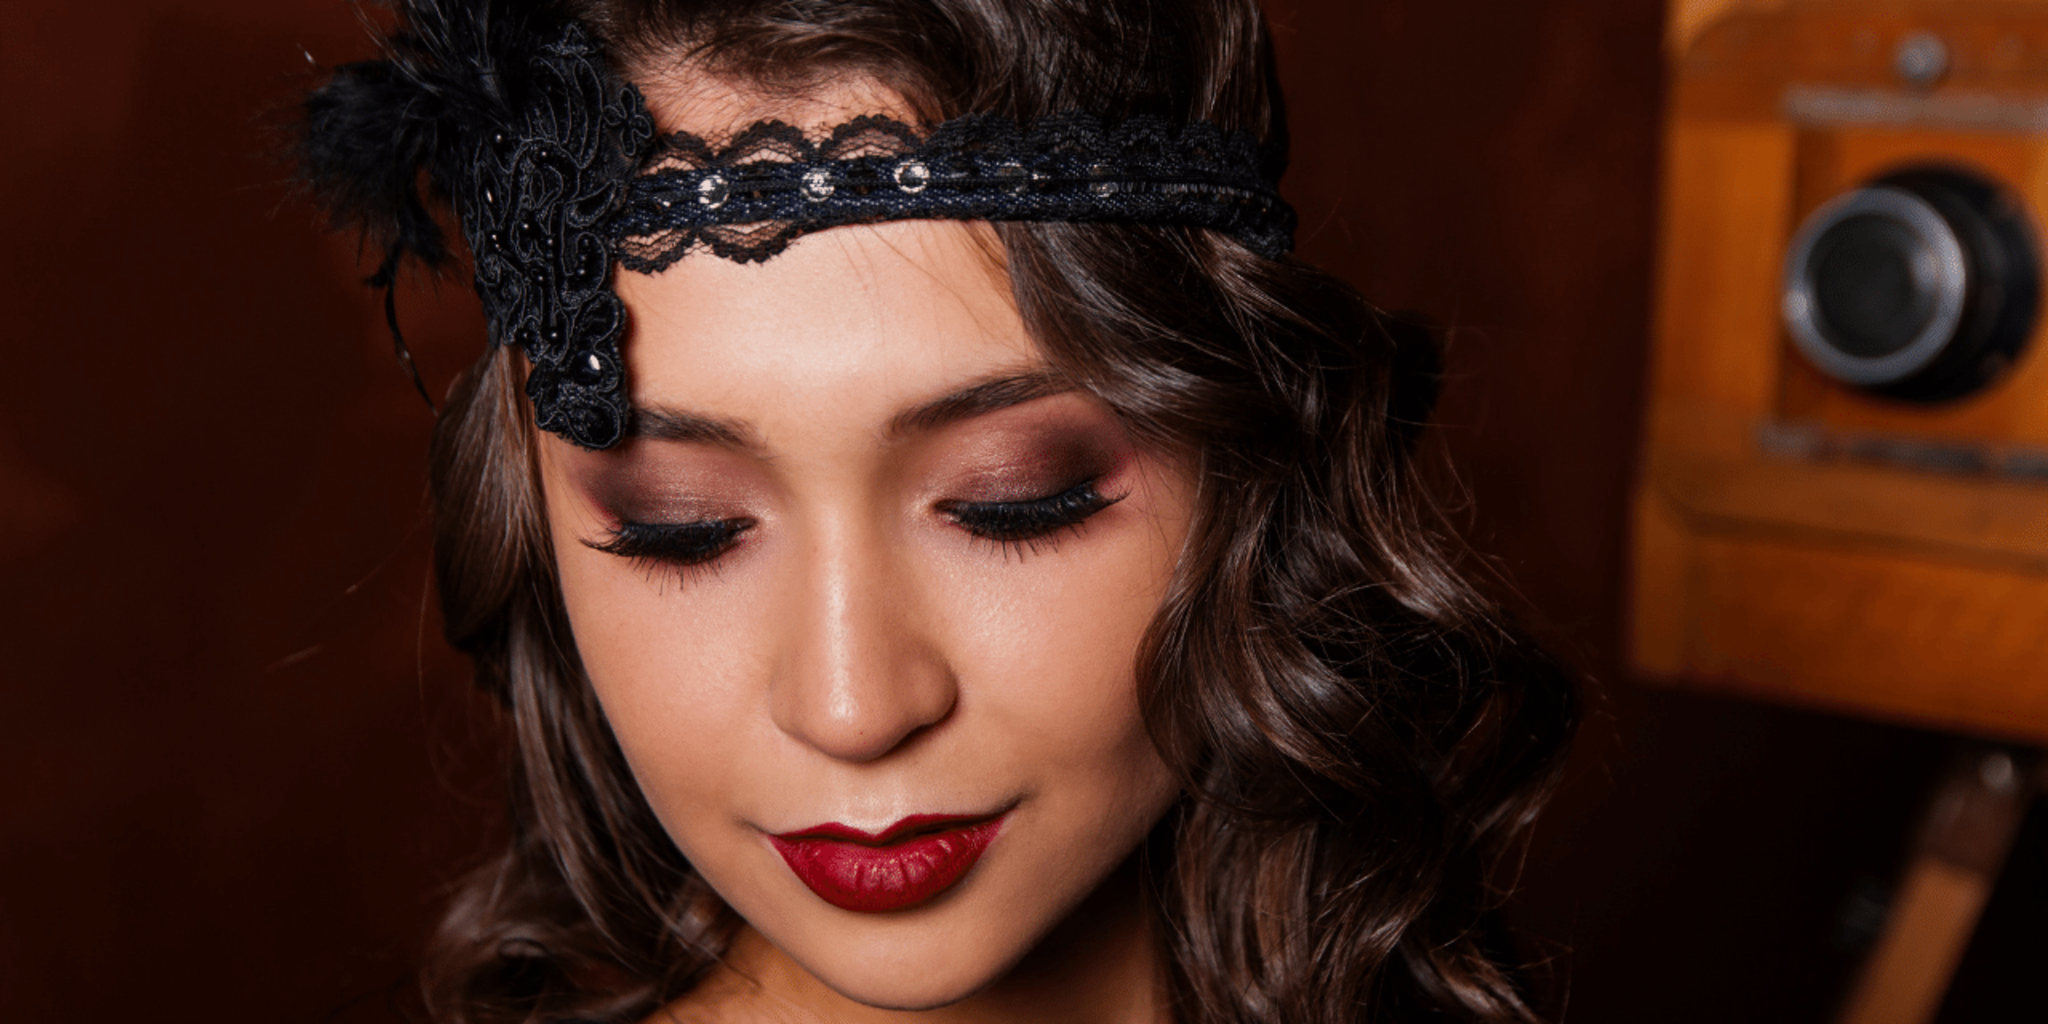
Getting Dressed in Early 17th Century Historical Clothing: 1600-1625
Step 1
Pick one historical era you want to dress like such as Ancient Egypt Medieval Victorian or 1960s.
Step 2
Find and save three pictures or short descriptions that show how people dressed in that era.
Step 3
Write a short list of three common clothing features from your research such as long sleeves big collars or sashes.
Step 4
Draw a quick sketch of your outfit on paper and label the three features you will make.
Step 5
Use the measuring tape to measure the person who will wear the outfit and write down chest width and garment length.
Step 6
Choose which recycled fabrics will make the main garment and which paper pieces will be for hats collars or trims.
Step 7
Fold fabric and cut simple shapes for the garment following your measurements and sketch.
Step 8
Attach the main fabric pieces together using fabric glue or strong tape and secure edges with safety pins or Velcro as needed.
Step 9
Cut and shape paper to make accessories like hats collars or decorative panels and attach them with tape or glue.
Step 10
Add decorations such as ribbons coloured marks or paper trims to copy the era’s look.
Step 11
Try on the outfit and make small adjustments to fit and fastenings until it is comfortable.
Step 12
Write two to three sentences that explain why people in your chosen era dressed that way and how your outfit shows those reasons.
Step 13
Share a photo and your explanation of your finished historical outfit on DIY.org.
Help!?
What can we use instead of fabric glue if it's hard to find?
If fabric glue is unavailable, use strong tape to attach the folded fabric pieces in step 8 or temporarily secure seams with safety pins until you can hand-sew them.
What should we do if the fabric frays or the outfit doesn't hold together when trying it on?
If edges fray or pieces come apart during the try-on in step 11, reinforce joins by folding raw edges, securing with strong tape or Velcro in step 8, and add safety pins for extra hold before adjusting decorations in step 10.
How can we change the activity for younger kids or make it more challenging for older kids?
For younger children, have an adult pre-cut recycled fabrics and paper pieces and let them draw and label features in steps 3 and 6, while older kids can take exact measurements with the measuring tape in step 5, draft a pattern from their sketch, and sew seams instead of using tape in step 8.
How can we extend or personalize the finished historical outfit to make it more authentic or display-worthy?
To enhance the outfit, dye or distress recycled fabrics to match your era, create removable paper or fabric trims with Velcro for different looks, add era-specific decorations in step 10, and photograph the final outfit with your two- to three-sentence explanation to share on DIY.org as in the last step.
Watch videos on how to Dress Like You Are From the Past
Viking Clothing (Appearance) | Vikings for Kids
4 Videos
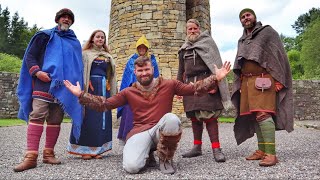
Viking Clothing (Appearance) | Vikings for Kids
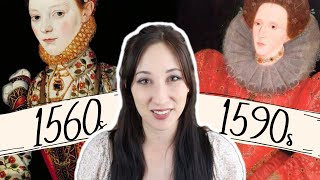
Dress Historian Explains Elizabethan Fashion || 16th Century Fashion Timeline 1550s-1590s
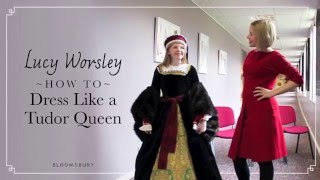
Lucy Worsley explains how to dress like a Tudor Queen
"Ancient Clothing 4000 Years Ago | History of Dress Styles"
Facts about historical clothing and costume-making
👗 Sumptuary laws in many societies once limited who could wear certain colors or fabrics—purple and silk often meant wealth or rank.
♻️ Mending and reusing clothes is ancient: before mass production, people patched and repurposed garments for years.
🧵 Hand-sewn outfits could take weeks or months to make, so people in the past typically owned far fewer garments than we do today.
🏛️ Different eras had signature silhouettes—Victorian fashion favored tiny waists and wide skirts supported by crinolines and bustles.
🔎 Historians learn how people dressed from portraits, inventories, household records, and surviving clothing fragments.
How to dress like you are from the past
Materials needed for historical outfit craft
Suitable ages for the past-dress activity
Safety tips for making historical outfits
