Draw your DIY Name
Design and draw a personalized DIY nameplate using pencils, markers, stencils, and decorations; practice lettering, shapes, patterns, and color choices while creating your own artwork.

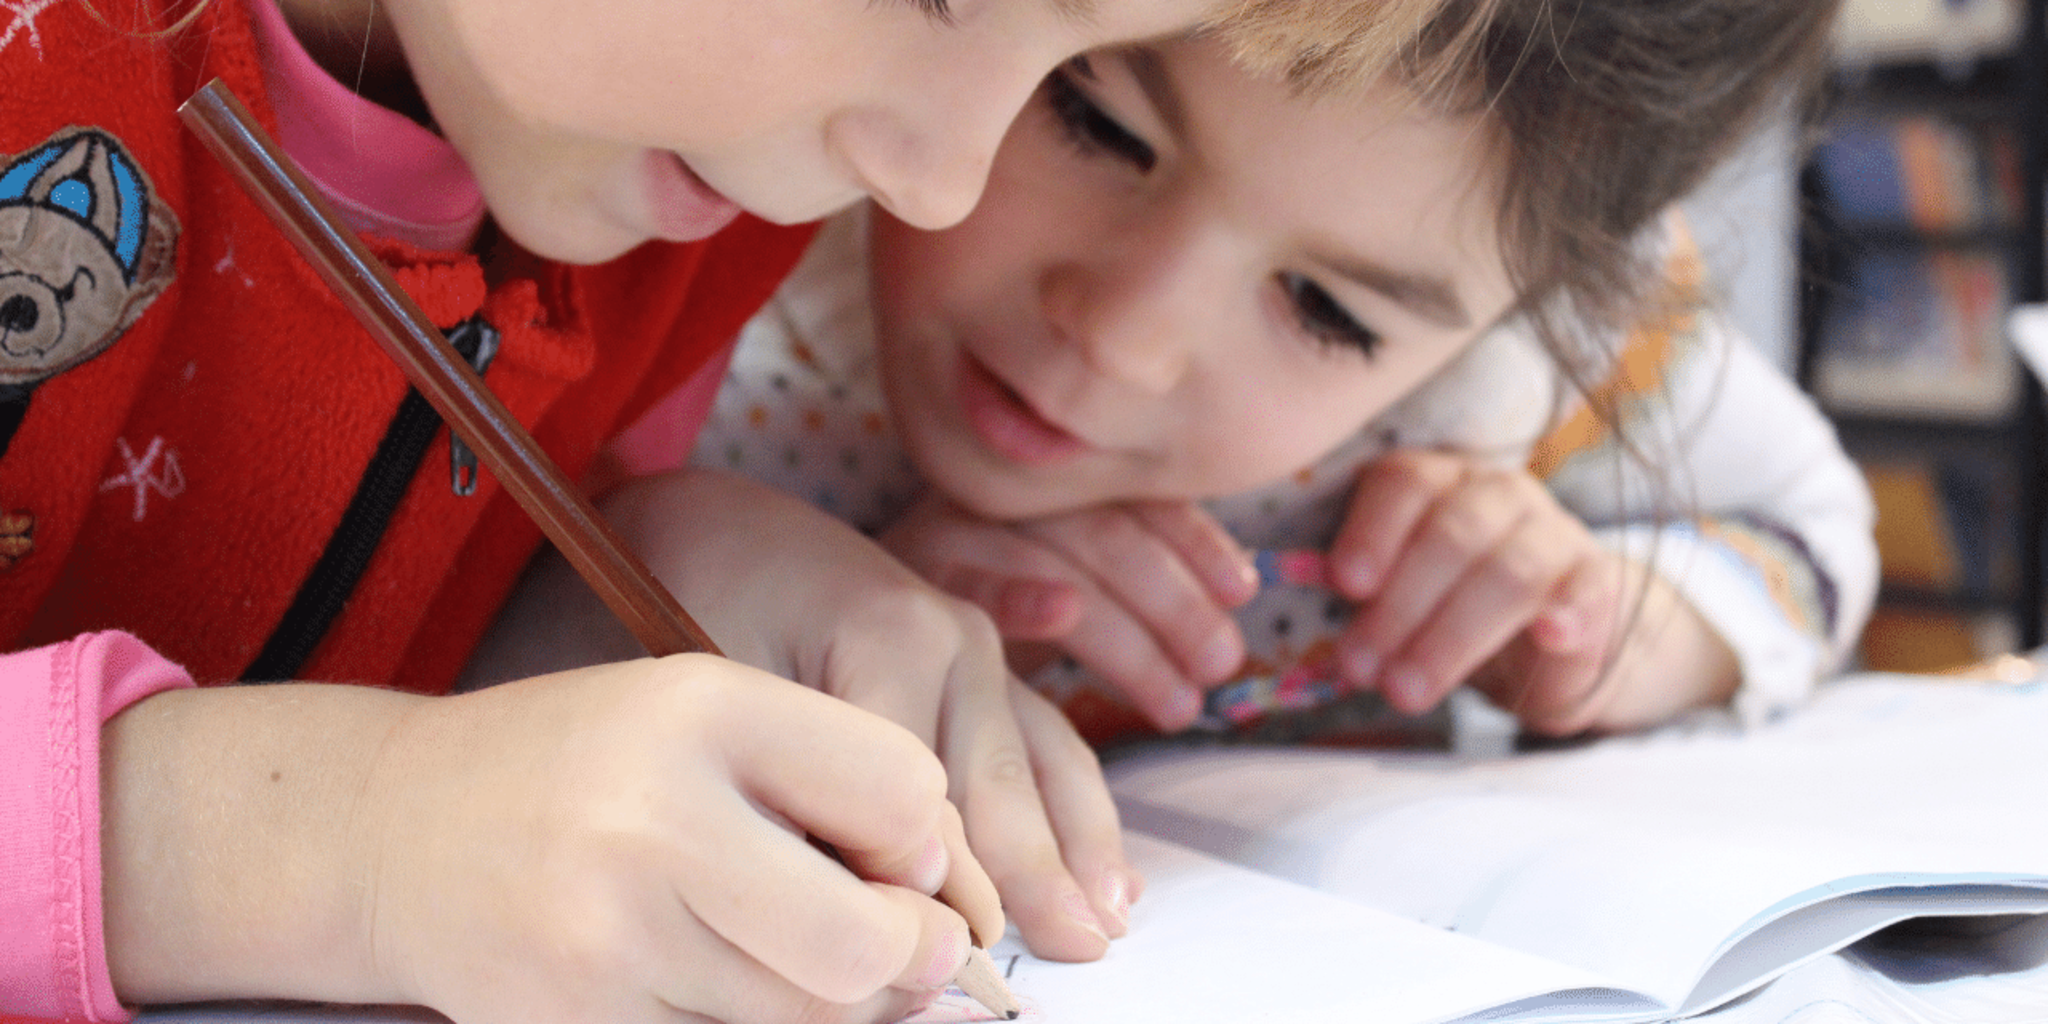

Step-by-step guide to design and draw a DIY nameplate
How to Create Art Using Your Name | Easy Fun DIY
Step 1
Decide which name or nickname you want on your nameplate!
Step 2
Choose a lettering style for your name such as block letters bubble letters or script.
Step 3
Pick two to four colors you want to use for your design.
Step 4
Place your paper and use the ruler and pencil to draw light horizontal guidelines for the top and bottom of the letters.
Step 5
Lightly sketch each letter of your name inside the guidelines with your pencil.
Step 6
Use stencils to trace any letters or shapes that you want to make perfect.
Step 7
Add shapes patterns or doodles inside and around your letters to decorate them.
Step 8
Erase any extra pencil lines that are outside your final letters and decorations.
Step 9
Carefully outline each letter and main shape with a marker to make them bold.
Step 10
Color in your letters and patterns using your chosen colors and coloring materials.
Step 11
Attach stickers or glue small decorations onto the nameplate where you want extra sparkle.
Step 12
Draw a neat border around the edge of your nameplate to finish the look.
Step 13
Share your finished nameplate on DIY.org.
Help!?
What can I use if I don't have a ruler, stencils, or markers?
If you don't have a ruler use the straight edge of a hardcover book or a piece of cardboard to draw the light horizontal guidelines, replace stencils by printing or cutting out letter templates to trace, and swap markers for colored pencils, crayons, or gel pens when you outline and color in your letters.
My letters look uneven or the marker bled—how do I fix that?
To prevent uneven letters and bleeding, draw light pencil guidelines with a straight edge first, lightly sketch your letters and use stencils where needed, let marker outlines dry fully before coloring, place scrap paper under your hand while coloring, and then erase any extra pencil lines outside your final letters.
How can I adapt this activity for different ages?
For younger children, pre-draw the light horizontal guidelines and simple block or bubble letters for them to trace and give chunky markers or crayons and big stickers to attach, while older kids can choose script or intricate lettering, use stencils for perfect shapes, add detailed patterns before carefully outlining with a fine marker, and experiment with shading and multiple colors.
What are some ways to extend or personalize the finished nameplate?
After coloring and outlining, personalize the nameplate by attaching stickers or glue small decorations from the instructions, adding glitter glue or a washi-tape border, laminating or punching a hole to hang it, and then photograph and share your finished nameplate on DIY.org.
Watch videos on how to design and draw a DIY nameplate
Create Your Own Name Banner 🎨 | Easy Kids Art Lesson with Nicole Miyuki of Let's Make Art
4 Videos
Create Your Own Name Banner 🎨 | Easy Kids Art Lesson with Nicole Miyuki of Let's Make Art
HOW TO MAKE A NAME PLATE - EASY CRAFT FOR KIDS!

Pop Art Name Inspired by Roy Lichtenstein Art Lesson - Art With Trista
Autobiographical Name Art Tutorial - Art With Trista
Facts about hand lettering and nameplate crafts
✍️ The word "calligraphy" comes from Greek and literally means "beautiful writing."
🔤 Modern typography was revolutionized by Gutenberg's movable type in the 15th century.
🎨 Humans can distinguish about one million different colors—perfect for picking unique nameplate palettes!
✂️ Stencils let you repeat exact letter shapes quickly, a classic trick for neat DIY signs and nameplates.
🖊️ Pencils, markers, and brush pens each make different line textures—mix them to create cool lettering effects.
How do I guide my child to design and draw a personalized DIY nameplate?
What materials do I need to make a DIY nameplate at home?
What ages is drawing a DIY nameplate suitable for?
What are the benefits of making a personalized nameplate with my child?
