Draw the Night Sky!
Create a night sky drawing with stars, moon, and constellations using pencils, crayons, or paints while learning star patterns and observation skills.

Drawing Apps
Step-by-step guide to Draw the Night Sky
Step 1
Gather all the materials from the list and bring them to your workspace.
Step 2
Place your paper on a flat surface and smooth it out.
Step 3
Turn your paper to landscape or portrait depending on how wide you want your sky to be.
Step 4
Lightly draw a moon shape with your pencil where you want it in the sky.
Step 5
Choose one or two simple constellations to include like the Big Dipper or Orion.
Step 6
Use your pencil to mark small dots where the stars of your chosen constellations will go.
Step 7
Draw faint straight lines between the constellation dots to show each pattern.
Step 8
Add extra scattered star dots across the rest of the sky to make it look full.
Step 9
Use dark colouring materials to fill in the sky background around your stars and moon.
Step 10
Use a white or yellow crayon or paint to make the stars bright and add details to the moon.
Step 11
Write the names of your constellations in small letters next to each pattern.
Step 12
Share your finished night sky drawing on DIY.org.
Help!?
What can I use if I don't have white or yellow crayon or paint?
Use a piece of white chalk, a silver or white gel pen, a light-coloured coloured pencil, or small star stickers to make the stars bright instead of the white or yellow crayon or paint.
My drawn stars disappeared when I colored the sky dark—how can I fix that?
Color the sky in thin layers with your dark colouring materials and then redraw or dot the star positions from step 5 with a white/yellow crayon, paint, chalk, or stickers so the pencil marks stay visible.
How can I change this activity for different ages?
For preschoolers, use large star stickers and preprinted constellation outlines to place and colour, for elementary kids have them mark dots and connect simple constellations like the Big Dipper, and for older kids encourage researching accurate star placement and neatly writing constellation names as in step 11.
How can we make our night sky drawing more special or lasting?
Add glow-in-the-dark paint to the moon and stars, glue on silver glitter or sequins for extra stars, mount the finished paper on cardboard, and then share a photo on DIY.org as suggested in the final step.
Watch videos on how to Draw the Night Sky
How to Draw the Sky in a Few Easy Steps: Drawing Tutorial for Beginner Artists
4 Videos

How to Draw the Sky in a Few Easy Steps: Drawing Tutorial for Beginner Artists
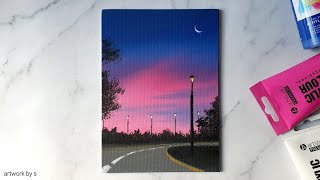
How to Draw a Night Sky | Easy Acrylic Painting Tutorial for Beginners | Mini Canvas Painting

How to Draw night sky scenery drawing for beginners with oil pastels
How to Draw a Night Sky with Markers
Facts about constellations and basic astronomy
🌟 From a dark location you can see about 2,500 stars with the naked eye at once — in a city you’ll see far fewer!
🌙 The Moon’s phase changes each night as it orbits Earth, so a drawing can show a crescent, half, or full Moon.
✨ People long ago connected bright stars into patterns; today there are 88 officially recognized constellations.
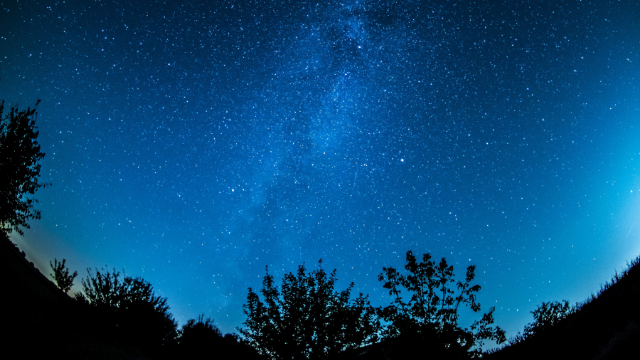
🔭 Light pollution hides many celestial sights — traveling a bit away from city lights reveals the Milky Way.
🖍️ Star charts help both artists and stargazers — you can make your own chart by marking bright stars and lines for constellations.
How do I do the 'Draw the Night Sky' activity with my child?
What materials do I need to draw the night sky with my child?
What ages is the Draw the Night Sky activity suitable for?
What are the benefits and safety tips for the Draw the Night Sky activity?
