Draw Sugar Cookie Decoration!
Draw colorful sugar cookie decorations on paper, practicing shapes, symmetry, and color mixing, then transfer designs to baked cookies with adult help.

Drawing Apps
Step-by-step guide to draw sugar cookie decoration
How to Decorate Sugar Cookies | Sally's Baking
Step 1
Gather all your materials on a clean table so everything is ready to decorate.
Step 2
Wash your hands with soap and water to be clean before you touch food or art supplies.
Step 3
Place the round template on your paper and trace one cookie circle with your pencil.
Step 4
Use the ruler to draw a straight center line down the circle to help make a symmetric design.
Step 5
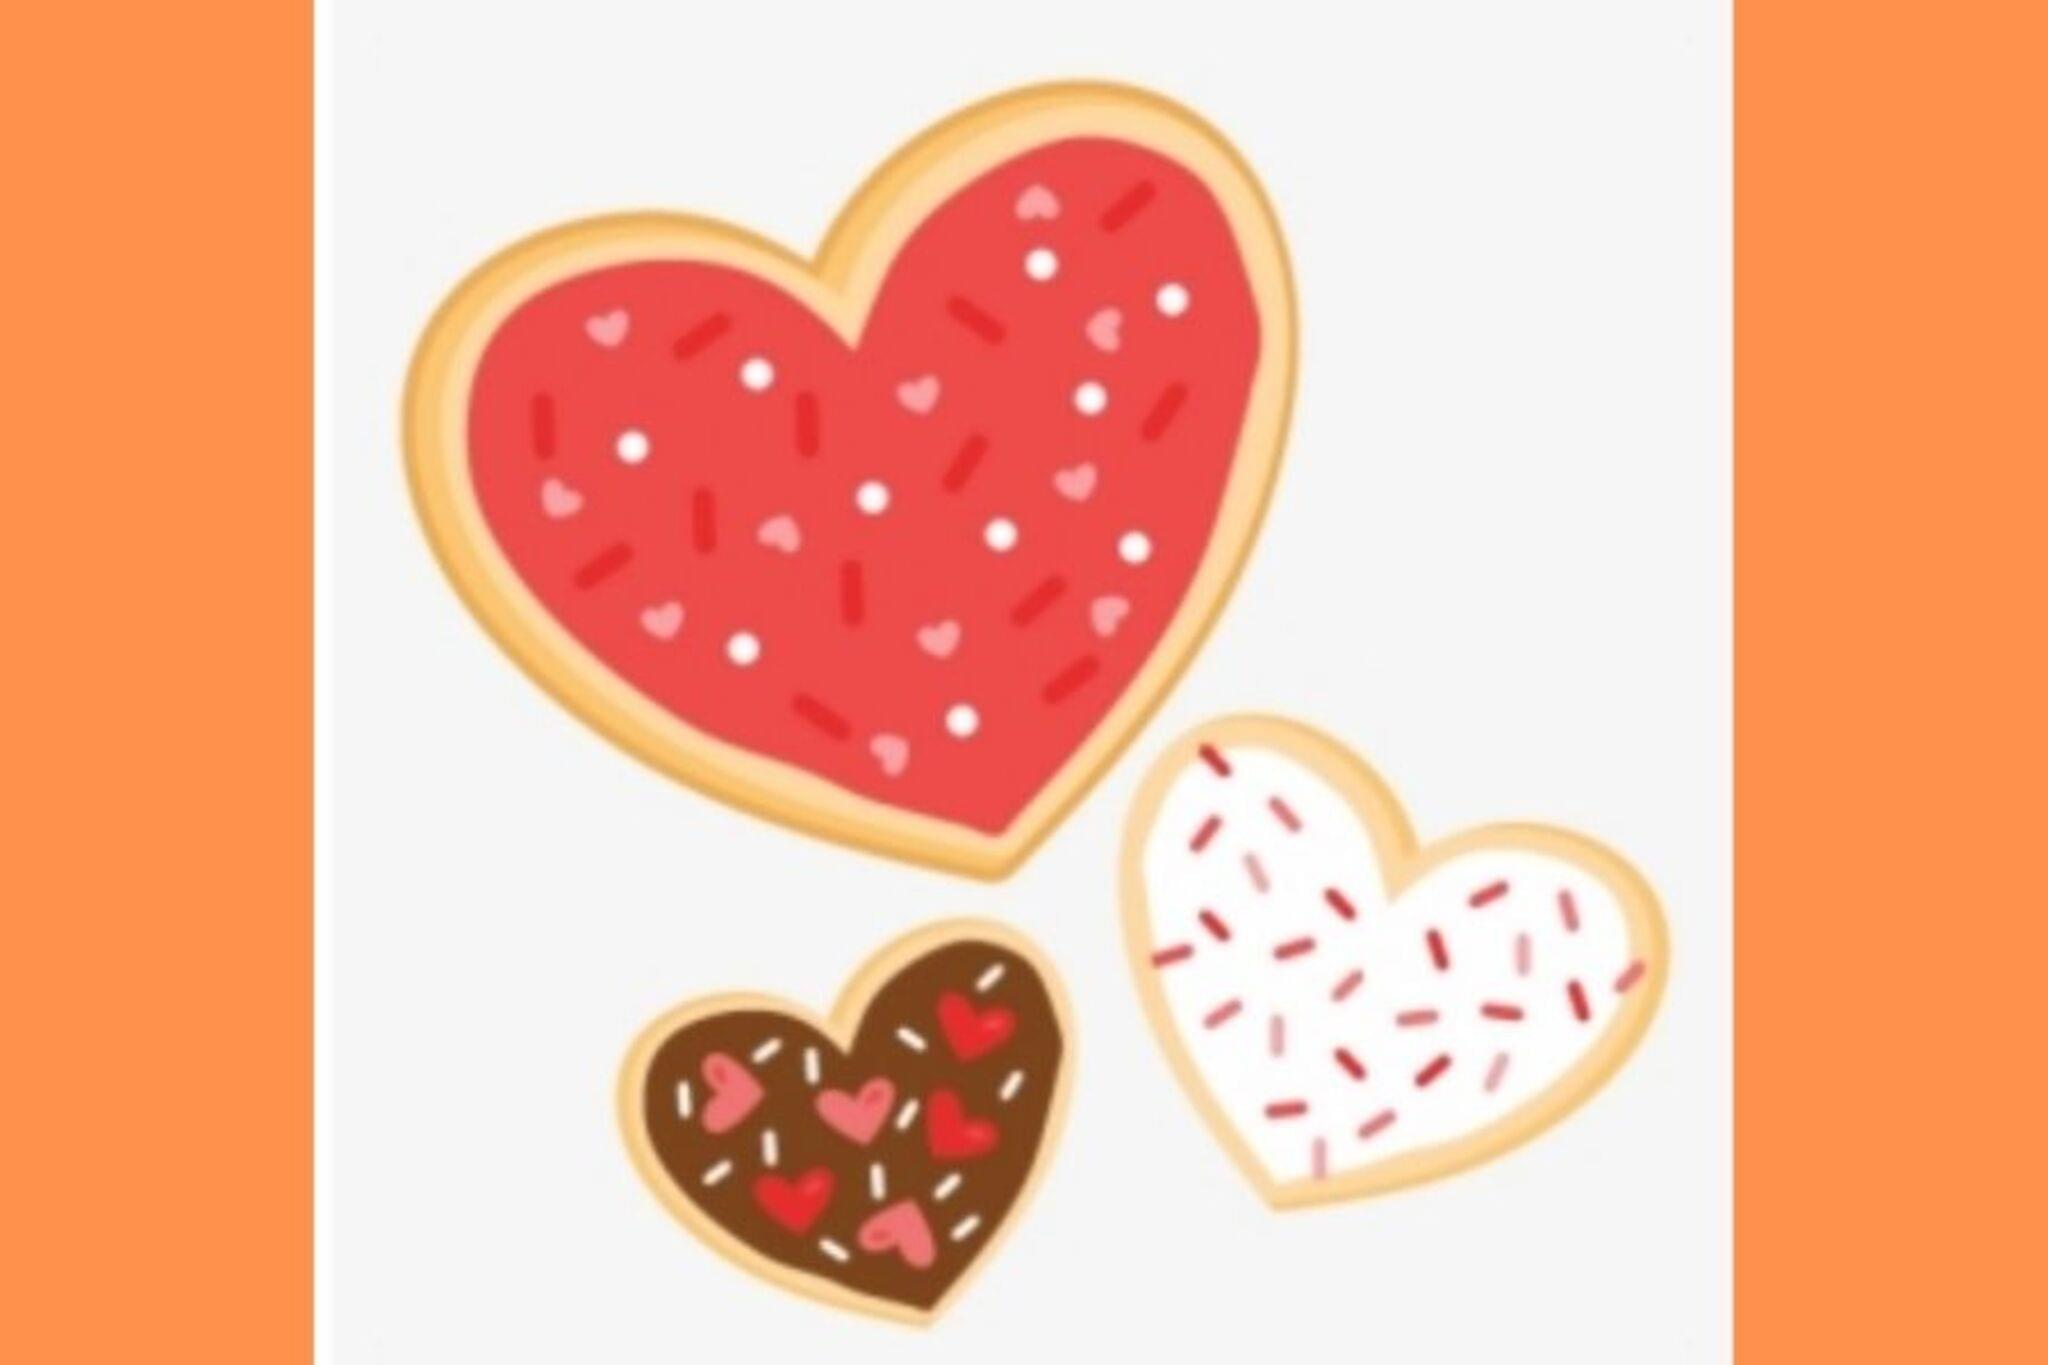
Sketch simple shapes like hearts stars or swirls on one half of the circle using your pencil.
Step 6
Copy those same shapes on the other half of the circle to make a mirrored symmetric design.
Step 7
On a scrap piece of paper mix two colouring materials together to make a new color and test it.
Step 8
Fill in your paper design with your chosen original and mixed colors using your colouring materials.
Step 9
Add tiny details like dots lines or sprinkle shapes to make your design pop.
Step 10
Call an adult to help set up a clean cookie-decorating station for transferring your design.
Step 11
With the adult place small amounts of icing into separate small bowls for each color.
Step 12
With the adult mix and tint each bowl of icing to match the colors from your paper design.
Step 13
With the adult use a piping bag or spoon to carefully transfer your paper design onto a plain baked sugar cookie.
Step 14
Let the icing set and then add edible sprinkles or decorations on top with the adult's help.
Step 15
Share a photo of your finished decorated cookie on DIY.org.
Help!?
What can we use instead of a piping bag or special cookie tools?
If you don't have a piping bag you can use a sturdy zip-top bag filled with icing, press it into one corner and snip a small hole to transfer your paper design onto a plain baked sugar cookie.
My mirrored shapes don't match — how can I fix symmetry before coloring and icing?
If your mirrored shapes don't match, fold the paper along the ruler-drawn center line after sketching and adjust the pencil shapes until both halves line up before you fill in colors.
How can I adapt this activity for different age groups?
For younger children use a pre-traced round template and thick crayons while an adult handles the mixing and piping onto the plain baked sugar cookie, and for older kids encourage drawing detailed symmetric shapes, mixing their own icing colors, and using a piping bag themselves.
What are some ways to extend or personalize the cookie design activity?
To extend the activity add edible shimmer or colored sugar to your tinted icing, pipe raised borders or layered designs on the plain baked sugar cookie, and photograph the finished cookie to share on DIY.org.
Watch videos on how to draw sugar cookie decoration
Potter Sugar Cookie Tutorial - 7 Easy Tips for Beginners & Kids | No Piping, Just Magic!
4 Videos
Potter Sugar Cookie Tutorial - 7 Easy Tips for Beginners & Kids | No Piping, Just Magic!

Beginner Baby Decorated Cookies | Step by Step Tutorial
Beginners guide to decorating sugar cookies | snowflake cookies!

Baking Yummy Sugar Cookies With Kids
Facts about cookie decorating and baking for kids
🍪 Sugar cookies became popular in 18th-century North America and are a holiday baking staple.
🎨 Mix two primary colors (red, blue, yellow) to make secondary colors: red+yellow=orange, blue+yellow=green, red+blue=purple.
🧁 Royal icing is made with egg whites or meringue powder and dries hard so your cookie decorations keep their shape.
🖍️ Gel food coloring gives brighter colors without thinning icing, so it’s great for vivid cookie art.
✨ Humans naturally prefer symmetry—mirror-symmetric designs look balanced and are easier for kids to copy.
How do you do the Draw Sugar Cookie Decoration activity?
What materials do I need for Draw Sugar Cookie Decoration?
What ages is Draw Sugar Cookie Decoration suitable for?
What are the benefits and safety tips for the cookie design activity?
