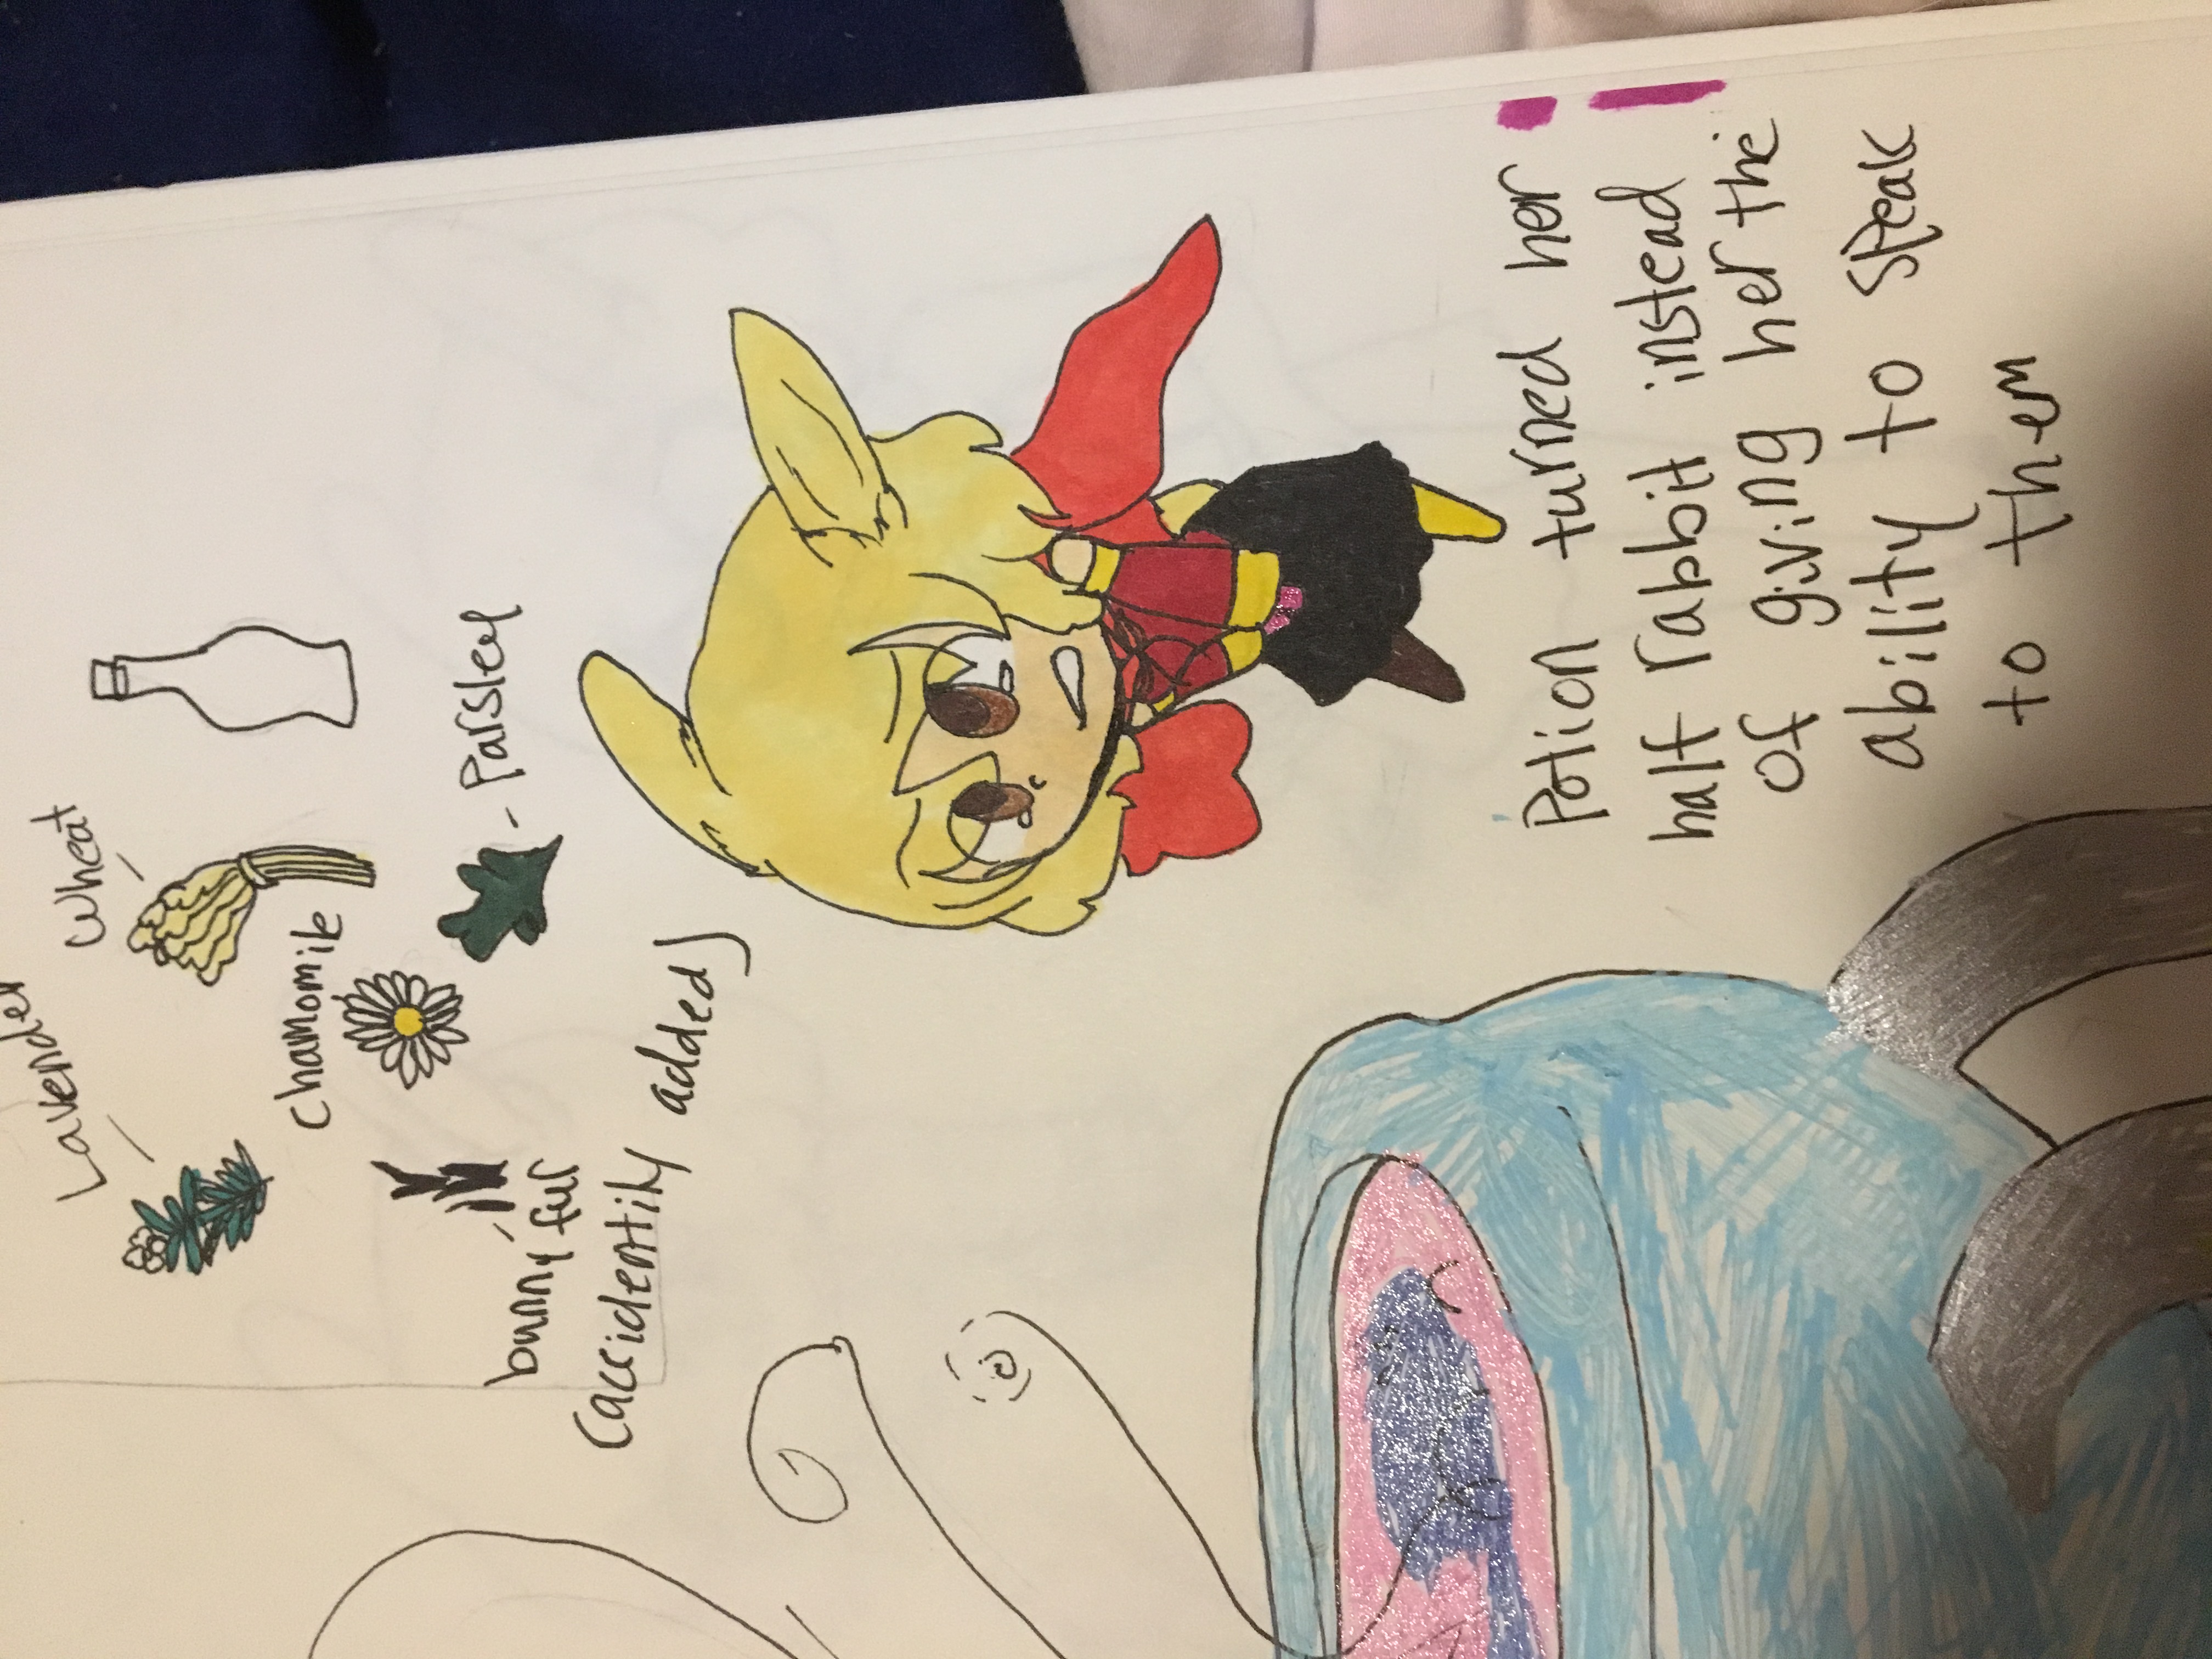
Draw ingredients for a magic potion
Draw and label imaginative magic potion ingredients using colored pencils or markers, invent properties and practice observational drawing and creative storytelling skills.

Drawing Apps
Step-by-step guide to draw ingredients for a magic potion
Step 1
Gather your paper pencil eraser colored pencils or markers and black pen so everything is ready.
Step 2
Pick a magical theme or effect for your potion like "invisibility" "giggle clouds" or "dragon-strength."
Step 3
Lightly draw one or two potion bottle shapes on the paper with your pencil.
Step 4
Draw four different ingredient shapes around or inside the bottle such as a leaf a pebble a tiny eye or a spark.
Step 5
Choose one real object to look at closely and copy one texture or detail from it onto one ingredient.
Step 6
Give each ingredient a fun name by writing the name next to it with your pencil.
Step 7
Invent one short magical property for each ingredient and write that property beneath its name.
Step 8
Color the bottle and each ingredient using your colored pencils or markers.
Step 9
Add a label and measurement marks on the potion bottle using your ruler and black pen if you want precise lines.
Step 10
Trace final outlines and lettering with your black pen then gently erase any leftover pencil marks.
Step 11
Write one-sentence story about how the potion is used somewhere on your page.
Step 12
Take a clear photo of your finished potion drawing and share your creation on DIY.org
Help!?
What can I use if I don't have colored pencils, a black pen, or a ruler?
Use crayons or watercolor paints instead of colored pencils, a fine-tip ballpoint or felt-tip marker instead of a black pen, and the straight edge of a book or a cardboard strip as a ruler when adding label and measurement marks.
My pencil lines smudge or the black pen blobs over the coloring—how do I fix that?
Draw lightly with your pencil, let markers or paint dry completely before tracing final outlines with the black pen, and test the pen on scrap paper first so erasing leftover pencil marks is clean.
How can I change this activity for different ages?
For toddlers simplify to one big bottle and one copied texture using stickers, for younger kids keep four ingredients and short names and properties, and for older kids add precise measurement marks with a ruler, more detailed textures from a real object, and a longer potion story.
How can we extend or personalize the potion drawing after finishing the basic steps?
Glue small real items like a dried leaf to match a copied texture, add glitter or watercolor washes to the bottle, make ingredient cards listing each name and magical property, and take the clear photo to create a digital collage before sharing on DIY.org.
Watch videos on how to draw ingredients for a magic potion
Magic Potion Easy DIY Science Experiments for Kids to do at home!!
3 Videos
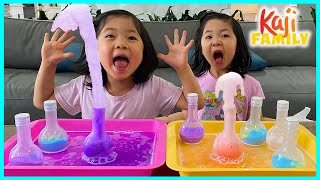
Magic Potion Easy DIY Science Experiments for Kids to do at home!!
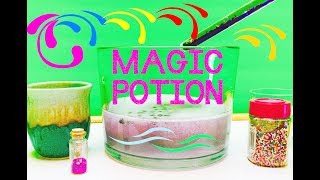
How to Make Bubbling MAGIC POTION Recipe Video For Young Kids!
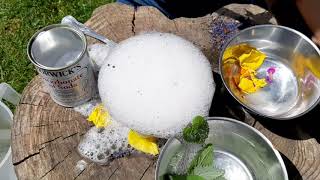
Go Wild at Home : Making a magic potion
Facts about drawing and creative storytelling for kids
🧪 Alchemy was a medieval precursor to chemistry where people mixed mysterious ingredients while chasing ideas like the philosopher's stone.
🌿 Herbalism studies how people use plants as remedies — many kitchen herbs have been used medicinally for thousands of years.
✏️ Colored pencils come in sets ranging from a few to over a hundred colors, perfect for layering and blending magical hues.
👀 Artists use observational drawing (like still life) to train their eyes to spot tiny shapes, shadows, and textures.
📖 Giving each potion ingredient a special property is like a tiny story—small details help make your creations unforgettable.
How do I guide my child to draw and label imaginative magic potion ingredients?
What materials do I need to draw and label magic potion ingredients?
What ages is this drawing and labeling activity suitable for?
What are the benefits of drawing magic potion ingredients and how can I vary the activity?
