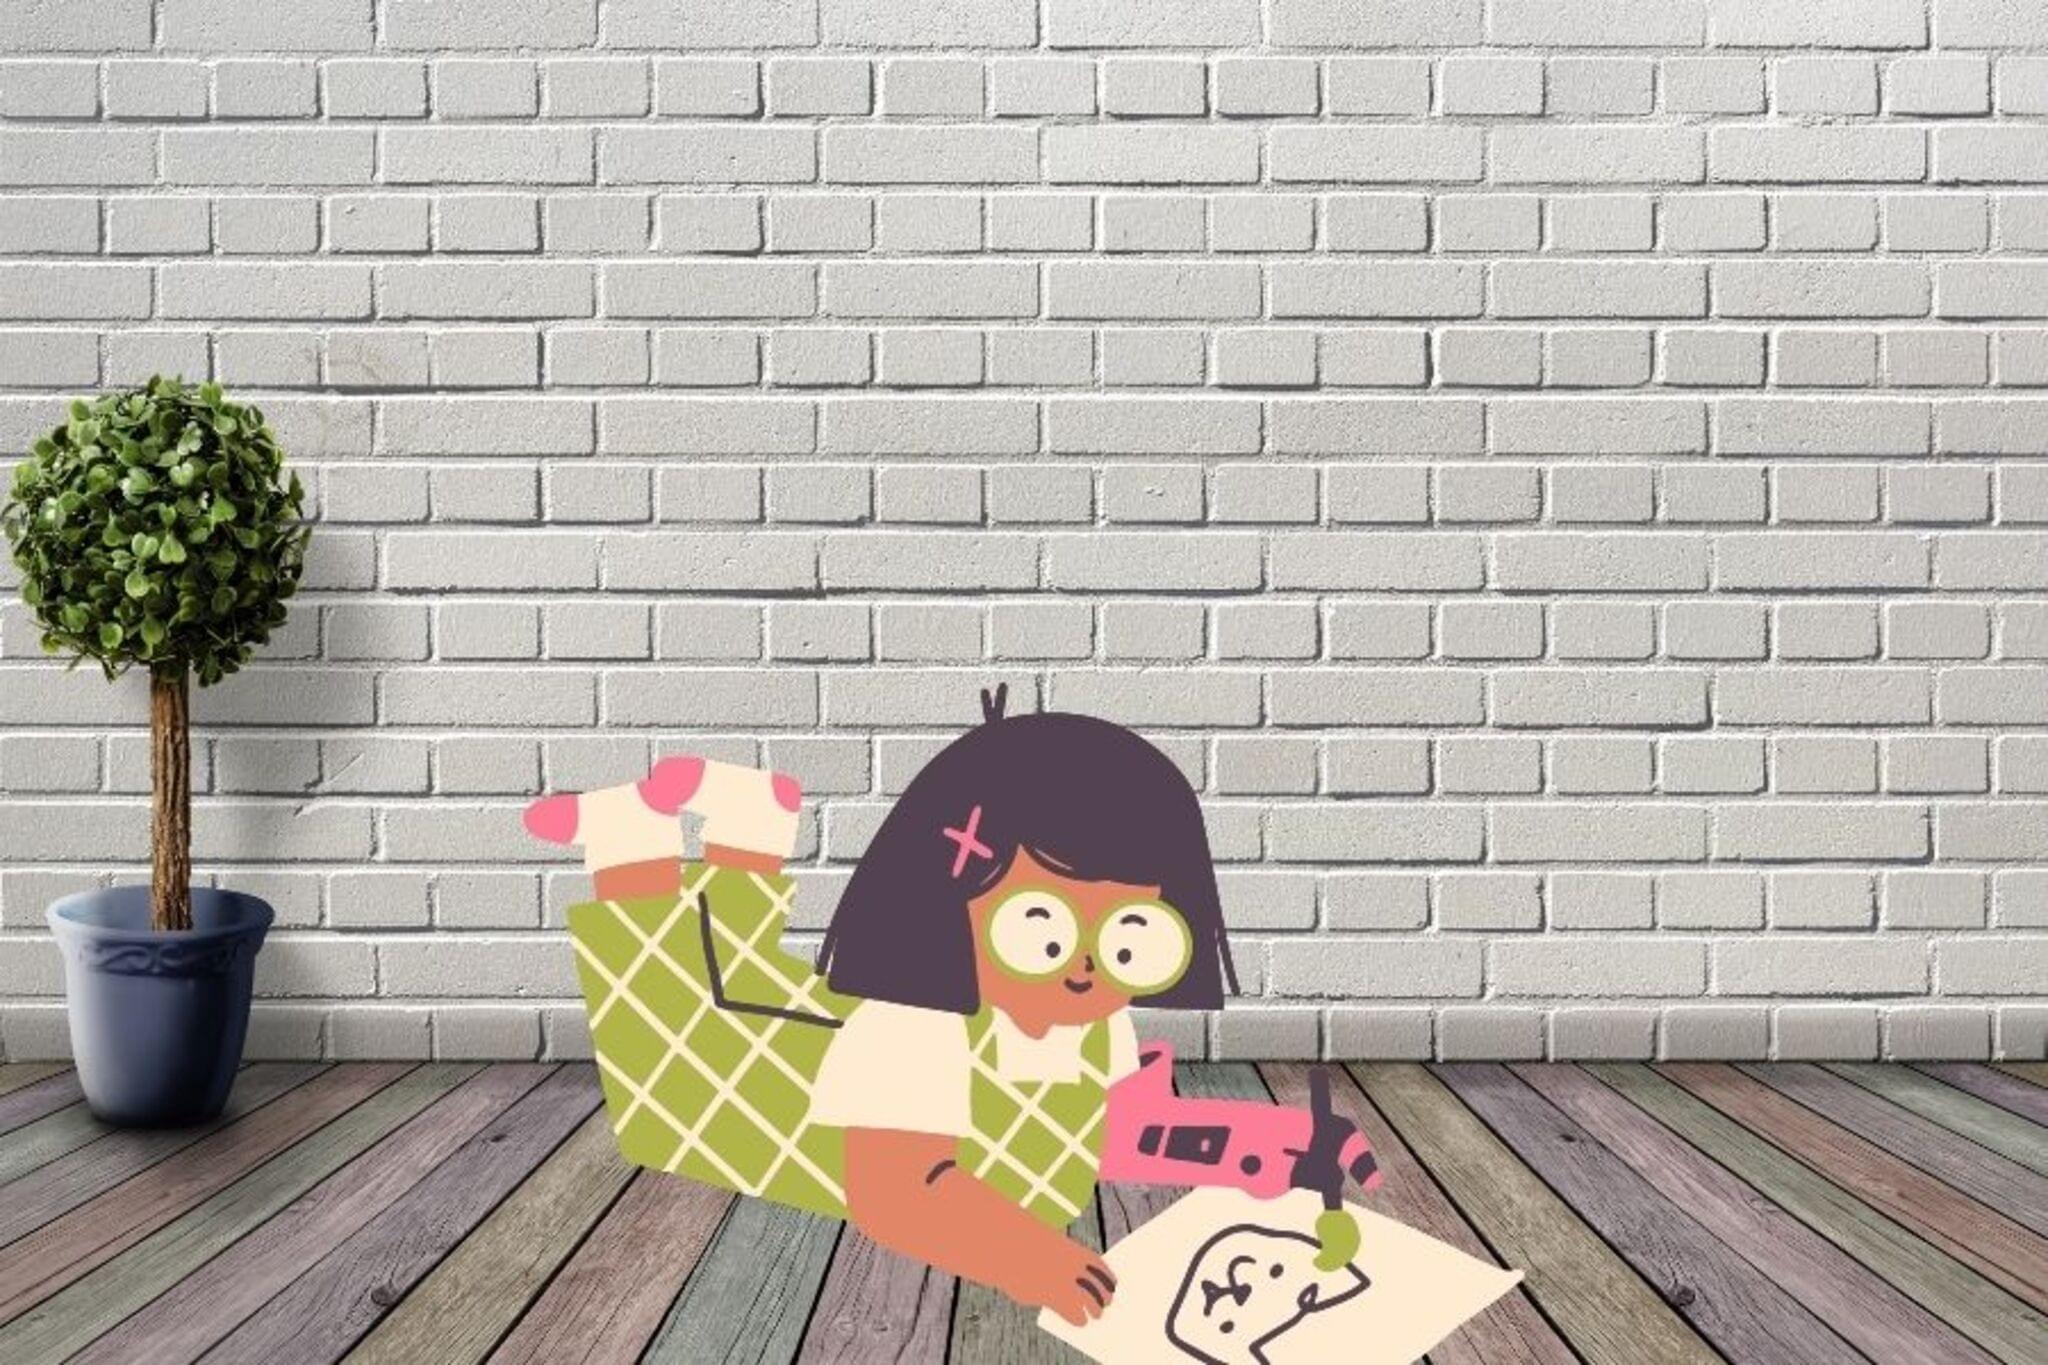
Draw from a description by @Rainbowlillie
Follow a written description by @Rainbowlillie and draw the scene using pencils or markers, practicing careful observation and creative interpretation.

Drawing Apps
Step-by-step guide to draw from a description by @Rainbowlillie
I'll teach you to draw! How to Draw #1: The Essential First Steps Most Beginners Miss
Step 1
Read the written description from @Rainbowlillie slowly and quietly to understand the scene.
Step 2
Underline the words in the description that tell you about shapes colors and objects.
Step 3
Close your eyes and imagine the scene for ten seconds so you can picture the big parts.
Step 4
Place your paper on a flat surface in front of you.
Step 5
Lightly sketch the largest shapes with your pencil to map out the scene.
Step 6
Add medium and small details with light pencil lines to fill in the picture.
Step 7
Erase any extra pencil lines that make the drawing look messy.
Step 8
Pick the marker or colored pencil colors that match the description.
Step 9
Color the large areas first using steady even strokes.
Step 10
Add small color details and gentle shading to bring the scene to life.
Step 11
Write your name and a short title on the bottom of your drawing.
Step 12
Share your finished drawing on DIY.org
Help!?
What can we use if we don't have markers or colored pencils?
Substitute crayons, washable paints, or colored pens to pick colors and color the large areas first as the instructions say to match the description.
My sketch looks messy and full of extra lines—what should we do?
Follow the step to erase any extra pencil lines carefully, then lightly re-sketch medium and small details before coloring with steady even strokes to avoid muddiness.
How can I adapt this activity for younger or older kids?
For younger kids, simplify by having them trace or stamp the largest shapes on the paper on a flat surface and use stickers for small details, while older kids can refine light pencil mapping of the largest shapes, add detailed shading, and craft a more descriptive short title before sharing on DIY.org.
How can we extend or personalize our finished drawing?
Add gentle shading and small color details to bring the scene to life, create a decorative border or color key, write your name and a short title at the bottom, and photograph it to post on DIY.org with the underlined descriptive words noted.
Watch videos on how to draw from a description by @Rainbowlillie
How To Draw A Frog Leaping For Leap Day
4 Videos
How To Draw A Frog Leaping For Leap Day
How To Draw A Self Portrait: For Kids!
How To Draw A Spring Kid Jumping Into A Puddle
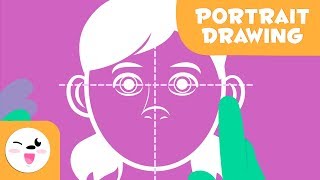
Learn how to draw portraits - How to draw a face step-by-step - Easy tutorial for kids
Facts about observational drawing and visual interpretation
✏️ Reading a vivid description can light up the brain's visual areas—it's almost like 'seeing' with your imagination.
🎨 Many artists begin big scenes with tiny 'thumbnail' sketches to plan composition quickly and try ideas fast.
👀 Observation games help you notice small details—practice can make you spot things you missed before.
🧠 Turning words into pictures trains both language and visual thinking—it's a great brain cross-training exercise.
🧩 Pictionary, the famous drawing-clue game that celebrates drawing from descriptions, was first published in 1985.
How do I guide my child to follow a written description by @Rainbowlillie and draw the scene?
What materials do I need for the Rainbowlillie description drawing activity?
What ages is the 'draw from a written description' activity suitable for?
What are the benefits of following a written description to draw?
