Draw Fashion Illustrations & Garments
Draw fashion illustrations and design simple garments on paper, practice sketching figures, adding color, texture, and basic sewing ideas to bring outfits to life.


Step-by-step guide to draw fashion illustrations & garments
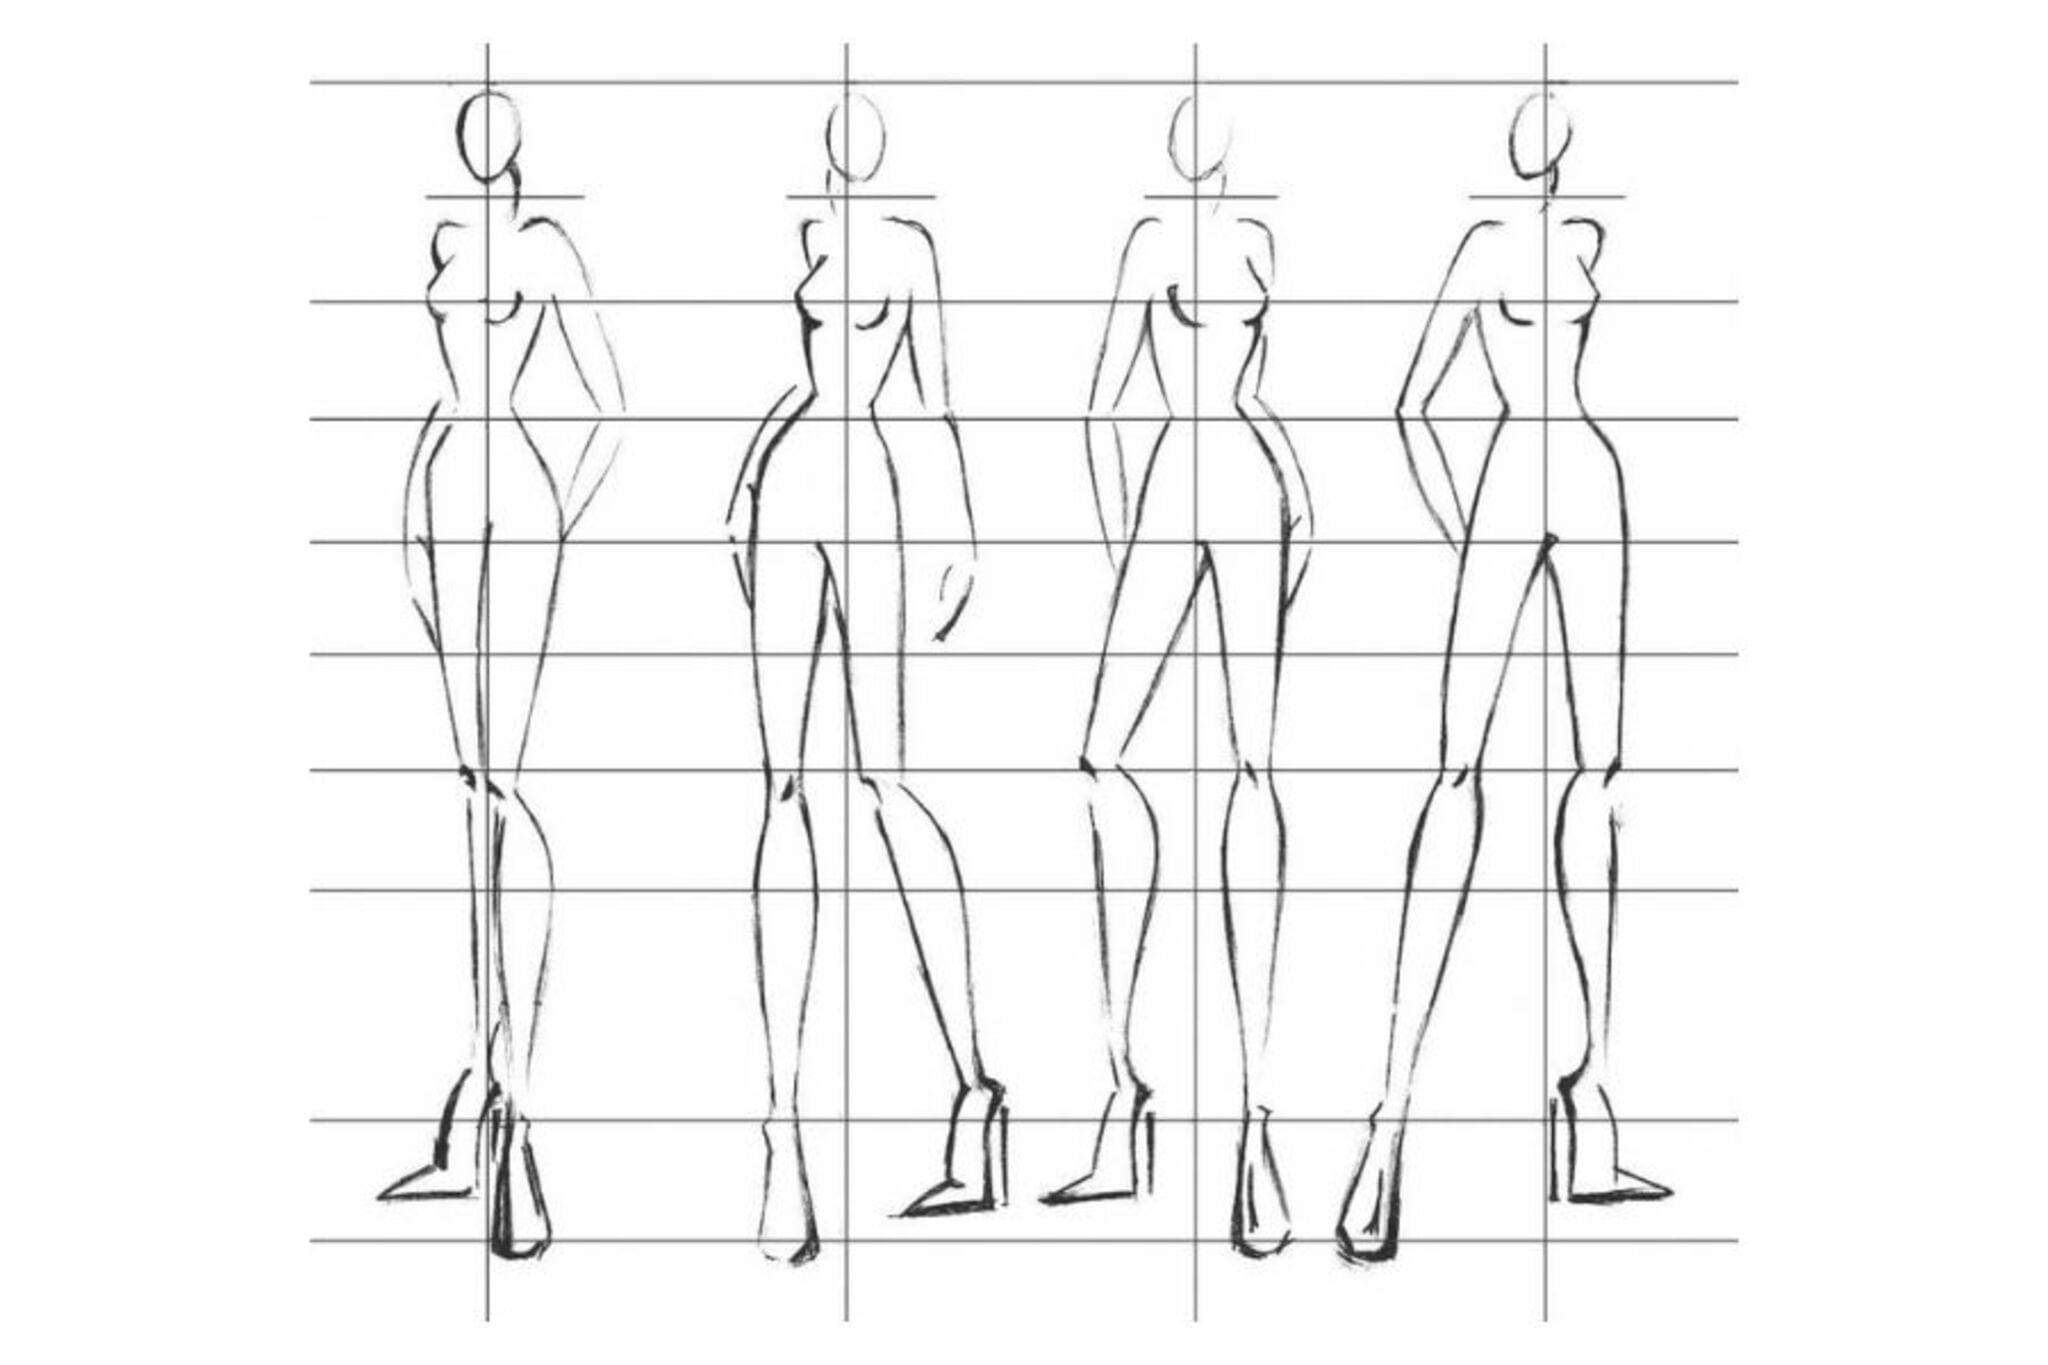
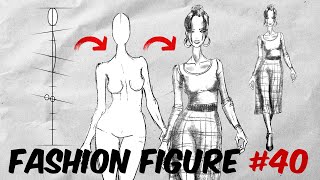
How to draw a Fashion Illustration | Step by step | Basic Croquis in front Pose | 9 Heads
Step 1
Gather all your materials and put them where you can reach them easily.
Step 2
Clear a flat clean workspace to draw on.
Step 3
Lightly draw a simple fashion croquis figure with your pencil.
Step 4
Sketch the basic garment shape on the croquis using simple lines.
Step 5
Add one design detail like a sleeve collar or pocket to the garment.
Step 6
Draw simple texture and pattern marks where the fabric would be like stripes dots or knit lines.
Step 7
Color the garment using your coloring materials to bring the outfit to life.
Step 8
Trace the important lines of your drawing with a black fine liner to make them stand out.
Step 9
Cut a small fabric scrap to match one area of your design if you want real texture.
Step 10
Glue the fabric scrap onto the matching area of your drawing.
Step 11
Draw sewing details like stitch lines button marks or seam lines to show how the garment is made.
Step 12
Write a short label with the outfit name the fabrics and one sentence about how to wear it.
Step 13
Share your finished fashion illustration and garment idea on DIY.org
Help!?
What can we use instead of a black fine liner or a fabric scrap if we don't have them?
If you don't have a black fine liner to trace the important lines, use a thin Sharpie, felt-tip pen, or black gel pen, and replace the fabric scrap by cutting patterned paper, tissue from a magazine, or a small piece from an old T‑shirt to glue onto the matching area.
My pencil lines and ink smudge or the fabric won't stay on — how can I fix those problems?
To stop smudging, erase unwanted pencil marks before coloring and let ink dry fully after you trace with the black fine liner, and if the fabric scrap won't stick use a thin, even layer of white glue or a glue stick, press it flat and dry under a heavy book after trimming excess fabric with scissors.
How can I adapt this activity for younger kids or make it more challenging for older kids?
For younger children, print a large, simple croquis and give thick crayons, safety scissors, and help with gluing one fabric scrap and adding a single design detail, while older kids can refine proportions, add more design details and stitch lines, trace with a black fine liner, and write a detailed label about fabrics and how to wear it.
What are some ways to extend or personalize the fashion illustration activity?
Extend the project by creating a mini collection of three croquis outfits using different fabric scraps and texture marks, add detailed sewing lines and labels for each garment, photograph the finished illustrations, and share the themed portfolio on DIY.org.
Watch videos on how to draw fashion illustrations & garments
How to Draw Fashion Figures • Step-by-Step Tutorial for Beginners • 9 Heads Fashion Illustration
4 Videos
How to Draw Fashion Figures • Step-by-Step Tutorial for Beginners • 9 Heads Fashion Illustration
Fashion Sketching: 5 Step-by-Step Tutorials for Drawing Stylish Models
How to draw fashion sketches for beginners. Illustration tutorial. Model drawing design
How to Draw a Fashion Figure | Fashion Illustration for Beginners
Facts about fashion design for kids
👗 A fashion croquis is often drawn about 9 heads tall to give that stylish, elongated model look.
✏️ Before fashion photography, hand-drawn fashion plates and illustrations were the main way to show new styles.
🎨 Colors change perception: darker shades can make garments look slimmer while bright colors and big prints draw the eye.
🧵 Elias Howe patented a practical sewing machine in 1846, kickstarting faster garment production.
🌱 Cotton is one of the world's most used textile fibers, and silk comes from the cocoons of silkworms.
How do I teach my child to draw fashion illustrations and design simple garments?
What materials do I need to draw fashion illustrations and create simple garment designs?
What ages is drawing fashion illustrations suitable for?
What are the benefits of drawing fashion illustrations and designing garments for kids?
