Draw Different Types Of Coats
Draw and color different types of coats—raincoat, trench, puffer, pea coat, and parka—then label features and compare their typical uses.

Drawing Apps
Step-by-step guide to draw different types of coats
how to draw a coat step by step | coat drawing for kids | painting & colouring for kids and toddlers
Step 1
Gather all the materials and clear a flat space to work on.
Step 2
Use the ruler to lightly draw five equal panels side by side on the paper.
Step 3
Write the name of each coat at the top of each panel: Raincoat; Trench; Puffer; Pea Coat; Parka.
Step 4
Sketch the raincoat in the first panel showing a hood and a loose long shape.
Step 5
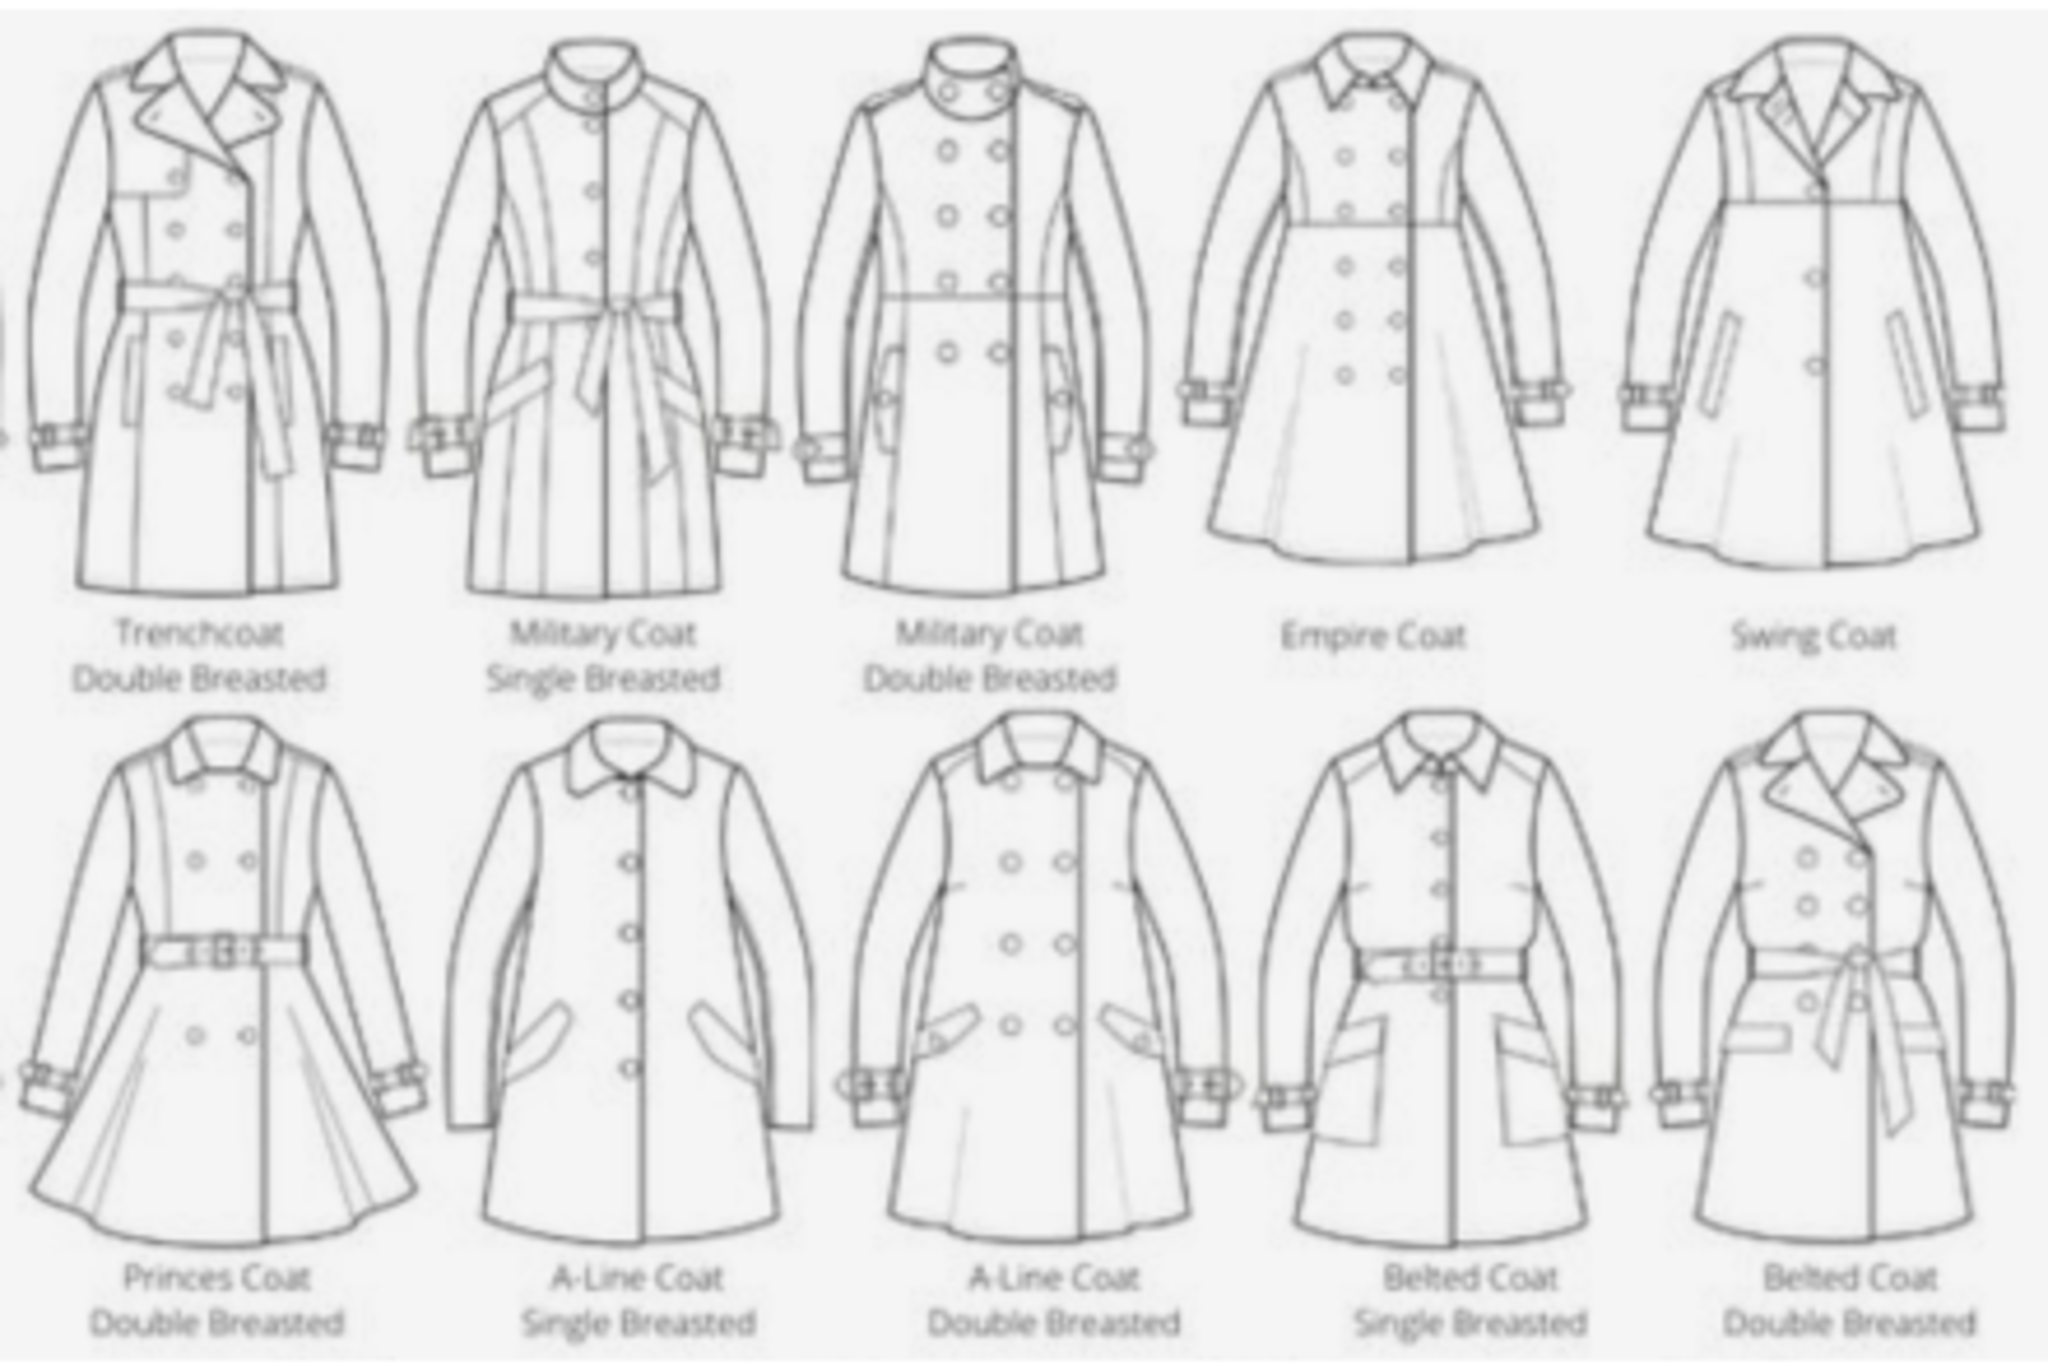
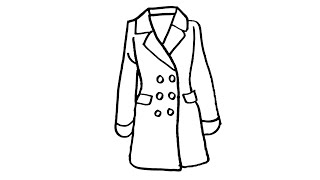
Sketch the trench coat in the second panel showing a belt a collar and double-breasted buttons.
Step 6
Sketch the puffer coat in the third panel using puffed quilted sections to show insulation.
Step 7
Sketch the pea coat in the fourth panel as a short double-breasted coat with a wide collar.
Step 8
Sketch the parka in the fifth panel showing a hood many pockets and a longer insulated shape.
Step 9
Use the black pen to draw arrows from important parts of each coat to label features like hood buttons belt pockets quilting collar insulation.
Step 10
Under each panel write one or two short lines about the typical use of that coat for example keeping dry dressing up staying warm or outdoor cold-weather activities.
Step 11
Color each coat and add texture details like shiny waterproof highlights or quilted lines for the puffer.
Step 12
Share a photo of your finished drawings and labels on DIY.org.
Help!?
What can I use instead of a ruler, black pen, or camera if I don't have them?
Use the straight edge of a hardcover book or a folded piece of paper to mark five equal panels, substitute a sharpened pencil or fine-tipped marker for the black pen when drawing arrows and labels, and use a smartphone, tablet, or flatbed scanner to capture a photo of your finished drawings for DIY.org.
My panels look uneven or my puffer quilting looks messy—how can I fix that?
Lightly pencil-mark equal panel widths along the top and bottom and connect them before inking, and sketch the puffer's quilted sections with faint curved guide-lines first so you can adjust proportions and erase stray marks before adding heavy lines and color.
How can I adapt this activity for younger children or older kids who want more challenge?
For younger children have an adult pre-draw the five panels and basic coat outlines so they can focus on coloring and simple labels, while older kids can add realistic shading, detailed fabric textures, extra coat types, and short usage notes under each panel using colored pencils and markers.
How can we extend or personalize the project beyond the basic drawings?
Personalize and extend the activity by gluing small fabric swatches or recycled-material trims to each panel to show real textures, adding a tiny care label and occasion note under each coat, or staging and photographing a styled flat-lay to upload to DIY.org.
Watch videos on how to draw different types of coats
How to draw a Coat step by step
4 Videos
How to draw a Coat step by step

How To Draw A Coat Step By Step | A Coat Easy Line Drawings For Beginners | Easy drawing idea
Raincoat Easy Drawing Tutorial
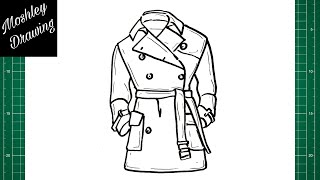
How to Draw a Trench Coat
Facts about outerwear and coat types
🌧️ The raincoat became popular after Charles Macintosh invented rubberized fabric in 1823 — some people still call raincoats 'Mackintoshes'!
🎖️ Trench coats were adapted from military jackets used in World War I and often have D‑rings and epaulettes for holding gear.
🧊 Puffer jackets trap warm air in quilted "puffs" filled with down or synthetic fibers, making them super cozy in cold weather.
⚓ The pea coat started as a heavy wool jacket worn by sailors in the 1700s to stay warm and block wind and spray.
🥶 Parkas were developed by Arctic peoples using fur and sealskin for insulation; modern parkas keep faces and hoods shielded from icy winds.
How do I do the Draw Different Types of Coats activity with my child?
What materials do I need for the Draw Different Types of Coats activity?
What ages is the Draw Different Types of Coats activity suitable for?
What are the benefits and variations of the Draw Different Types of Coats activity?
