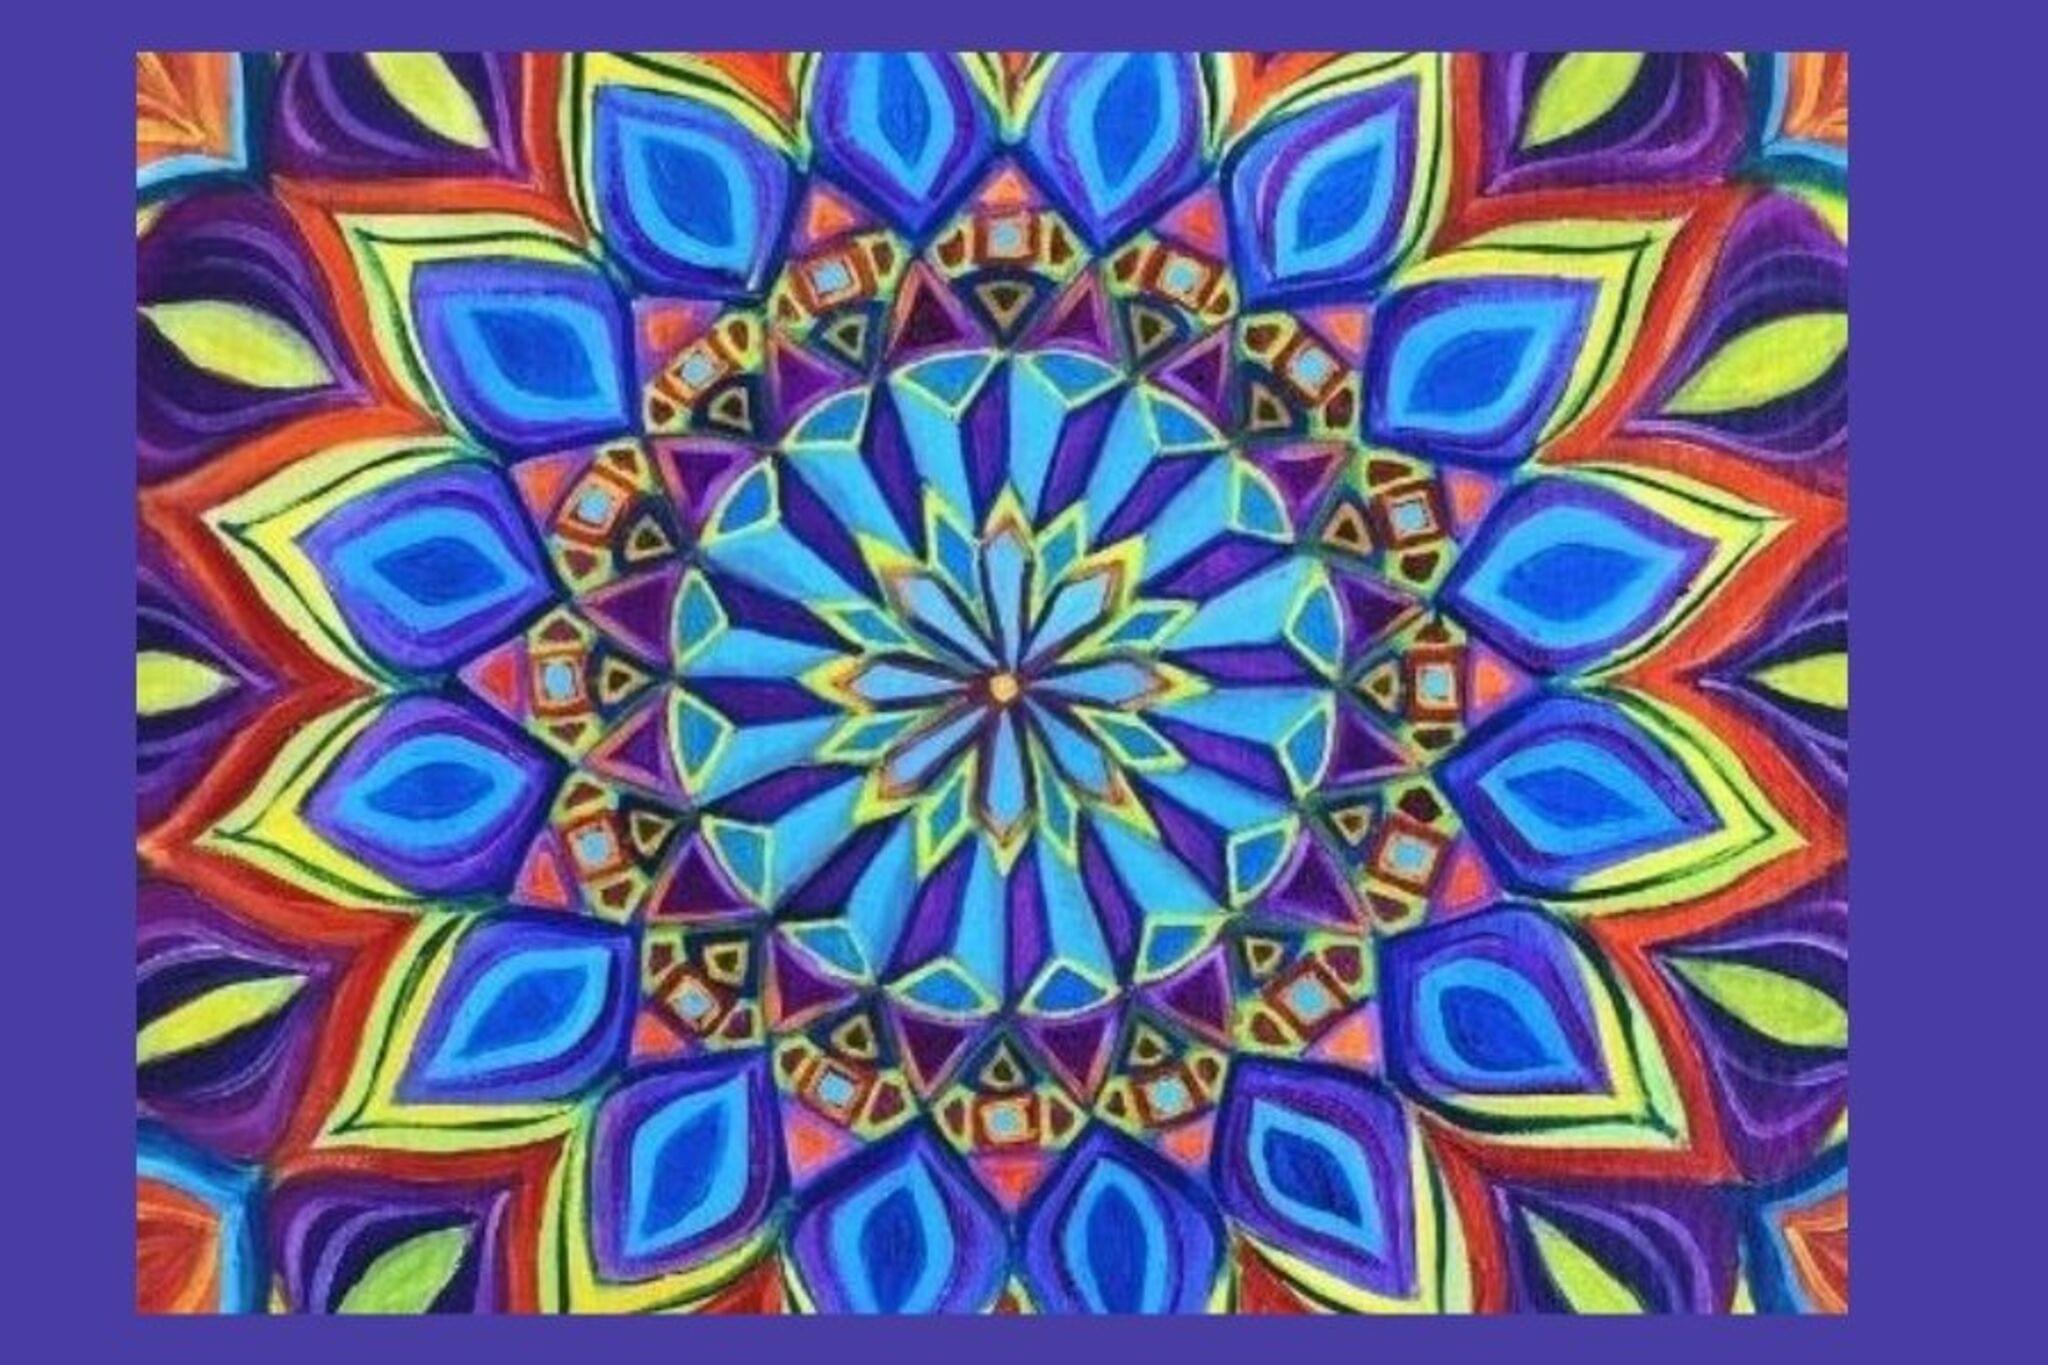
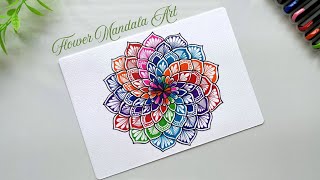
Draw Delightful Mandala Art
Draw colorful mandala artwork by creating concentric circles, repeating patterns, and symmetrical designs using pencils, pens, and markers to explore rhythm and balance.


Step-by-step guide to draw delightful mandala art
How to Draw a Mandala: Easy Step-by-Step Tutorial for Beginners!
Step 1
Gather all your materials and find a flat table to work on.
Step 2
Place the paper and lightly mark the exact center of the page with your pencil.
Step 3
Draw several concentric circles from the center using a compass or by tracing round objects.
Step 4
Use the ruler to draw straight light lines from the center outward to divide the circles into equal sections.
Step 5
Pick three or four simple shapes to repeat like petals; triangles; dots; or scallops.
Step 6
Draw the chosen shape repeatedly around the innermost ring to make a neat pattern.
Step 7
Draw a different repeating pattern around the next ring using one of your other chosen shapes.
Step 8
Continue filling each ring outward with new repeating patterns until all rings are decorated.
Step 9
Add tiny details like small dots and short lines inside shapes to make them more interesting.
Step 10
Trace over your pencil designs with the fine tip pen to make the final lines bold.
Step 11
Wait until the ink is completely dry before touching the paper.
Step 12
Erase the pencil marks gently to leave only your inked patterns.
Step 13
Color your mandala using your colouring materials and repeat colors across opposite sections to keep it symmetrical.
Step 14
Add one last accent like thicker outlines or little sparkles to finish your design and then share your creation on DIY.org
Help!?
I don't have a compass or a fine-tip pen; what can I use instead?
For concentric circles trace lids, cups, or coins instead of a compass, and substitute a felt-tip or gel pen for the fine-tip pen while testing on scrap paper to avoid bleeding.
My sections aren't even and my design looks lopsided — how can I fix it?
Measure and mark equal angles with your ruler and a protractor before drawing light lines from the center, and if a ring still looks off, redraw that ring's pencil pattern lightly then retrace with pen.
How can I adapt this mandala activity for different ages?
For preschoolers, use only two or three large rings and simple shapes like dots and petals, for elementary kids keep three or four shapes and more rings, and for teens add tiny details and precise symmetry using a compass and protractor.
What are easy ways to personalize or extend my mandala after coloring?
Add thicker outlines, metallic gel-pen sparkles, or collage small sequins onto the finished inked design, and scan or photograph the piece to create a repeated digital pattern to share on DIY.org.
Watch videos on how to draw delightful mandala art
How to draw Easy Mandala Art for beginners | Mandala using colored pens | Doodle/Zentangle drawing
4 Videos
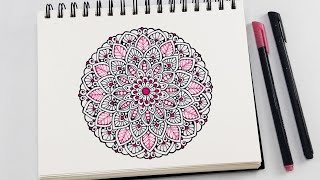
How to draw Easy Mandala Art for beginners | Mandala using colored pens | Doodle/Zentangle drawing
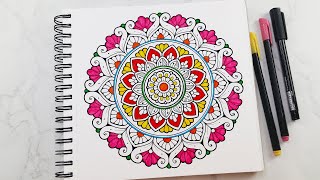
How to draw Mandala Art for beginners | Easy colorful Mandala | Doodle/Zentangle drawing
How to draw Mandala Art for beginners | Easy colorful Mandala | Doodle/Zentangle drawing
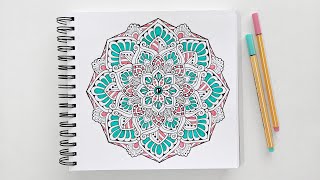
🌻Easy Way to Draw Mandala | Colourful Mandala Art for Beginners 💛
Facts about mandala drawing and symmetry
🎨 "Mandala" is a Sanskrit word that means "circle" — it's all about patterns built around a center!
🌀 Many mandalas use radial (rotational) symmetry with patterns repeating in 4, 6, or 8 segments to create balance.
✨ Coloring or creating mandalas is used in art therapy because it can help kids and adults relax and focus.
🎯 Concentric circles (many circles sharing the same center) are a simple trick artists use to keep mandalas even and harmonious.
🧘 Tibetan monks make sand mandalas that can take days to finish and are then swept away to teach impermanence.
How do I draw delightful mandala art step by step?
What materials do I need to draw mandala art with my child?
What ages is mandala drawing suitable for?
What are the benefits of mandala art for children?
