Draw Cool Human Figures with @Ellbelle
Follow @Ellbelle to draw cool human figures, learn basic proportions, dynamic poses, simple clothing and shading techniques using pencil and paper.

Drawing Apps
Step-by-step guide to Draw Cool Human Figures with @Ellbelle
Step 1
Follow @Ellbelle on your favorite platform so you can watch her drawing tips.
Step 2
Choose one cool pose from @Ellbelle that you want to draw.
Step 3
Lightly draw an oval for the head near the top of your paper.
Step 4
Draw a straight vertical centerline down from the head to map the body’s spine.
Step 5
Use your pencil to mark head-length units along the centerline to set the figure’s height.
Step 6
Sketch a simple chest shape and a pelvis shape on the centerline to place the torso.
Step 7
Draw quick gesture lines from the torso for the arms and legs to capture the pose’s action.
Step 8
Add small circles for joints and connect them with cylinder shapes to build the limbs.
Step 9
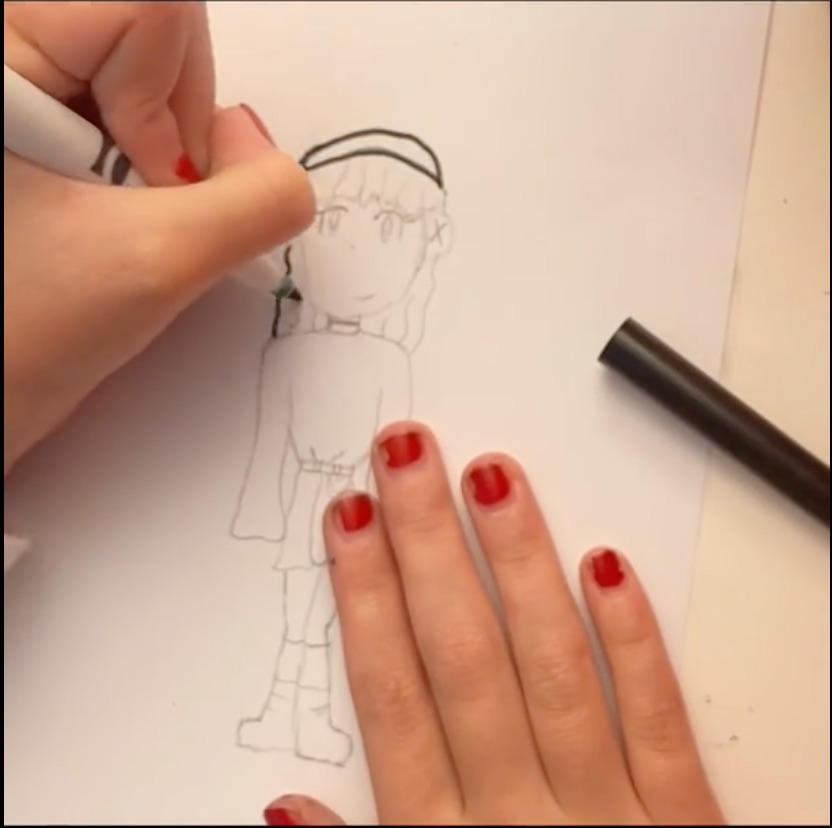
Draw simple clothing shapes over the body forms to show how fabric sits on the figure.
Step 10
Add basic facial features and hair to give your character personality.
Step 11
Shade the drawing with short pencil strokes where shadows fall using the darker pencil.
Step 12
Gently blend the shaded areas with a tissue or blending stump to soften the shadows.
Step 13
Erase any light construction lines so the final figure looks clean.
Step 14
Darken your final outlines and add small details like creases or patterns.
Step 15
Share your finished creation on DIY.org
Help!?
I don't have a blending stump or tissue—what can I use to soften shadows from the shading step?
Gently rub the shaded areas from the 'Gently blend the shaded areas with a tissue or blending stump' step with a clean fingertip, a cotton swab, or a scrap of toilet paper, and if you lack a darker pencil try a softer 2B–4B pencil for the shadows.
My figure's proportions look wrong after marking head-length units on the centerline—how do I fix it?
Recount and lightly redraw the head-length units along the vertical centerline from step 4, then erase and reposition the chest and pelvis shapes so the torso and limb lengths match the correct number of head units before adding limbs.
How can I adapt this drawing activity for younger kids or older teens?
For younger children simplify steps 3–7 to a big oval head, one centerline and stick-figure gesture lines, while older teens can refine steps 6–14 by building limbs as cylinders, adding detailed facial features, darker pencil shading, and blending.
What are quick ways to enhance or personalize the finished figure before sharing on DIY.org?
Personalize by adding clothing creases and patterns in step 13, darkening final outlines and small details in step 14, experimenting with ink or color over the cleaned-up lines, and photographing the finished figure to share on DIY.org.
Watch videos on how to Draw Cool Human Figures with @Ellbelle
How To Draw HUMAN BODY | The Basics | Sketch Tutorial
4 Videos

How To Draw HUMAN BODY | The Basics | Sketch Tutorial
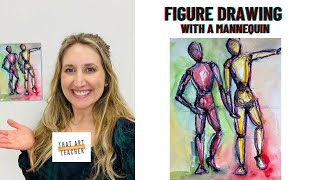
Figure Drawing for Beginners with a Mannequin | Step-by-Step Sketch & Watercolor Tutorial
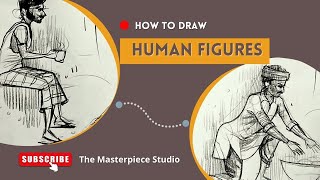
How to draw human figures step by step | The masterpiece studio
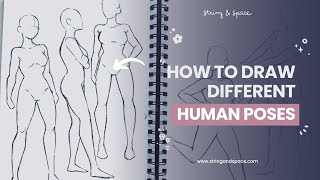
How to Draw Different Human Poses | Easy Step-by-Step Tutorial for Beginners
Facts about figure drawing for kids
✍️ Artists often use the 'head-count' rule: an adult figure is about 7.5–8 heads tall.
⏱️ Gesture drawing sessions usually use very short poses (30 seconds–2 minutes) to capture action and energy.
✏️ Pencil grades range from 9H (very hard, light) to 9B (very soft, dark); H pencils make fine lines, B pencils are great for shading.
👗 Drawing clothes is easier when you sketch the body first—folds and drape follow the underlying pose.
🎨 Using an eraser to lift graphite creates bright highlights and helps shapes read as three-dimensional.
How do I follow @Ellbelle to draw cool human figures step-by-step?
What materials do I need to draw cool human figures with @Ellbelle?
What ages are suitable for drawing human figures with @Ellbelle?
What are the benefits of drawing human figures with @Ellbelle?
