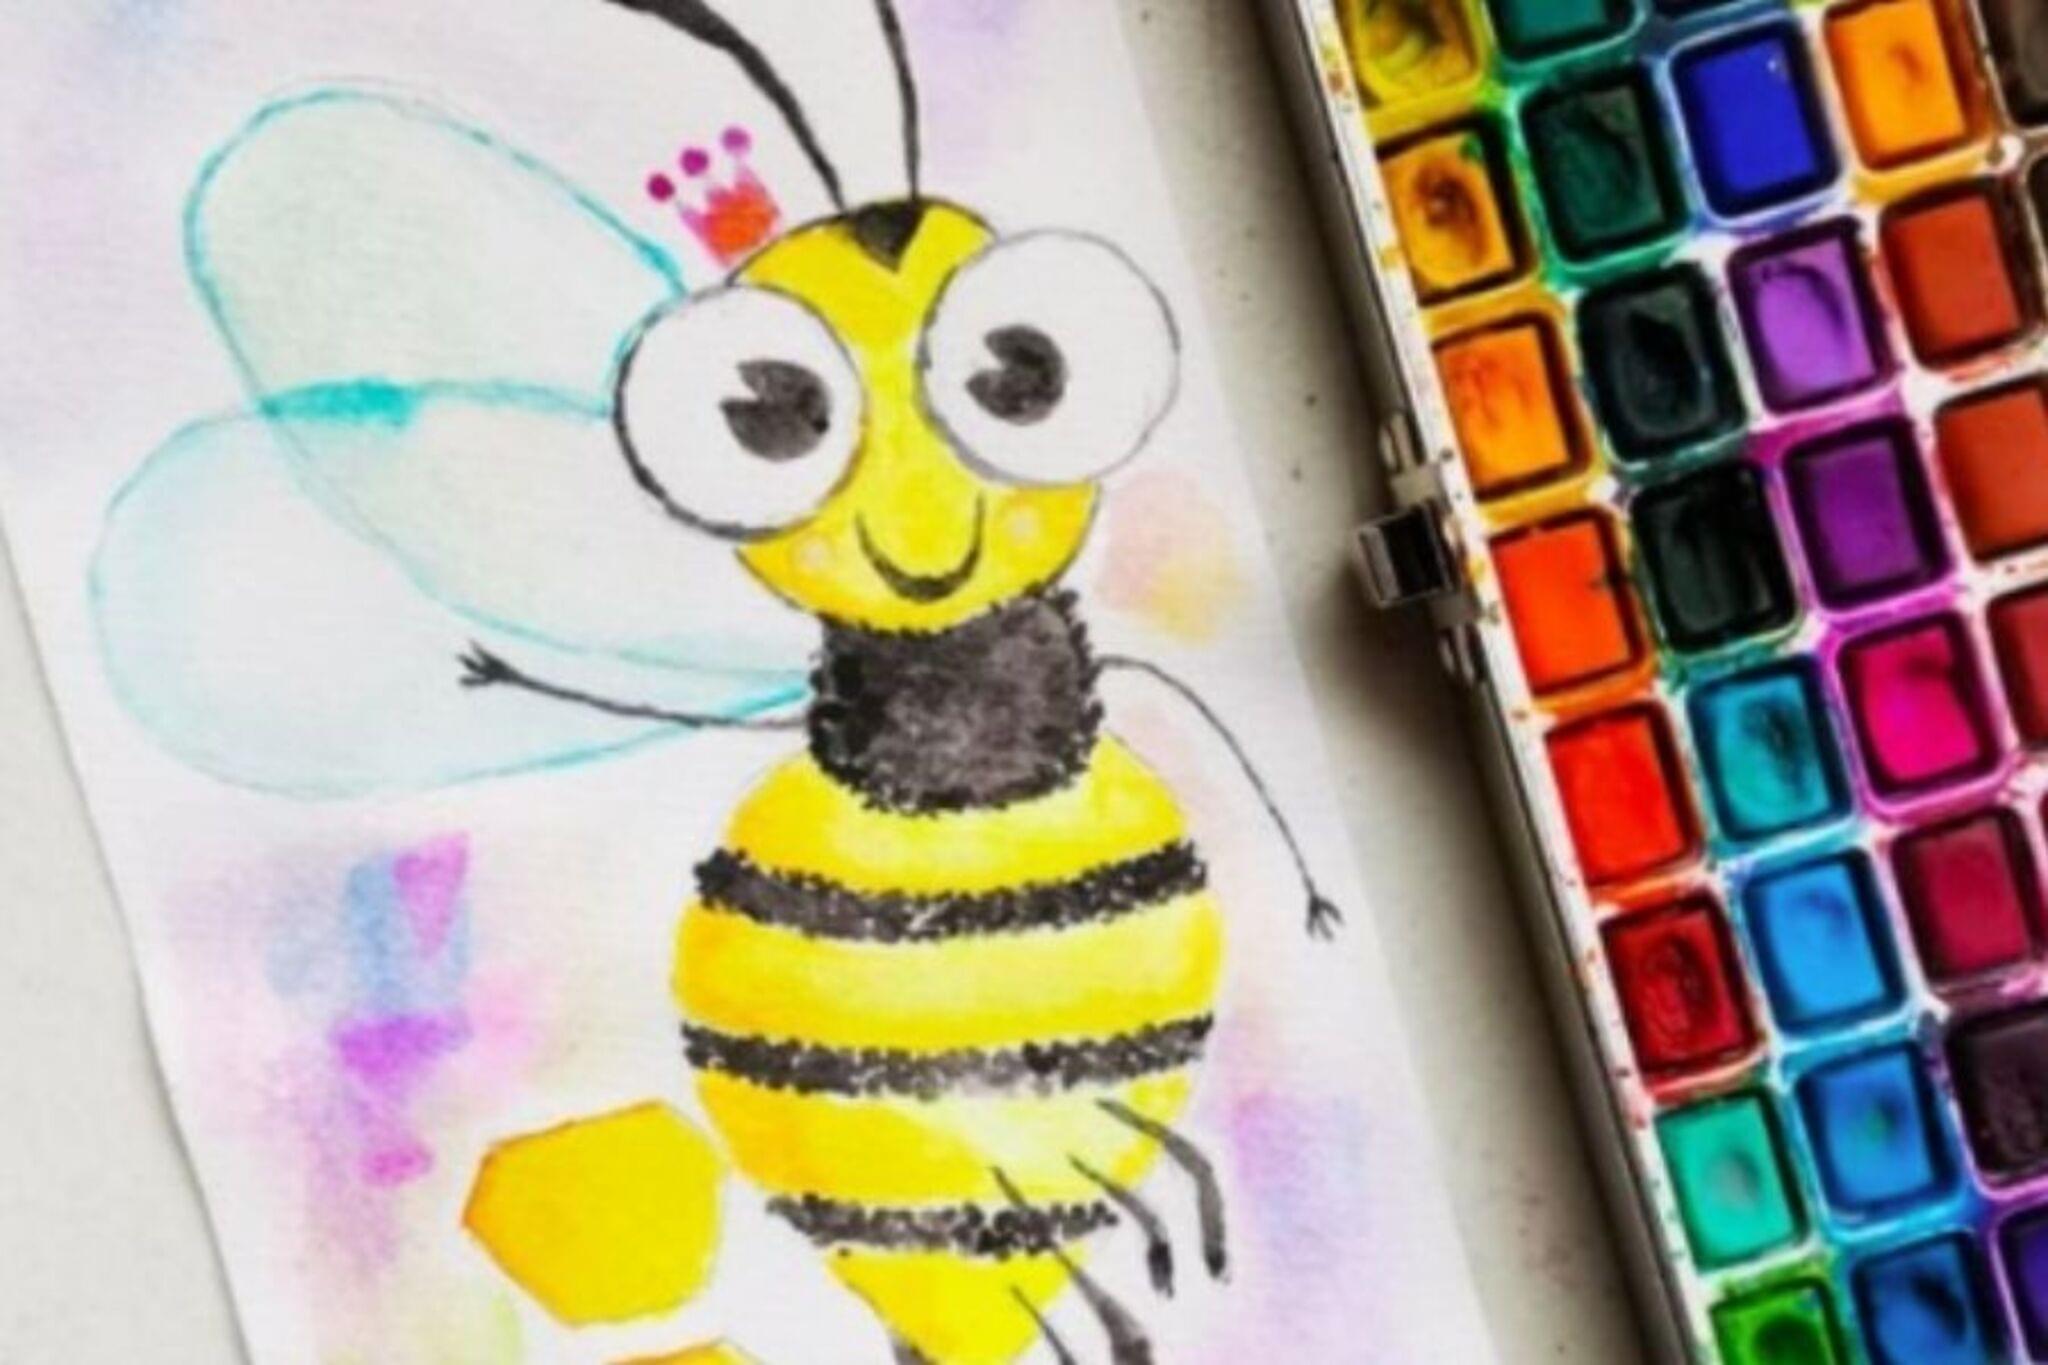
Draw and Watercolor a Bee
Draw a bee with pencil, outline with pen, then watercolor it to practice mixing colors, wet on wet techniques, and careful brush control.

Step-by-step guide to Draw and Watercolor a Bee
Easy Watercolor Bee Tutorial | Step by Step Bumblebee Painting
Step 1
Gather all your materials and set them on a flat clean workspace.
Step 2
Lightly sketch a big oval for the bee’s body and a smaller circle touching the front for the head with your pencil.
Step 3
Lightly sketch two curved wings on each side of the body and a small pointy stinger at the back.
Step 4
Add simple details like two round eyes two antennae three little legs and two or three curved stripes on the body.
Step 5
Gently erase any extra sketch lines so your drawing looks neat.
Step 6
Carefully trace over your pencil lines with the black waterproof pen to make the bee bold.
Step 7
Wait until the ink is completely dry before you start painting.
Step 8
Put a puddle of yellow and a tiny drop of brown on your palette and mix two paints: bright yellow and a slightly darker yellow.
Step 9
Use the medium brush to paint the bee’s body with the bright yellow staying inside the pen lines using steady strokes.
Step 10
Use the small brush and the darker yellow to paint the stripes carefully with small steady strokes.
Step 11
Lightly wet the wing areas with a clean brush and plain water so the paper is damp.
Step 12
Drop a pale blue wash onto the damp wings so the color spreads softly for a wet-on-wet look.
Step 13
Let your whole painting dry completely by leaving it flat and undisturbed.
Step 14
Take a photo of your finished bee and share your creation on DIY.org.
Help!?
What can I use instead of the black waterproof pen or watercolor paints if I can't find them?
If you don’t have a black waterproof pen, use a waterproof pigment liner (for example Sakura Pigma Micron) or a tested permanent fine-tip marker and if you don’t have watercolor paints, substitute diluted washable poster paint or watercolor pencils activated with a wet brush.
My ink smears or the paint keeps bleeding outside the pen lines—how do I fix that?
Follow the instruction to wait until the ink is completely dry before painting, test pens and paints on scrap paper first, use less water and blot excess with a paper towel, and use the small brush for the stripes to keep paint inside the pen lines.
How can I adapt this Draw and Watercolor a Bee activity for different ages?
For younger children pre-sketch the big oval and head and give a large flat brush and washable paints to fill color, while older kids can mix the two yellow tones with the palette, practice wet-on-wet wing washes, and add finer details with the small brush and waterproof pen.
What are some ways to enhance or personalize the finished bee painting?
Extend the activity by adding a simple floral or sky background with leftover washes, layering colored-pencil details over dry watercolor, adding a tiny dab of metallic paint or glitter on the stinger for sparkle, and then take a photo to share on DIY.org as suggested.
Watch videos on how to Draw and Watercolor a Bee
How to draw a Bee in a Flower #watercolor
4 Videos
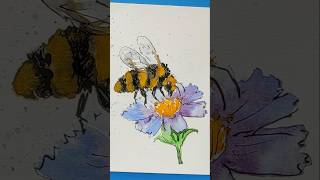
How to draw a Bee in a Flower #watercolor
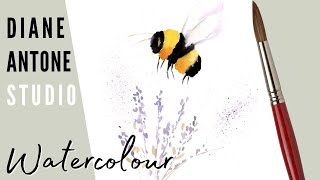
How to Paint a Bumble Bee - Watercolor Step by Step Real Time Tutorial - Easy Project for Beginners

How To Draw A Bee 🐝 For Kids Step By Step | Painting And Colouring For Kids And Toddlers
PAINT A BEE THE EASY WAY
Facts about drawing and watercolor painting for kids
🐝 Bees can see ultraviolet patterns on flowers that humans can't, which helps them find nectar and pollen.
🍯 One honey bee makes about 1/12 teaspoon of honey in its lifetime — it takes thousands of bees to fill a jar!
🎨 Famous artists like J.M.W. Turner used watercolor washes and wet-on-wet techniques to create soft skies and glowing light.
🌈 Mixing yellow and blue watercolors makes green, but pigment mixing can look different when wet—so practice to predict results!
🖌️ Small round brushes are perfect for bee details (stripes, eyes, antennae) while large flat brushes make smooth background washes.
How do I teach my child to draw and watercolor a bee step by step?
What materials do I need to draw and watercolor a bee?
What ages is drawing and watercoloring a bee suitable for?
What are the benefits of drawing and watercoloring a bee for children?
