Draw an imaginary building
Draw an imaginary building, design its rooms and features, then color and label parts to explain its functions and unique details.


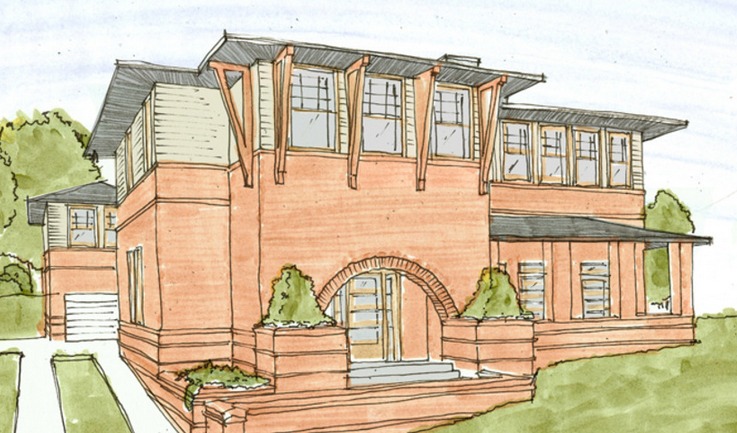

Step-by-step guide to draw an imaginary building
How to Draw a Building in 2-Point Perspective: Step by Steps
Step 1
Pick what kind of imaginary building you want to create and give it a fun name.
Step 2
Place your paper in front of you in the orientation you prefer.
Step 3
Draw the outer shape of your building to show its overall look.
Step 4
Draw lines inside the building shape to divide it into floors and rooms.
Step 5
Draw the main entrance or front door for your building.
Step 6
Draw windows balconies or other outside openings you like.
Step 7
Draw a way for people to move between floors such as stairs ladder elevator or slide.
Step 8
Add at least two special features or rooms that make your building unique.
Step 9
Draw furniture or important objects inside each room to show what happens there.
Step 10
Write clear labels for each room and add a short sentence that explains each room’s function or special detail.
Step 11
Color your building and its rooms using your coloring materials.
Step 12
Trace key outlines and labels with a black pen to make them stand out.
Step 13
Gently erase stray pencil marks to tidy your drawing.
Step 14
Share your finished creation on DIY.org.
Help!?
I don't have a black pen—what can I use to trace key outlines and labels?
Use a dark marker, fineliner, or permanent crayon to trace key outlines and labels instead of a black pen, then gently erase stray pencil marks to tidy the drawing.
My floors and rooms look messy—how can I fix them when I draw lines inside the building shape?
Redraw the 'draw lines inside the building shape to divide it into floors and rooms' step lightly in pencil using a ruler for straight lines, then trace with a darker tool and gently erase stray pencil marks.
How can I adapt this activity for younger children or older kids?
For younger children, simplify by drawing one or two big rooms and using stickers and chunky crayons for the 'draw furniture' and 'color your building' steps, while older kids can add scaled measurements, a labeled key, or detailed room sentences before sharing on DIY.org.
What are easy ways to enhance or personalize our imaginary building?
Extend the 'add at least two special features or rooms' step by creating a pop-up room or collage using extra paper and glue, give each room a creative label and short sentence, and photograph the colored, traced finished creation to share on DIY.org.
Watch videos on how to draw an imaginary building
How to Draw 3D Buildings
4 Videos
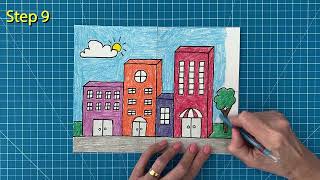
How to Draw 3D Buildings
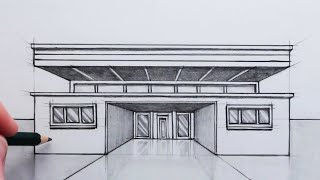
How to Draw a Simple Building using One-Point Perspective for Beginners
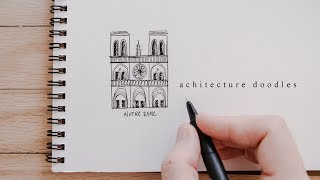
How To Draw Buildings | Architecture Doodles For Beginners

A Simple Way to Draw 3D Buildings: Fast and Slow
Facts about architecture and building design for kids
🏛️ Some of the oldest architectural drawings are over 4,000 years old, found in ancient civilizations like Mesopotamia and Egypt.
✏️ Architects and designers often begin with quick hand sketches—sometimes dozens—before settling on a final plan.
🏙️ The tallest building in the world, the Burj Khalifa, has 163 floors and took about six years to build.
🎨 Colors change how a room feels: warm colors (reds, oranges) feel cozier while cool colors (blues, greens) feel calmer and more spacious.
📏 Architectural drawings use scales like 1:50 or 1:100 so whole buildings can fit clearly on paper.
How do I guide my child to draw an imaginary building and explain its rooms?
What materials do I need to draw an imaginary building with my child?
What ages is the imaginary building drawing activity suitable for?
What are the benefits of drawing an imaginary building for children?
