Draw a Wizard on Vacation
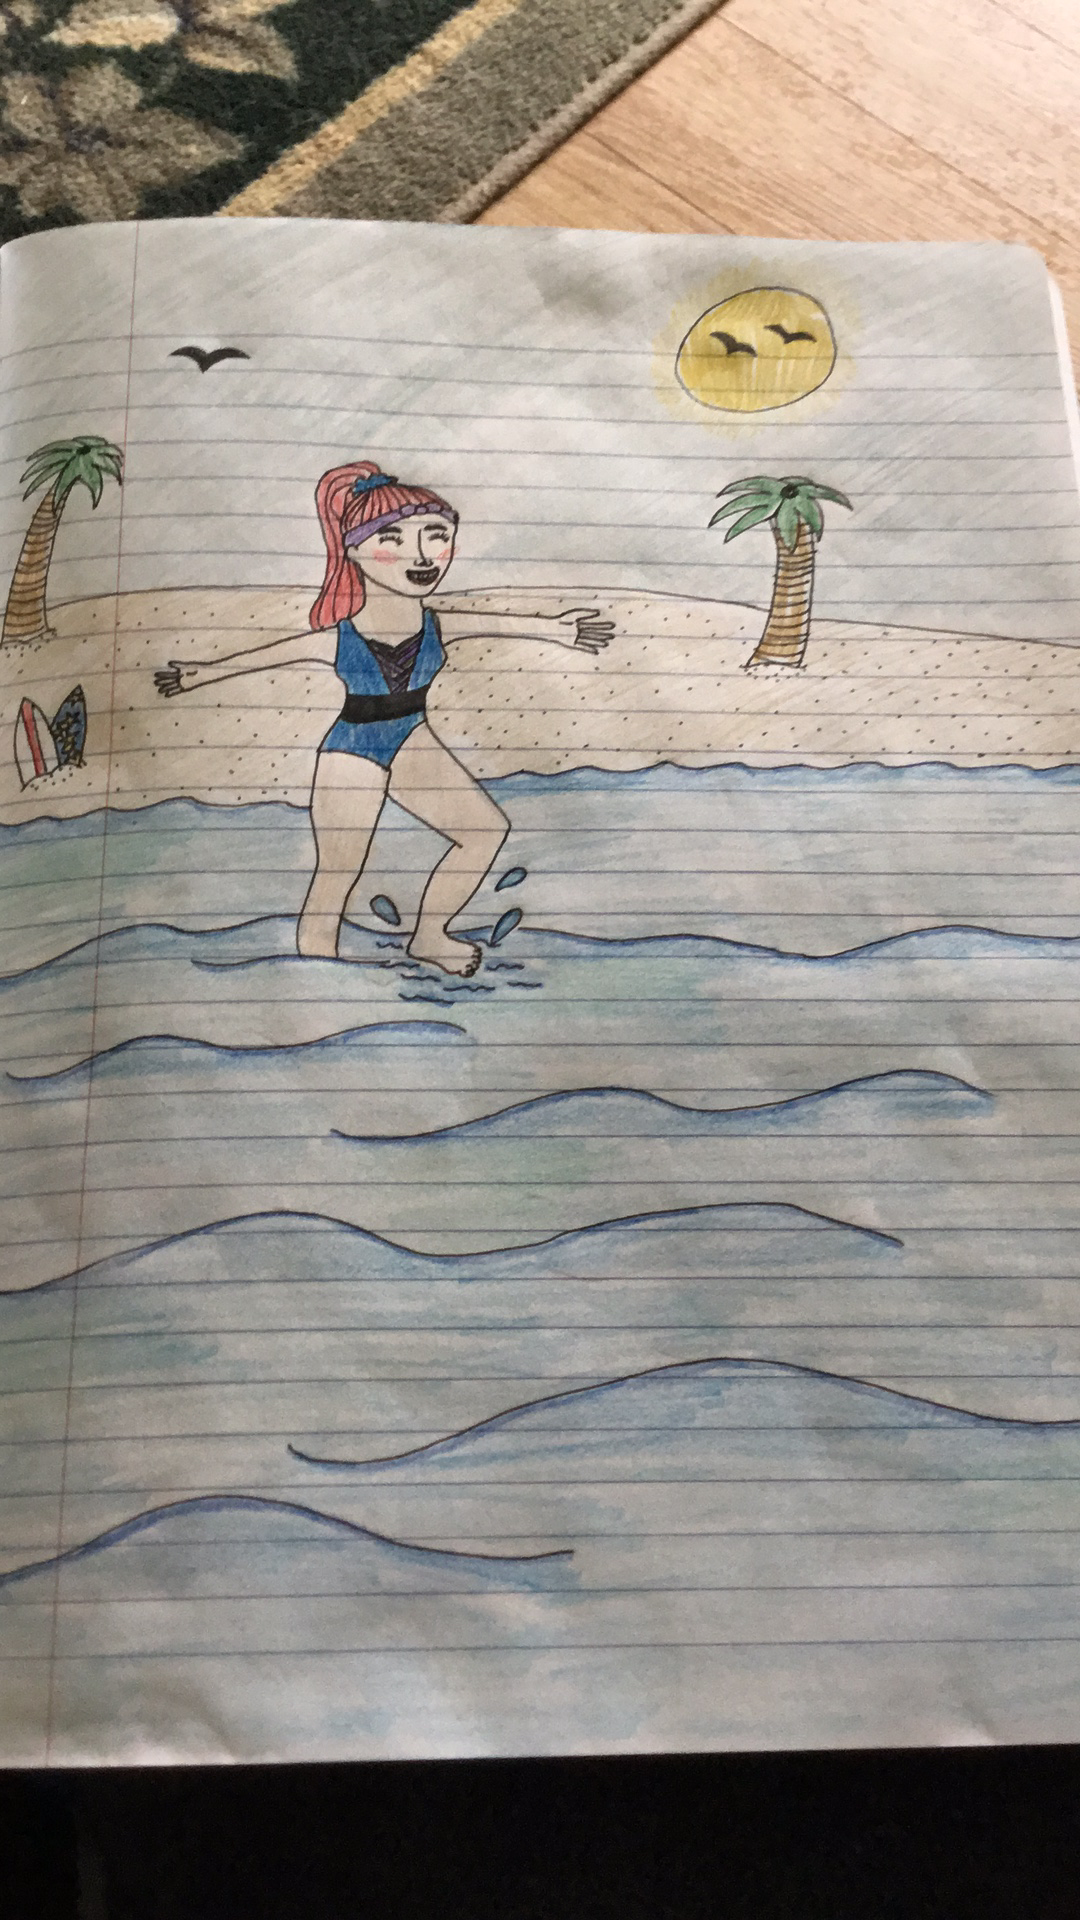
Draw a wizard enjoying a vacation scene, sketching pose, adding costume details, beach or mountains background, then color and explain your design.
About this tutorial
Draw a wizard enjoying a vacation scene, sketching pose, adding costume details, beach or mountains background, then color and explain your design.
What you need
Instructions
- 1
Step 1
Decide if your wizard is on a beach or in the mountains!
- 2
Step 2
Lightly sketch a simple stick-figure pose showing how your wizard stands sits or relaxes.
- 3
Step 3
Draw the wizard's body over the stick figure using simple shapes like circles ovals and rectangles.
- 4
Step 4
Draw basic costume pieces such as a robe hat or sandals.
- 5
Step 5
Draw one or two vacation props that match your setting like a surfboard towel backpack campfire or mountain peak.
- 6
Step 6
Draw the wizard's face with a happy or relaxed expression.
- 7
Step 7
Add small costume details and patterns like stars patches stripes or buttons.
- 8
Step 8
Carefully trace the lines you want to keep with a black marker or fineliner.
- 9
Step 9
Let the ink dry completely.
- 10
Step 10
Gently erase the pencil lines you no longer need.
- 11
Step 11
Color your wizard and the background using your colouring materials and add simple shading if you like.
- 12
Step 12
Write one or two sentences explaining where your wizard is vacationing and one special thing about their outfit or activity.
- 13
Step 13
Share your finished creation on DIY.org.
Fun facts
How do I draw a wizard on vacation step by step?
Start by choosing a pose: relaxed on a beach towel, hiking with a staff, or lounging by a mountain lake. Lightly sketch basic shapes for head, torso, limbs. Add wizard costume details—hat, robe, boots—and vacation props like sunglasses, a map, or a picnic basket. Draw background (sand, waves, pine trees) and refine lines. Color with pencils or markers. Finally, write one short paragraph explaining your design and why this wizard chose this vacation spot.
What materials do I need to draw and color a wizard on vacation?
You'll need drawing paper or a sketchbook, a set of pencils (HB and softer), an eraser, a fine black pen for outlines, colored pencils, markers or watercolor paints, and a sharpener. Optional: reference images of beaches or mountains, stickers, glitter, or collage paper for texture. For young children, use washable markers and a smock. Keep a cup of water and scrap paper nearby if using paints.
What ages is this wizard-on-vacation activity suitable for?
This activity suits ages about 4–12 with adjustments. Ages 4–6: focus on big shapes, bold colors, and simple props with adult help for cutting or paint. Ages 7–9: encourage more costume details, backgrounds, and simple captions. Ages 10–12+: work on pose, perspective, shading, and a longer written explanation. Supervise young children with paints and small items; adapt complexity to each child's skill and attention span.
What are some creative variations and benefits of drawing a wizard on vacation?
Variations: try different settings (tropical beach, snowy peak, city resort), make a comic strip of the wizard's vacation, build a mixed-media collage, or create a 3D diorama. Benefits: this activity boosts imagination, planning, fine motor skills, visual storytelling, and vocabulary when children explain their design. It also reduces screen time and encourages observational drawing. For groups, make a collaborative travel poster showing multiple wizards and destinations.
Watch & Learn
Need help?
What can we use instead of a fineliner or special colouring supplies?
If you don't have a fineliner, use a black ballpoint pen or thin permanent marker to 'Carefully trace the lines you want to keep with a black marker or fineliner,' and if you lack colouring materials use crayons, colored pencils, or diluted watercolors for the 'Color your wizard and the background' step.
My ink smudged or pencil lines didn't erase cleanly — how do we fix it?
To avoid smudges and leftover pencil marks, first 'Let the ink dry completely,' then gently erase the 'Lightly sketch' pencil lines with a kneaded eraser and if ink still bleeds try tracing on thicker paper or placing a scrap sheet under your hand while inking.
How can I change the activity for younger or older kids?
For younger children, stick to the 'Lightly sketch a simple stick-figure' and 'Draw the wizard's body' with big shapes and chunky crayons and skip intricate 'small costume details,' while older kids can add complex patterns, shading, extra props like a detailed surfboard or campfire, and write a longer explanation before sharing.
How can we make the drawing more special or turn it into a bigger project?
To extend the activity, mount the colored drawing on cardboard to build a diorama, attach a small fabric patch or button to the robe as a real 'small costume detail,' create a cardboard prop for the 'one or two vacation props,' and then photograph it to 'Share your finished creation on DIY.org.'