Draw a view from a window
Look outside through a window and draw the view using pencil and color, practicing perspective, shading, and adding observed details.


Drawing Apps
Step-by-step guide to draw a view from a window
Step 1
Sit comfortably at the window where you can see outside.
Step 2
Look carefully outside and choose one main thing to draw.
Step 3
Place your paper on a flat surface and pick up your pencil.
Step 4
Lightly draw the outline of the window frame on your paper.
Step 5
Draw a horizon line and a small vanishing point to set the perspective.
Step 6
Sketch the main subject using simple shapes and make nearer objects larger.
Step 7
Add midground and background shapes and overlap them to show depth.
Step 8
Erase any extra sketch lines to tidy your drawing.
Step 9
Decide which direction the light is coming from.
Step 10
Lightly mark the shadow areas where the light is blocked.
Step 11
Shade the drawing with your pencil using soft strokes from light to dark.
Step 12
Color your drawing using paler colors for distant things and stronger colors for close things.
Step 13
Add small observed details like leaves textures or window glare to make it look real.
Step 14
Share your finished creation on DIY.org.
Help!?
What can we use if we don't have the recommended pencil or drawing paper?
If you don't have a pencil or drawing paper, use printer paper or the back of a cereal box and draw with a graphite stick, charcoal, colored pencil, or a soft crayon to sketch the window frame, horizon line, and vanishing point.
My perspective looks wrong — how can I fix the horizon line and vanishing point so nearer objects look larger?
If perspective looks wrong, lightly erase the outline of the window frame, reconfirm the horizon line and vanishing point placement, and redraw main shapes keeping nearer objects noticeably larger and overlapping midground and background shapes.
How can I adapt the activity for younger kids or older kids who want more challenge?
For younger children, have them trace the window frame and use chunky crayons to block in paler background and stronger foreground colors, while older kids can add multiple vanishing points, refine shading from light to dark, and include detailed textures like leaf veins or window glare.
What are fun ways to extend or personalize the drawing after finishing the basic steps?
To extend the activity, experiment with changing the light direction and making a series of drawings at different times of day, add mixed-media like watercolor washes over your pencil shading, or personalize by drawing imaginary characters in the scene before sharing on DIY.org.
Watch videos on how to draw a view from a window
One Point Perspective Drawing: Easy Art Lesson for Kids
4 Videos
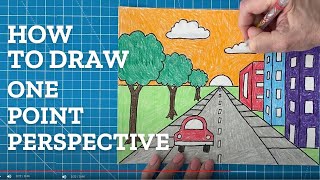
One Point Perspective Drawing: Easy Art Lesson for Kids
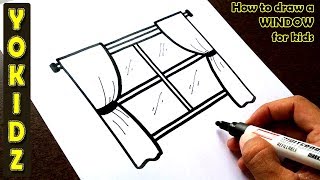
How to draw a WINDOW easy
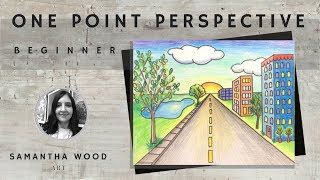
Beginner One Point Perspective Drawing
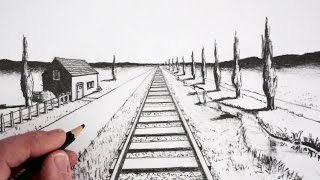
How To Draw Using 1-Point Perspective
Facts about observational drawing and perspective
🪟 Looking through a window naturally frames your view — artists use window frames as compositional foreground elements to create depth and interest.
📐 One-point perspective, used for many window views, puts a single vanishing point on the horizon so parallel lines look like they're receding realistically.
✏️ Pencil grades like 2B, HB, and 4H tell you softness: B pencils are softer and darker (great for shading), H pencils are harder and lighter (great for fine details).
🎨 Shading is all about value — many artists use a 9-step value scale (from white to black) to match how light and shadow define form.
🏙️ Urban sketchers often draw from windows to capture everyday scenes quickly; lightweight kits let them sketch and add color on the spot.
How do I guide my child to draw the view from a window?
What materials do I need to draw a view from a window with my child?
What ages is drawing a window view suitable for?
What are the benefits of drawing the view from a window?
