Draw a Realistic Nose With ana09
Draw a realistic human nose step-by-step with artist ana09, practicing pencil lines, shading techniques, and observing shapes to improve your drawing skills.

Drawing Apps
Step-by-step guide to draw a realistic nose with ana09
Step 1
Gather the materials.
Step 2
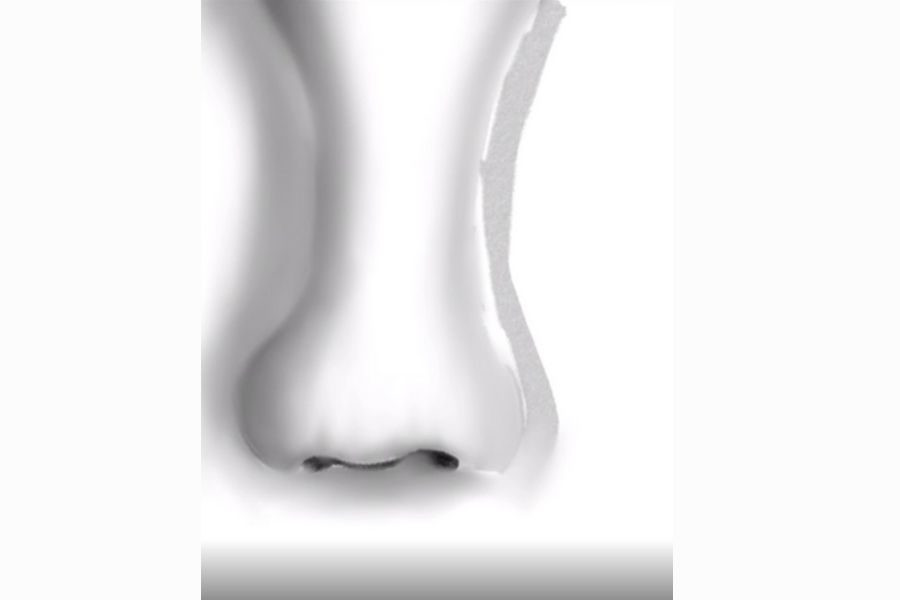
Look closely at your reference image for one minute and notice the big shapes and dark areas.
Step 3
Draw a light vertical centerline on the paper to help keep the nose symmetrical.
Step 4
Lightly sketch a small circle for the tip and two curved base shapes where the nostrils will sit.
Step 5
Connect the circle and nostril bases with soft lines to form the outer silhouette of the nose.
Step 6
Draw the nostril openings as darker curved shapes inside the base areas.
Step 7
Lightly shade the shadow areas you see in the reference using the HB pencil.
Step 8
Gently blend those shaded areas with a blending stump or tissue to make smooth tones.
Step 9
Use the 2B pencil to darken the deepest shadows like inside the nostrils and under the tip.
Step 10
Lift tiny highlights on the bridge and tip with the eraser to create shiny spots.
Step 11
Add small fine lines and tiny skin textures with a sharp HB pencil where needed.
Step 12
Soften any harsh edges by lightly smudging them to match the reference’s soft transitions.
Step 13
Step back, compare your drawing with the reference, and make small tone or edge corrections.
Step 14
Share your finished drawing on DIY.org
Help!?
What can I use instead of a blending stump or a 2B pencil if I don't have them?
If you don't have a blending stump or 2B pencil, gently use a tissue or Q‑tip to blend the HB-shaded shadow areas (step 7) and a softer pencil like a 4B to darken the deepest shadows (step 9), and use a kneaded eraser to lift highlights (step 11).
My nose looks flat or asymmetrical — what should I fix?
If the nose looks flat or uneven, reestablish the light vertical centerline to check symmetry (step 3), re-observe the big shapes and dark areas in your reference (step 2), deepen the nostril and under-tip shadows with the 2B (step 9), and lift highlights with the eraser to restore form (step 11).
How can I adapt this activity for younger or older children?
For younger kids simplify to noticing big shapes and drawing the centerline, tip circle, and outer silhouette (steps 2–5) with a soft pencil or marker and minimal shading, while older kids should refine smooth tones with the HB and blending stump, deepen shadows with the 2B, and add fine skin textures with a sharp HB (steps 7–10).
How can we make the drawing more advanced or personalized?
To enhance and personalize the piece, try drawing the nose from multiple reference photos with different lighting (steps 2 and 7–9), use toned paper so you can lift highlights with the eraser for stronger shiny spots (step 11), and add unique skin texture details with a sharp HB before sharing on DIY.org (final step).
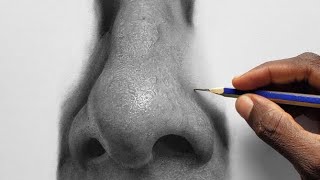
Watch videos on how to draw a realistic nose with ana09
How to Draw a Nose
4 Videos
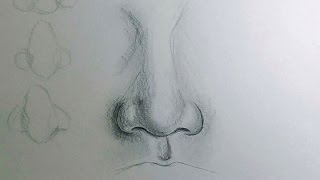
How to Draw a Nose

How to Draw a Realistic Nose - Front and Side View Tutorial
HOW TO DRAW HYPER REALISTIC NOSE | STEP -BY-STEP
✨🌸Step by Step Realistic Nose Drawing | Easy Tutorial ❤️✨
Facts about portrait drawing and pencil shading
👃 The human nose uses hundreds of scent receptors — but when drawing, its tiny curves and shadows tell the whole story.
✏️ Pencil grades run from H (hard, light) to B (black, soft); artists switch grades to build gentle planes and deep shadows.
🎨 Chiaroscuro is the art of strong light and dark contrast that helps flat drawings look three-dimensional.
🔺 Many artists sketch a nose with simple shapes first — sphered tip, cylinders for the bridge — then add shading to refine it.
👀 People recognize faces as a whole, so small shading changes on a nose can shift perceived age, mood, or identity.
How do you draw a realistic nose step-by-step with ana09?
What materials do I need to draw a realistic nose with ana09?
What ages is this realistic nose drawing activity suitable for?
What are the benefits of drawing a realistic nose with ana09, and how can you vary it?
