Draw a Pokemon - Vulpix
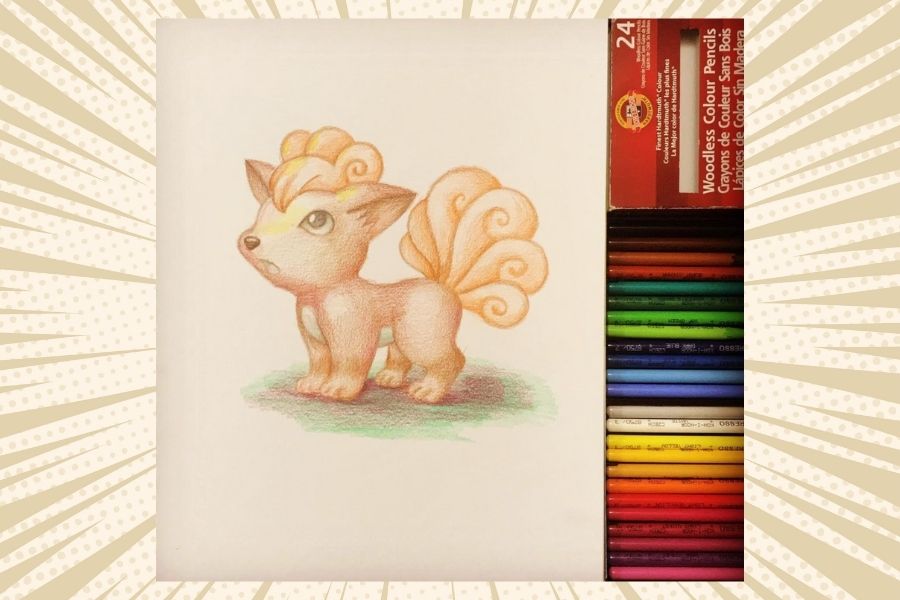
Draw Vulpix step by step using simple shapes, shading, and color to learn proportions, texture, and creativity while practicing observation and drawing skills.

Drawing Apps
Step-by-step guide to Draw a Pokemon - Vulpix
Step 1
Lightly draw a big soft circle near the top of the page for Vulpix's head.
Step 2
Draw a light vertical line and a horizontal line inside the circle to help place the face features.
Step 3
Add two pointed triangle ears on top of the head touching the circle.
Step 4
Draw a small rounded oval under the head that overlaps slightly to make the body.
Step 5
Sketch short curved lines connecting the head and body to form the neck and shoulders.
Step 6
Draw six fluffy teardrop-shaped tails fanning out behind the body with wavy edges.
Step 7
Place two large rounded eyes on the horizontal guideline and a small triangle nose on the vertical guideline.
Step 8
Draw a little smiling mouth under the nose and add small inner ear curves inside each ear.
Step 9
Sketch a fluffy fur tuft on the forehead and a ruff on the chest using short curved strokes.
Step 10
Erase the face guidelines and any extra overlapping sketch lines so your outline is clean.
Step 11
Add shading with short pencil strokes to show shadow under the head between tails and inside ear creases.
Step 12
Colour Vulpix with a warm orange-brown base and use a lighter cream for the ruff and tail tips then blend gently with your tissue.
Step 13
Share your finished Vulpix drawing on DIY.org.
Help!?
What can we use if we don't have a tissue or blending stump to blend the colored pencils?
Use a clean cotton ball, a folded coffee filter, or your fingertip to gently blend the warm orange-brown base and the lighter cream on the ruff and tail tips as the instructions say to 'blend gently with your tissue'.
My six tails look uneven—how can I fix that while I'm sketching?
Lightly mark six teardrop-shaped tail guides fanning out behind the body and adjust their spacing before darkening the lines, then erase overlapping sketch lines so the outline stays clean as instructed.
How can we adapt this Vulpix drawing for younger or older kids?
For younger kids simplify to a big head circle, small oval body and one or three large tails using the same guidelines, while older kids can add the shading under the head, inner ear creases, detailed fur tuft, and ruff with short pencil strokes for more realism.
What are some ways to personalize or extend the finished Vulpix drawing?
Add a background like snowy rocks or grass, try a soft watercolor or colored-pencil wash behind Vulpix, or use a white gel pen to add highlights on the eyes and tail tips before sharing your finished Vulpix drawing on DIY.org.
Watch videos on how to Draw a Pokemon - Vulpix
How to Draw Vulpix Pokemon Step by Step Art Lesson
4 Videos
How to Draw Vulpix Pokemon Step by Step Art Lesson
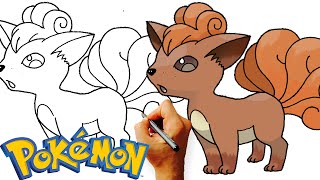
How To Draw Vulpix From Pokemon | Drawing Animals
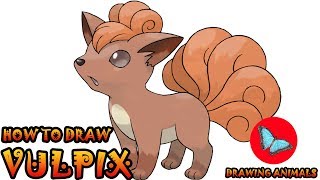
Cute Vulpix Drawing | Easy Pokémon Art
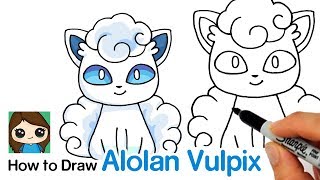
How to Draw an Alolan Vulpix | Pokemon
Facts about drawing for kids
🦊 Vulpix is inspired by foxes and is usually shown with six fluffy tails.
🔥 Vulpix is a Fire-type Pokémon that evolves into Ninetales when given a Fire Stone.
🎨 Ken Sugimori helped design and illustrate many of the original Pokémon, shaping how they look.
✏️ Cartoonists and character artists often start with simple shapes (circles, ovals, triangles) to build a drawing.
👀 Practicing drawing from observation trains your eye to spot proportions, textures, and little details faster.
How do I teach my child to draw Vulpix step by step?
What materials do we need to draw Vulpix at home?
What ages is drawing Vulpix suitable for?
What are the benefits and safe variations of drawing Vulpix?
