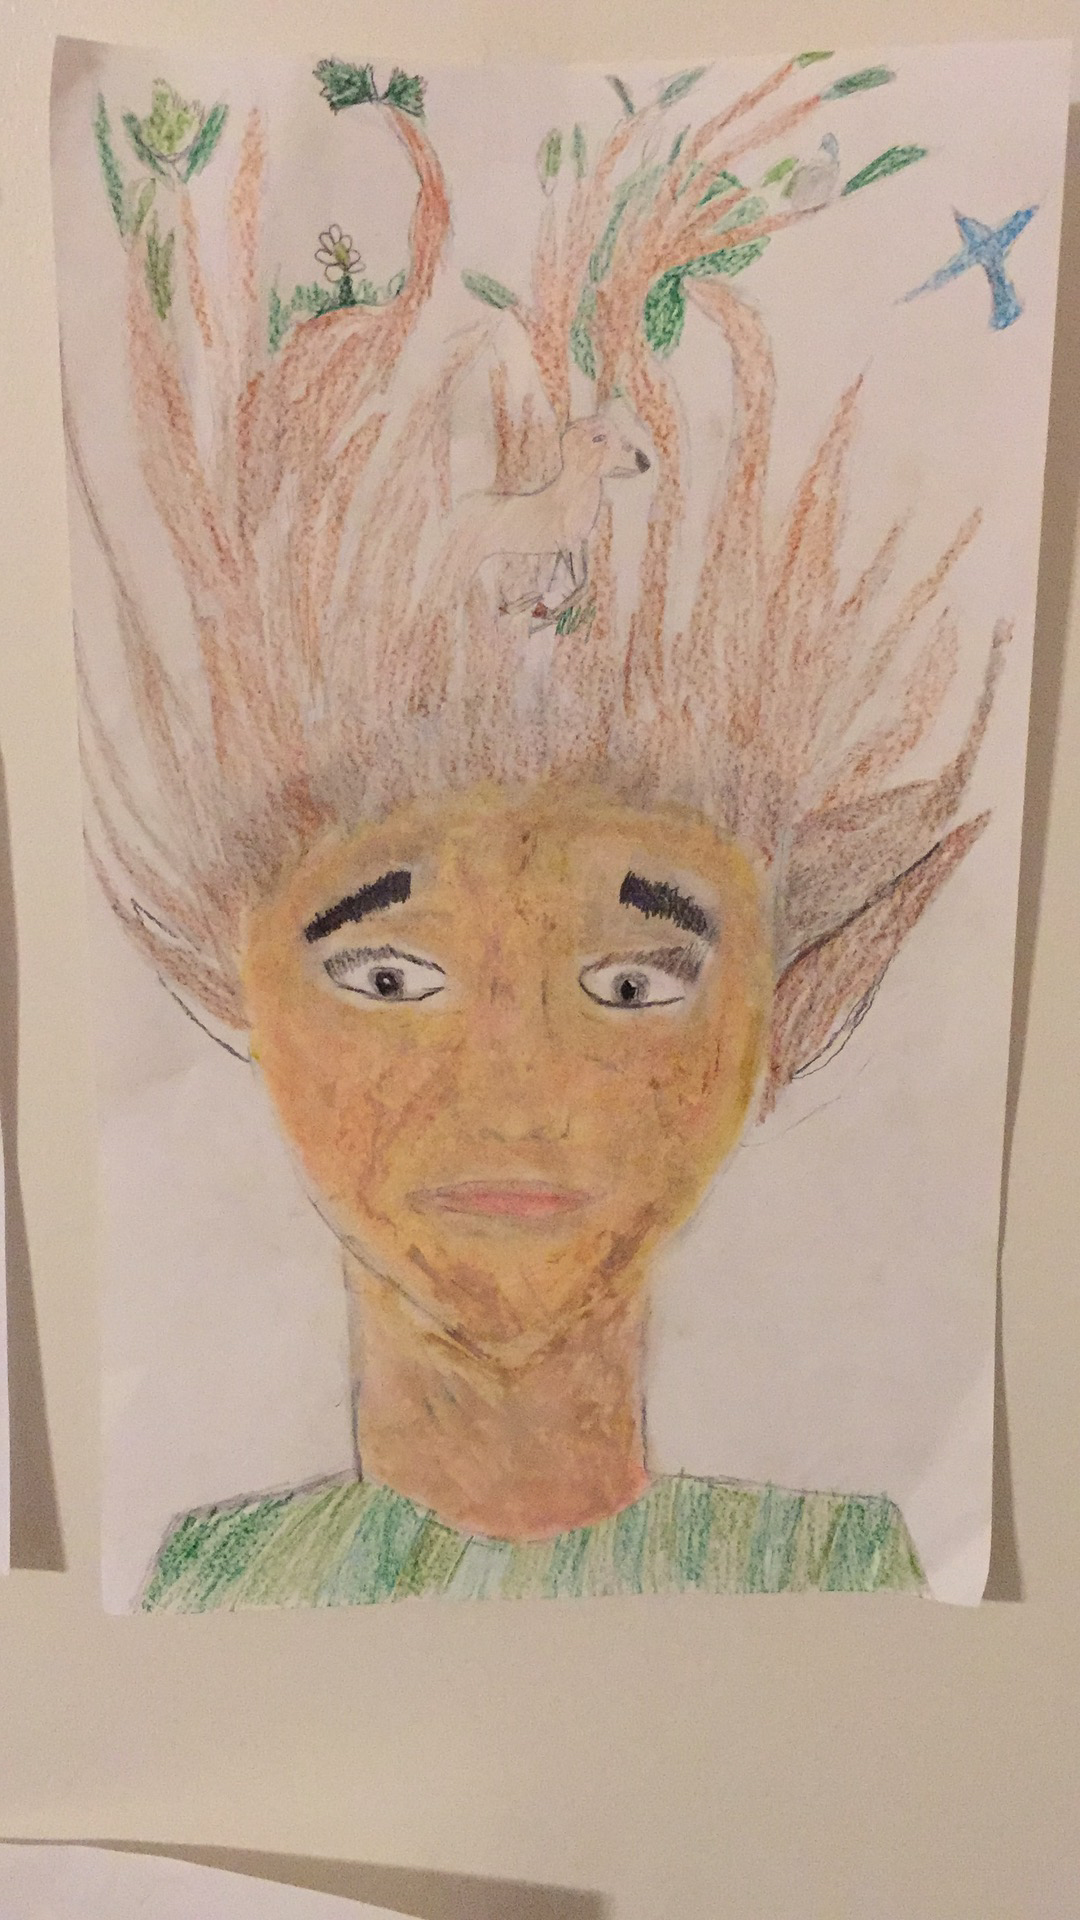
Draw a magical human
Draw a magical human character using pencils, colors, and imagination; design clothing, powers, and a background scene while practicing proportions and creativity.

Drawing Apps
Step-by-step guide to draw a magical human
Step 1
Gather your materials and sit at a clear workspace.
Step 2
Place your paper and draw a light vertical center line down the page.
Step 3
Draw a light circle near the top of the line to mark the head.
Step 4
Use your ruler to measure and mark six equal head-length segments down the center line for body proportions.
Step 5
Draw simple shapes for the chest and hips in the correct segments to build the torso.
Step 6
Sketch straight lines for the shoulders and arms from the torso shapes.
Step 7
Sketch straight lines for the hips and legs from the torso shapes and add knee marks.
Step 8
Add facial features and hair inside the head circle.
Step 9
Draw clothing and fun accessories on the body shapes.
Step 10
Add a magical power symbol or effect near the hands or chest like sparkles flames or glowing runes.
Step 11
Draw a background scene around your character such as a forest city or starry sky.
Step 12
Trace the final lines you want to keep with a firmer pencil stroke.
Step 13
Erase all the light guidelines and stray marks.
Step 14
Color your character and the background using your coloring materials.
Step 15
Share your finished magical human on DIY.org
Help!?
What can we use instead of a ruler or colored pencils if we don't have them?
Use a straight edge like a book or the long side of a credit card to mark the center line and six equal head-length segments, and substitute crayons, markers, or torn paper collage for coloring materials.
My proportions look wrong after sketching—what step should I redo or fix?
If the six head-length segments or torso shapes feel off, lightly erase the affected segments, remeasure along the vertical center line with your ruler or straight edge, and then redraw the chest, hips, and limb lines before tracing final lines.
How can I adapt this activity for younger or older kids?
For younger children pre-draw the light vertical center line and head circle so they can add facial features, hair, simple clothing and a magical symbol, while older kids can precisely measure six head-length segments, add detailed anatomy, complex accessories, and textured backgrounds.
How can we make the magical human more unique or advanced?
Customize the character by designing a distinctive magical power symbol near the hands or chest, experiment with mixed media for the background (watercolor washes, collage, or glitter for sparkles), add layered shading when tracing final lines, and then photograph to share on DIY.org.
Watch videos on how to draw a magical human
The FIRST STEP to Drawing Any Character Easily
4 Videos
The FIRST STEP to Drawing Any Character Easily
The First, EASY Step To Draw Bodies (For Beginners)

tips and tricks for designing magical girls! ☆ || speedpaint + commentary
How to draw CHARACTER TURNAROUNDS (The EASY WAY)
Facts about drawing and character design for kids
🎨 Our brains recognize faces and body proportions instantly — small tweaks to proportion can make a character feel heroic, childlike, or otherworldly.
✍️ Artists often start with quick 30–60 second gesture drawings to capture motion and correct proportions before adding details.
👗 A strong silhouette and clothing shape help viewers read a character's personality at a glance.
🧙 Many fantasy artists mix real-world fashion and nature references to make magical powers and costumes feel believable.
🌈 Color choices set mood fast: cool palettes feel mysterious, while warm palettes feel energetic or friendly.
How do I guide my child to draw a magical human character step-by-step?
What materials do I need to draw a magical human with my child?
What ages is this magical human drawing activity suitable for?
What are the benefits of drawing magical human characters with children?
