Draw a flower with watercolors
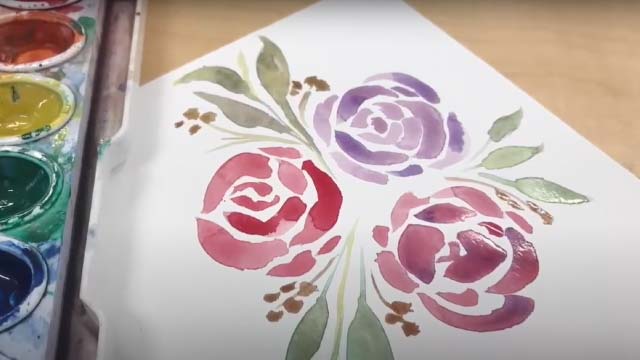
Paint a colorful flower using watercolors, practicing brush strokes, color mixing, wet-on-wet and layering techniques while observing petal shapes and stem details.


Step-by-step guide to draw a flower with watercolors
Step 1
Lay your materials out on a flat table within reach so everything is easy to grab.
Step 2
Lightly sketch a simple flower on the paper with a pencil using a circle for the center and 5 to 7 petal outlines plus a stem.
Step 3
Test two brush strokes on a scrap paper by pressing for a thick stroke and lifting for a thin stroke.
Step 4
Fill your jar with clean water and place the paper towel nearby for blotting.
Step 5
Mix a light wash for your petal color on the palette by adding paint and more water until it looks translucent.
Step 6
Wet one petal area on your sketch with a clean brush so the paper becomes shiny with water.
Step 7
Touch the light petal wash to the wet petal area so the paint spreads softly for a wet-on-wet effect.
Step 8
Add a second color to the edge of the same wet petal so the two colors blend together on the paper.
Step 9
Repeat wetting the petal and applying washes and a second color until all petals are painted.
Step 10
Let the painted petals dry completely or gently blot any very wet spots with the paper towel.
Step 11
Mix a slightly darker shade on the palette to use for petal veins and shaded edges.
Step 12
Use a small brush to paint thin lines and darker edges on the dried petals to create layered details.
Step 13
Mix a green on the palette by blending a little blue and yellow and adjust with water for the right value.
Step 14
Paint the stem and leaves using steady brush strokes and add small leaf veins for detail.
Step 15
Take a photo and share your finished watercolor flower on DIY.org.
Help!?
What can I use if I don't have watercolor paints, a palette, or a small brush?
If you don't have watercolor paint or a palette, dilute washable markers or food coloring on a clean plate as a makeshift palette and use a soft household brush or an old small paintbrush while keeping the jar of clean water and paper towel for rinsing and blotting.
Why does my paint sometimes make hard edges or pool instead of spreading softly on the petal?
If the paint makes hard edges or pools, ensure you wet the petal area until the paper looks shiny as instructed, test brush pressure on scrap paper, and gently blot excess water with the paper towel to control spreading.
How can I adapt this watercolor flower activity for younger or older kids?
For younger children, simplify step 2 to a 5-petal sketch, pre-mix the light petal wash and give a larger brush, while older kids can do the full wet-on-wet blending, add a second color at the petal edges, and paint thin veins with the small brush from step 11.
How can we extend or personalize the finished watercolor flower before sharing it on DIY.org?
To enhance the piece, add a soft background wash before painting petals, sprinkle a little salt onto wet washes for texture or use metallic gel-pen highlights on dried petals, then take the photo as the final step to share on DIY.org.
Watch videos on how to draw a flower with watercolors
3 EASY Flowers ANYONE can Draw & Paint - Step by Step Watercolor for Beginners
4 Videos
3 EASY Flowers ANYONE can Draw & Paint - Step by Step Watercolor for Beginners
EASY Watercolor Flowers For Beginners - Step by Step!
How to paint loose florals | Step by step tutorial | Simple watercolor flowers for beginners
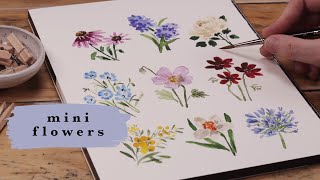
9 Mini Watercolor Flowers | How To Paint Florals for Beginners
Facts about watercolor painting for kids
🎨 Watercolor paint mixes pigment and water, giving it a translucent look that's perfect for soft flower petals.
🌈 Adding a tiny bit of a color's complement (like a touch of green to red) makes petals look more natural, not neon.
💧 Wet-on-wet lets colors bloom and blend on the paper — the wetter the paper, the more the colors spread.
🌸 Many flowers have ultraviolet patterns called nectar guides that bees can see but humans can't without special tools.
🖌️ Round brushes (sable or synthetic) hold water for long, smooth strokes — great for stems and petal edges.
How do I guide my child to paint a watercolor flower using wet-on-wet and layering techniques?
What materials do I need to paint a watercolor flower with my child?
What ages is this watercolor flower activity suitable for?
What are the benefits and simple variations of painting watercolor flowers?
