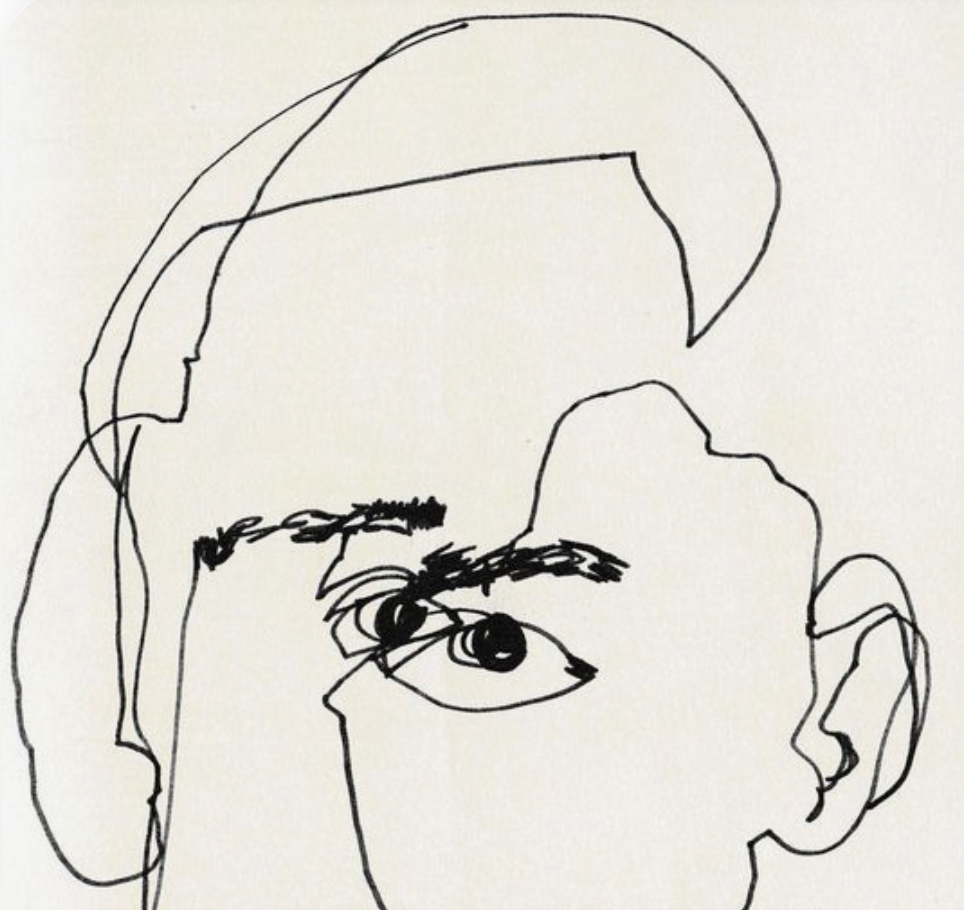
Draw a Distorted Image
Create a distorted drawing by tracing a photo onto grid paper, then shifting grid squares to redraw and compare how proportions change.

Drawing Apps
Step-by-step guide to draw a distorted image
Step 1
Pick a photo with clear shapes and tape it flat to your table so it won't move.
Step 2
Lay the grid paper over the photo and tape the corners so the grid stays exactly on top.
Step 3
Use your pencil to trace the main outlines and important lines of the photo onto the grid paper square by square.
Step 4
Label the columns with letters across the top and the rows with numbers down the side so each square has a coordinate.
Step 5
Cut the traced grid paper along the grid lines into vertical strips that are one square wide.
Step 6
Decide how you will shift the strips (for example move every other strip one square to the right) and keep that plan in mind.
Step 7
Arrange the cut strips on a clean blank sheet in the new shifted order according to your plan without taping yet.
Step 8
Tape each shifted strip down on the blank sheet so the new distorted grid picture stays in place.
Step 9
On a fresh blank sheet, redraw the image square by square by copying what you see in each shifted strip into the corresponding new squares.
Step 10
Erase any extra grid lines or stray pencil marks to make your redrawn picture clean.
Step 11
Add details and refine the shapes so the distorted image looks finished and smooth.
Step 12
Color or shade your distorted drawing using your coloring materials if you want to make it bold and fun.
Step 13
Put the original photo and your distorted drawing side by side to compare how the proportions changed and then share your finished creation on DIY.org
Help!?
What can we use if we don't have grid paper or a printed photo?
Draw a square grid on plain paper with a ruler and pencil to replace grid paper, and tape a photo on a tablet or a hand-drawn picture flat to the table in place of a printed photo.
My strips move or tear when I try to rearrange them—how can I prevent that?
After you cut the traced grid paper along the grid lines into vertical strips, label each strip with its column coordinate, cut with sharp scissors against a ruler for straight edges, and tape the grid corners firmly as in the instructions so the strips stay aligned while you arrange them.
How can I adapt this activity for different ages?
For younger children use larger grid squares, help them trace the main outlines and pre-cut the strips, while older kids can use smaller squares, try more complex shifts (for example move every other strip two squares), and spend more time on the 'add details and refine the shapes' and 'color or shade' steps.
How can we make the distorted drawing more creative or shareable?
Experiment by rotating or overlapping some cut strips before you tape them, use colored paper or bold markers when you 'color or shade your distorted drawing', and display the original photo side by side with several shift variations to share on DIY.org.
Watch videos on how to draw a distorted image
How to Create an Optical Illusion | Optical Art | Fun Activities For Kids
4 Videos
How to Create an Optical Illusion | Optical Art | Fun Activities For Kids
Parents Turned Their Kids' Drawing Into Artworks
How to animate your drawings | Art projects for kids | #doitwithdiy
Want to Learn the Secrets of Drawing?
Facts about grid drawing and proportions
🎨 Artists have used grid systems for centuries — ancient Egyptian and Renaissance painters used grids to keep proportions consistent.
🧩 The grid method is like a puzzle: shifting a single square can change how your whole drawing looks.
✏️ Tracing paper is semi-transparent so you can copy lines exactly from a photo before you start shifting squares.
😲 Caricature artists exaggerate just a few features — changing one part of a face can make it look funny, scary, or strange.
👀 Optical illusions prove that tiny changes in proportion can trick your brain into seeing motion, depth, or expression.
How do I do the Draw a Distorted Image activity with my child?
What materials do I need for Draw a Distorted Image?
What ages is the Draw a Distorted Image activity suitable for?
What are the benefits of doing Draw a Distorted Image with kids?
