Draw a detailed portrait
Draw a detailed portrait of a friend or family member using pencils and shading techniques, practicing proportions, observation, and patience.


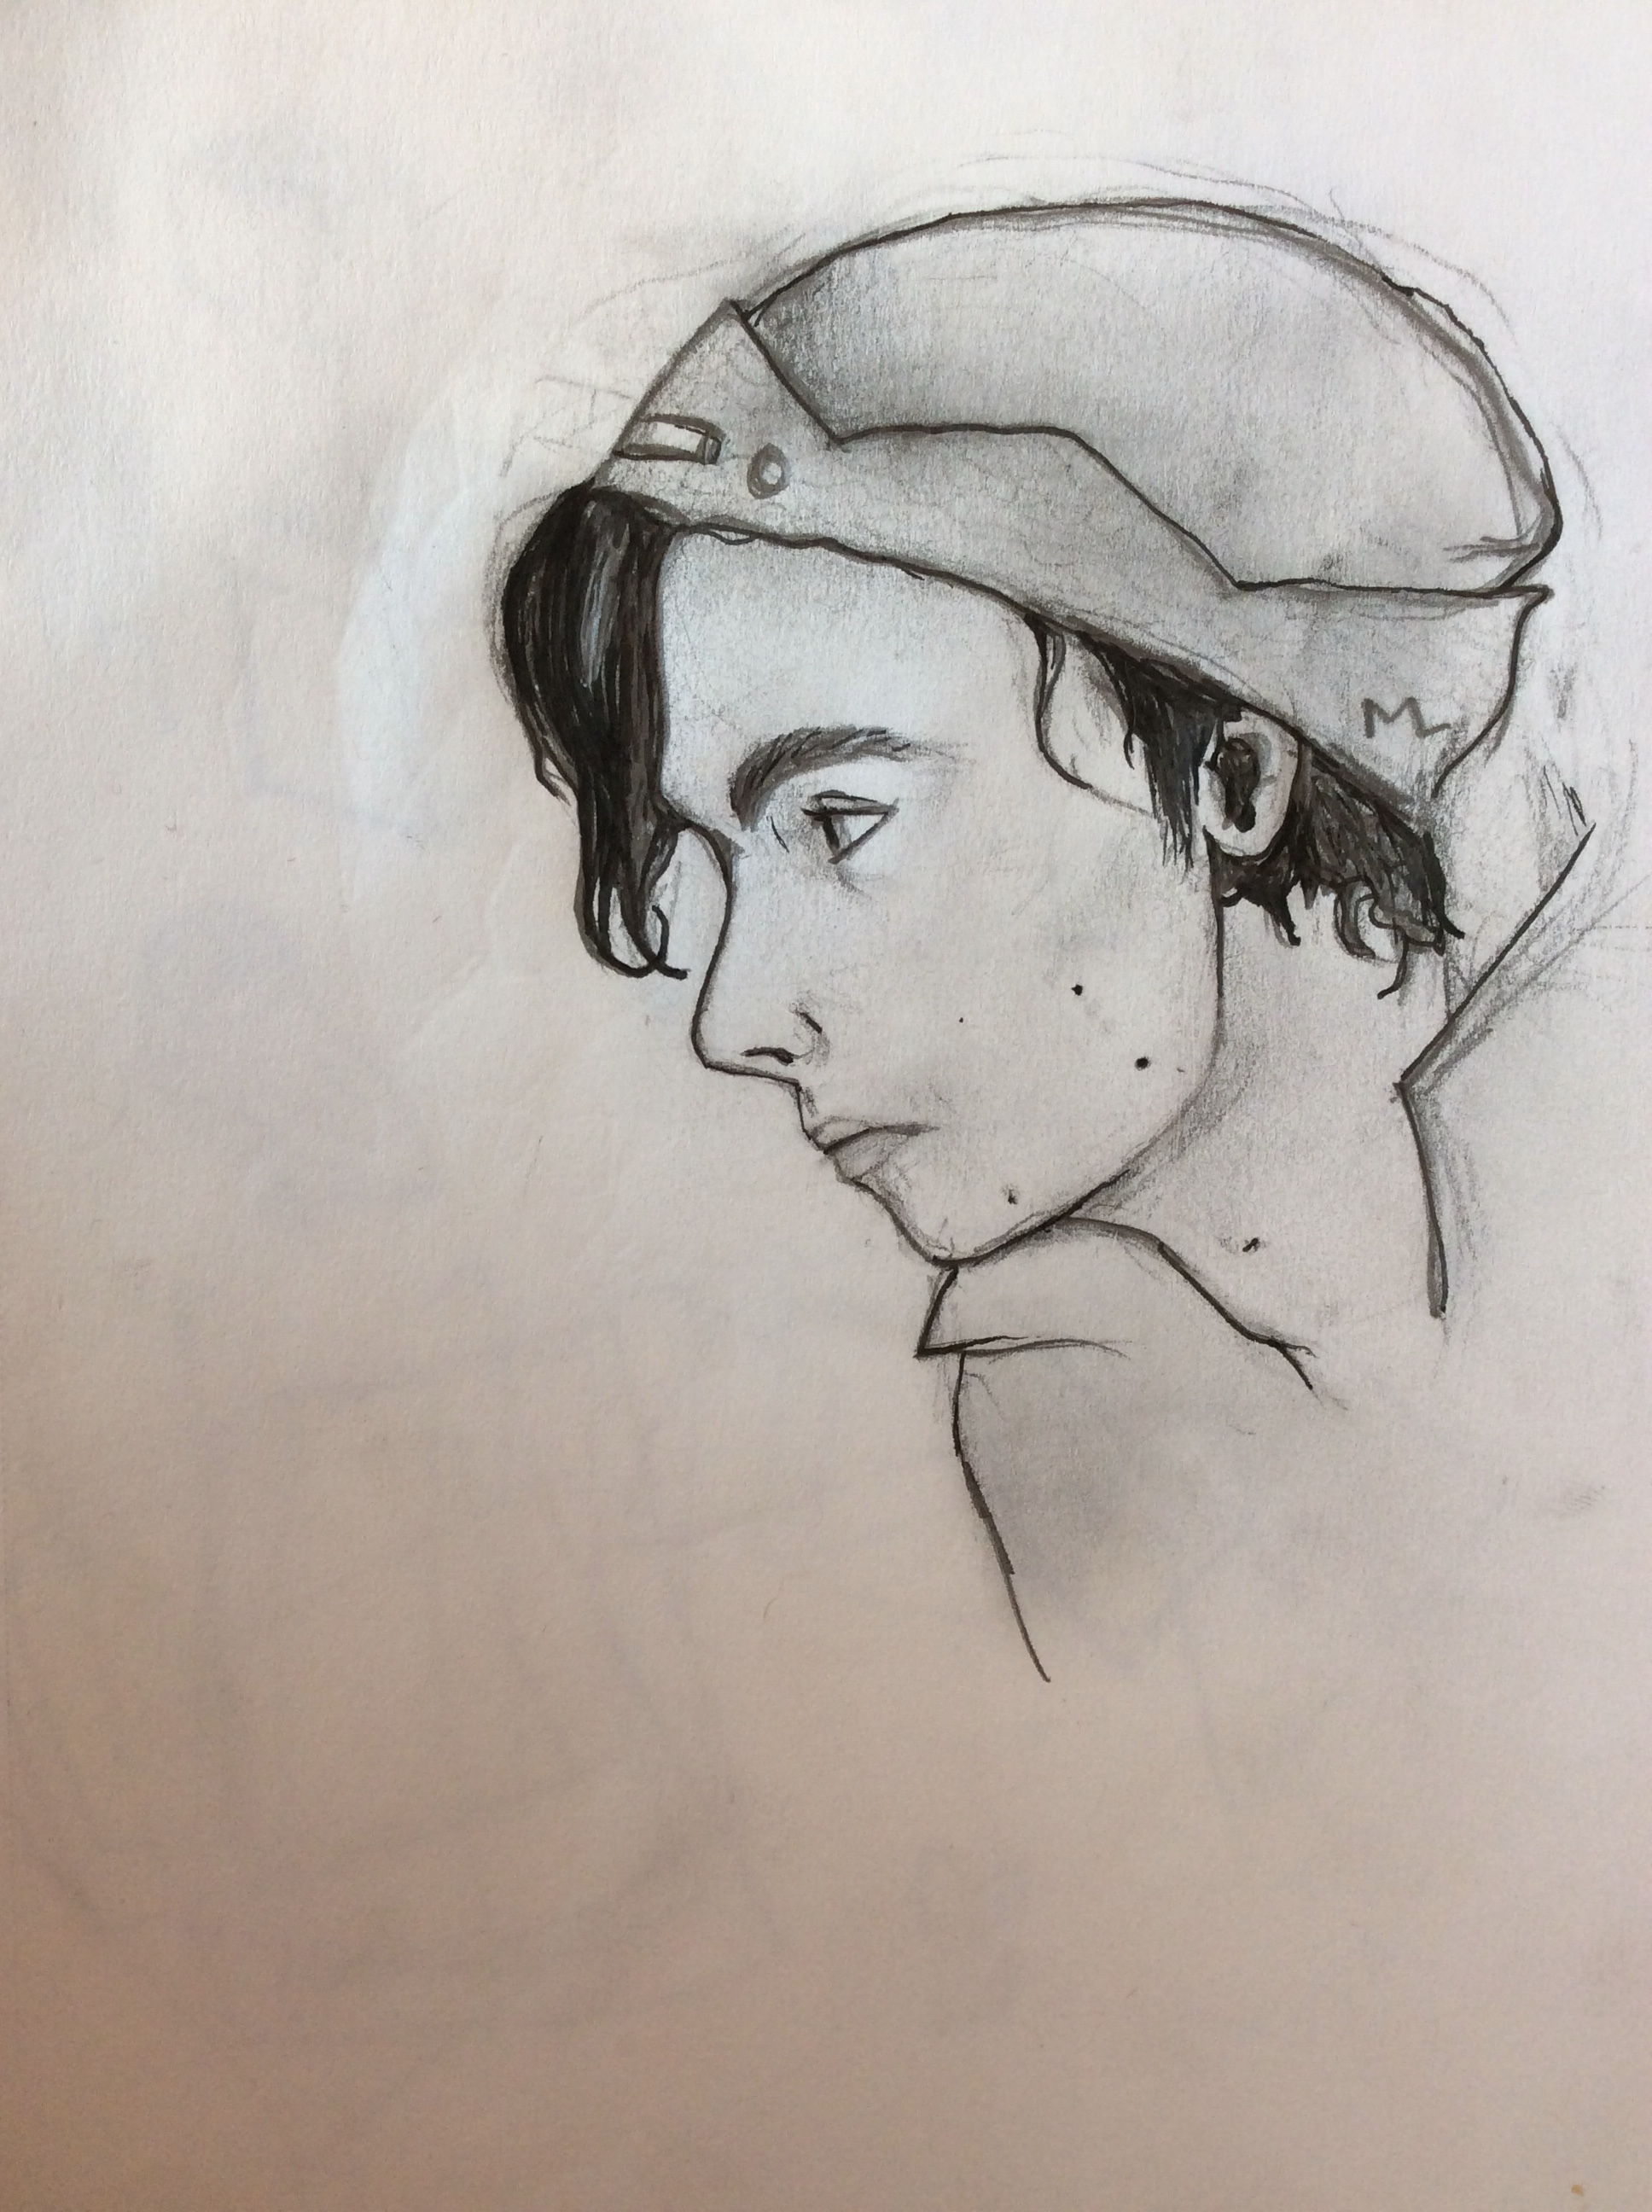
Drawing Apps
Step-by-step guide to draw a detailed portrait
Step 1
Gather all the materials listed and put them where you can reach them easily
Step 2
Pick a friend or family member or a clear photo to use as your reference
Step 3
Sit so you can see your reference clearly and comfortably
Step 4
Place your paper flat on the table so it won’t move
Step 5
Lightly draw an oval for the head and add faint guidelines for the center line the eye line and the chin with an HB pencil
Step 6
Mark where the eyes the bottom of the nose and the mouth will go using your guidelines
Step 7
Lightly sketch the basic shapes of the eyes the nose the mouth the ears and the hairline
Step 8
Decide which direction the light is coming from so you know where shadows and highlights belong
Step 9
Use your HB pencil to shade the largest shadow areas gently to block in values
Step 10
Darken the deepest shadows and add texture with your 2B and 4B pencils
Step 11
Smooth shaded areas with a blending stump or tissue and lift small highlights with your eraser
Step 12
Share your finished detailed portrait on DIY.org
Help!?
I don't have a 2B, 4B, or a blending stump — what can I use instead?
Use a softer pencil like a 6B or a sharpened charcoal pencil in place of 4B for deep shadows, use your HB for midtones, and smooth shaded areas with a clean tissue, cotton swab, or fingertip instead of a blending stump.
My portrait looks flat and lifeless — which steps can fix that?
Follow the step 'Decide which direction the light is coming from...' then gently block in values with your HB pencil, darken the deepest shadows with 2B/4B, and lift small highlights with your eraser to increase contrast and depth.
How can I adapt this activity for different ages or skill levels?
For younger kids simplify by following 'Lightly sketch the basic shapes...' with thicker pencils or crayons and bigger guidelines, while older kids can complete the full process including value blocking with HB, texture with 2B/4B, and blending with a stump or tissue for detailed results.
What are some ways to enhance or personalize the finished portrait?
After smoothing and lifting highlights with your eraser, personalize the portrait by adding a colored-pencil or watercolor background, inking selected outlines for contrast, or attaching a patterned frame before sharing on DIY.org.
Watch videos on how to draw a detailed portrait
Self Portrait Drawing for 3rd- 5th Grade | How to Draw a Face Step-by-Step Tutorial for Kids
4 Videos
Self Portrait Drawing for 3rd- 5th Grade | How to Draw a Face Step-by-Step Tutorial for Kids
How To Draw A Self Portrait: For Kids!
How To Draw a Portrait: Distance Learning Lesson
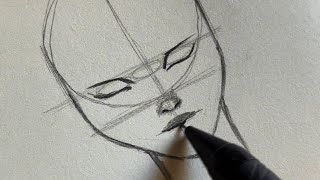
Step-by-Step Portrait Drawing Made Easy | Complete Guide for Beginners
Facts about portrait drawing and pencil shading
✏️ Artists use a pencil grading scale from H (hard, light) to B (soft, dark) — mixing grades gives richer shading.
👁️ A handy rule for proportions: an average adult face is about five eye-widths across — artists use that to check alignment.
🎨 Chiaroscuro, meaning 'light–dark', was used by Renaissance masters to make faces appear three-dimensional and dramatic.
🪞 We recognize familiar faces from surprisingly few details — small features like eye shape and the mouth give a portrait identity.
⏳ Many portrait artists build shadows gradually with layered pencil strokes; patience and gentle blending beat heavy erasing.
How do you draw a detailed portrait of a friend or family member?
What materials do I need to draw a detailed portrait with pencils and shading?
What ages is drawing a detailed portrait suitable for?
What are the benefits of drawing detailed portraits for children?
