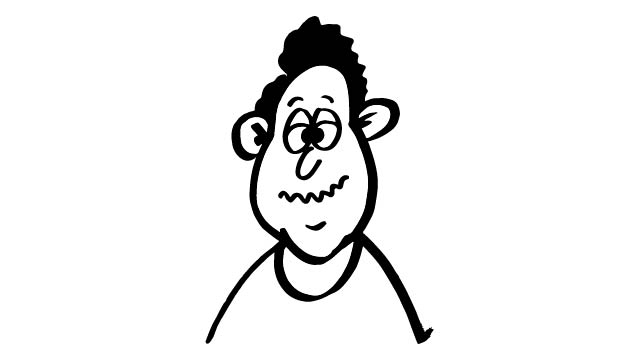
Draw A Confused Face
Draw a confused face using simple shapes, pencil, and color. Practice facial expressions, proportions, and creative details while observing real emotions.

Drawing Apps
Step-by-step guide to draw a confused face
Step 1
Gather your paper pencil eraser and coloring materials and put them where you can reach them.
Step 2
Look in a mirror or at a photo reference and study how a confused face looks.
Step 3
Lightly draw a simple oval for the head in the middle of your paper.
Step 4
Draw a faint vertical line down the middle of the oval and a faint horizontal line across the middle to help place features.
Step 5
Draw two eyes on the horizontal line keeping them simple like small circles or ovals.
Step 6
Draw the eyebrows with one raised and one slightly lowered to show confusion.
Step 7
Draw a small nose on the vertical line between the eyes and mouth.
Step 8
Draw a crooked mouth or a small open mouth to show a puzzled expression.
Step 9
Add small lines between the eyebrows or on the forehead to show furrows or a puzzled wrinkle.
Step 10
Add ears on the sides of the head at about the level of the eyes.
Step 11
Add hair to frame the face in any style you like.
Step 12
Erase the faint guidelines gently so only your face drawing remains.
Step 13
Use your coloring materials to add color to the skin hair eyes and any lines you drew.
Step 14
Add a creative detail like a question mark thought bubble glasses a hat or colorful patterns to make your confused character unique.
Step 15
Share your finished confused face on DIY.org
Help!?
What can I use if I don't have a mirror or coloring materials listed in the instructions?
Use your phone's front camera or a shiny spoon as a mirror substitute to study expressions, and replace crayons/markers with colored pens, watercolor washes, or torn magazine paper to add color.
My face looks lopsided after erasing the guidelines—how do I fix it?
Redraw the faint vertical and horizontal guide lines lightly, reposition the eyes so they sit on the horizontal line, and adjust the raised/lowered eyebrow placement before gently erasing the guides.
How can I adapt this activity for different age groups?
For younger children, skip the faint guidelines and have them draw a big oval with two simple circle eyes and one raised eyebrow, while older kids can use the vertical/horizontal guides, add forehead furrows, hair detail, and shading.
What are some ways to personalize or extend my finished confused face?
After coloring, add a question-mark thought bubble, glasses, a hat, or colorful patterns and try making a series of confused faces or a flipbook to share on DIY.org.
Watch videos on how to draw a confused face
How to draw confused face
4 Videos
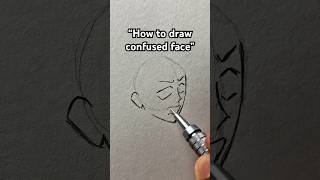
How to draw confused face
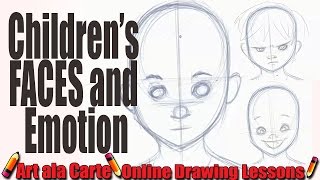
How to draw Children's faces and expressions
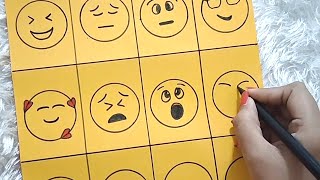
Kids step by step drawing emotions | How to draw a smiley faces | Easy drawing for kids | Emoji draw
DRAW FACES Like a PRO in 5 Minutes! (FUll Tutorial)
Facts about drawing facial expressions
😕 The confused face often features a furrowed brow and a tilted head — tiny eyebrow changes are huge for showing confusion.
🧠 Psychologist Paul Ekman showed that several basic emotions are recognized across cultures, which helps artists draw faces everyone understands.
🎨 Cartoonists reduce faces to simple shapes (circles, ovals, triangles) so expressions read clearly even at a glance.
✏️ A quick drawing tip: eyes usually sit about halfway down the head — use light guide lines to keep facial proportions correct.
👶 Babies begin copying facial expressions within weeks, proving faces are one of the earliest ways we communicate feelings.
How do I teach my child to draw a confused face step by step?
What materials do I need to draw a confused face with my child?
What ages is drawing confused faces suitable for?
What are the benefits of drawing confused faces for children?
