Draw A Bunny with CuteCat17
Follow CuteCat17's step by step art lesson to draw a cute bunny, practice shapes, shading, and simple proportions using pencil, eraser, and colored pencils.

Drawing Apps
Step-by-step guide to Draw A Bunny with CuteCat17
Step 1
Open CuteCat17's step-by-step "Draw a Bunny" lesson on your device.
Step 2
Place your drawing paper on a flat surface.
Step 3
Sharpen your pencil until the tip is ready for light lines.
Step 4
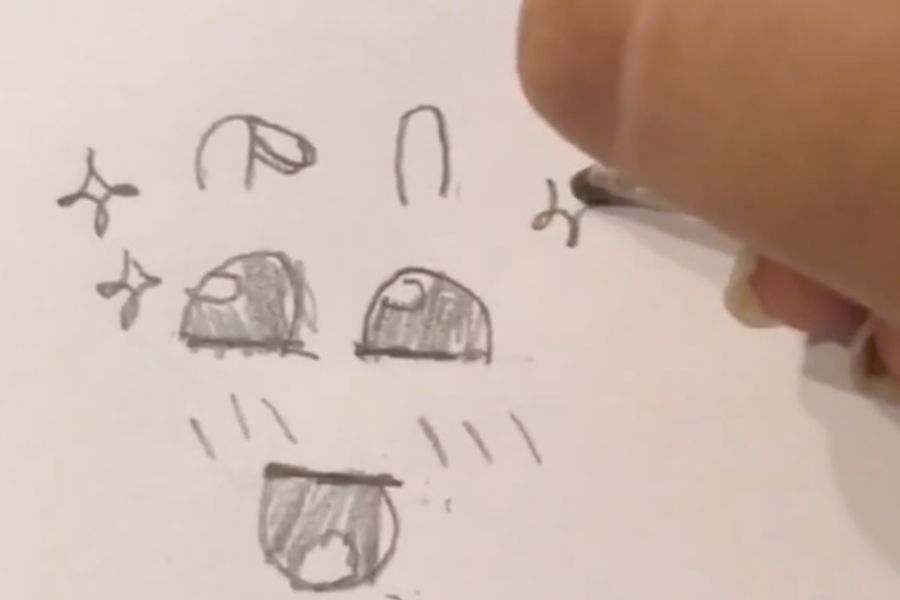
Watch CuteCat17's first shapes demo to see the bunny's basic layout.
Step 5
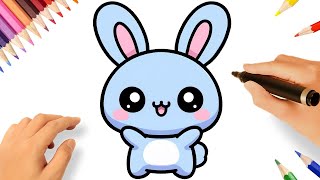
Lightly draw a circle for the bunny's head where CuteCat17 indicates.
Step 6
Draw an oval under the head for the bunny's body.
Step 7
Draw two long curved ear shapes on top of the head.
Step 8
Draw two small circles for the eyes as CuteCat17 shows.
Step 9
Draw a small upside-down triangle for the nose.
Step 10
Draw a gentle curved line under the nose for the mouth.
Step 11
Erase extra guide lines gently so the bunny looks clean.
Step 12
Add light shading under the chin and along one side of the body with soft pencil strokes.
Step 13
Color your bunny with colored pencils using light layers.
Step 14
Add short curved strokes following the body to show furry texture.
Step 15
Share your finished bunny creation on DIY.org.
Help!?
What can we use if we don't have colored pencils or can't open CuteCat17 on a device?
If you don't have colored pencils use crayons or markers for the "Color your bunny with colored pencils using light layers" step, and if you can't open CuteCat17 print a screenshot of the demo or follow the written steps to "watch CuteCat17's first shapes demo".
My guide lines are messy or the ears look uneven—how can I fix that?
Sharpen your pencil until the tip is ready for light lines, sketch the initial circle for the head and oval for the body lightly as CuteCat17 shows, and gently use a kneaded or soft eraser to "Erase extra guide lines gently" and correct the ears before adding details.
How can I adapt this lesson for younger children or make it more challenging for older kids?
For younger children, simplify the activity by drawing large versions of the "circle for the bunny's head" and "oval under the head for the bunny's body" for them to trace and use thicker crayons, while older kids can add more realistic "light shading under the chin and along one side of the body" and detailed "short curved strokes following the body to show furry texture" plus layered colored-pencils and blending.
What are some fun ways to personalize or extend the bunny drawing after finishing the basic steps?
Personalize your bunny by changing fur patterns with extra "short curved strokes following the body," adding accessories or a background scene with colored pencils, experimenting with heavier or layered "light shading," and then "Share your finished bunny creation on DIY.org."
Watch videos on how to Draw A Bunny with CuteCat17
How to draw cute bunny 🐰| EasyArt-kids
4 Videos
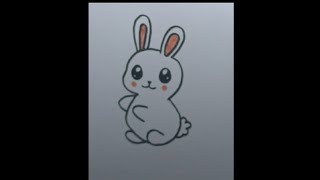
How to draw cute bunny 🐰| EasyArt-kids
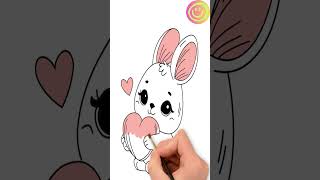
How to Draw a Cute Bunny in Easy Steps for Kids
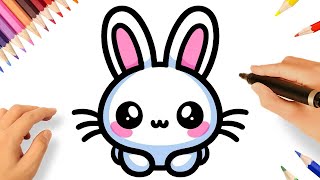
HOW TO DRAW A CUTE BUNNY SUPER EASY🐇
HOW TO DRAW A CUTE BUNNY EASY 😍
Facts about basic drawing techniques for kids
🐰 Rabbits have almost 360° vision because their eyes sit on the sides of their heads — great inspiration for practicing profile vs. front views!
✏️ An HB pencil is great for sketching shapes, while 2B–4B make darker, softer shading for fur and shadows.
🎨 Colored pencils can be layered and lightly blended to create soft fur textures and smooth color transitions.
🔢 Many artists start with simple shapes (circles, ovals, lines) to get correct proportions before adding details.
🖍️ Hatching and cross-hatching use lines to show shadow and texture — perfect for drawing tiny fur strokes on a bunny.
How do I draw a bunny following CuteCat17's step-by-step art lesson?
What materials do I need to draw a bunny with CuteCat17?
What ages is the 'Draw A Bunny with CuteCat17' lesson suitable for?
What are the benefits and variations of drawing the bunny with CuteCat17?
